
 ▶ Video
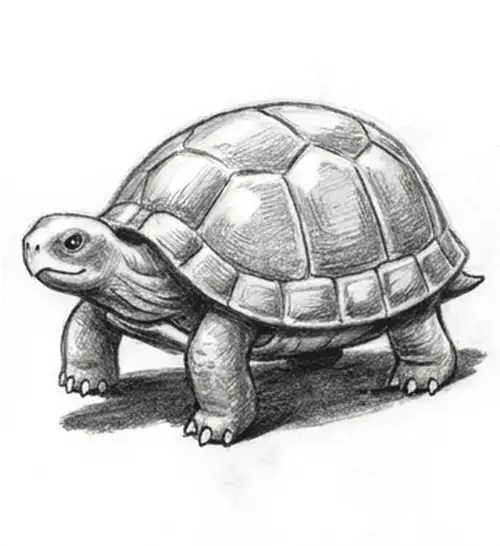
How to Draw a Turtle
Start here to practice hexagons on the shell, though we tell kids not to worry about making them perfectly regular.
We gathered these lessons because every animal here begins with the same basic circles and ovals our kids already know how to draw. We always suggest starting with Peppa Pig for the youngest artists because it only takes six steps and uses very familiar shapes. It builds confidence quickly before they move on to more complex creatures like the tiger or the horse.
27 drawing tutorials · Updated
▶ Video
Start here to practice hexagons on the shell, though we tell kids not to worry about making them perfectly regular.
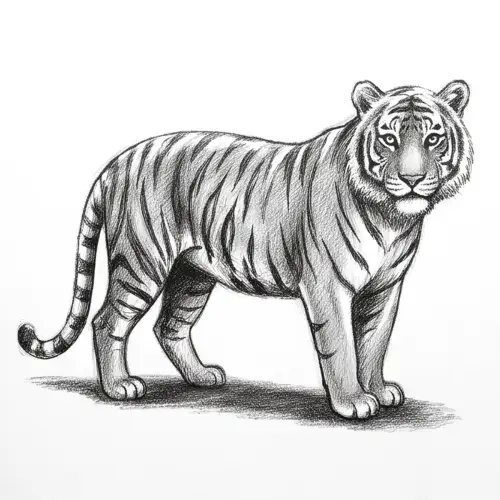
Kids are usually surprised by the dip in the back, which keeps the tiger from looking like a stiff house cat.
 ▶ Video
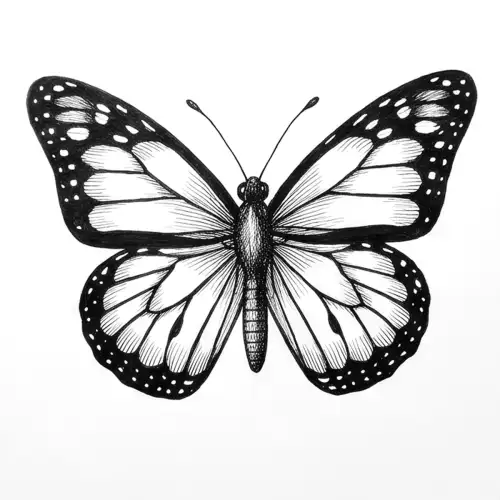
Use this to teach symmetry by keeping the small circles and irregular patterns similar on both the left and right wings.
 ▶ Video
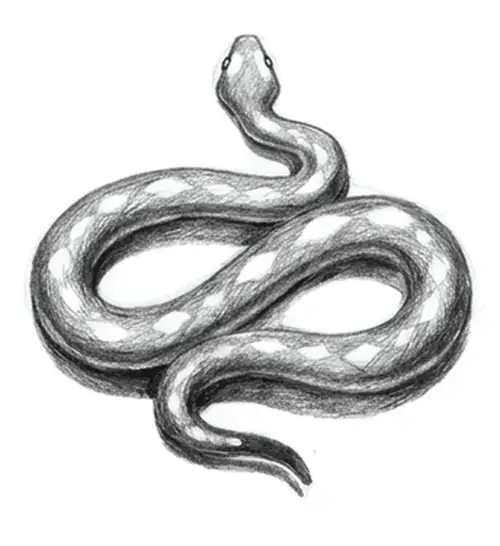
This lesson is all about the smooth S-curve, but remind them to taper the tail so it is not one width.
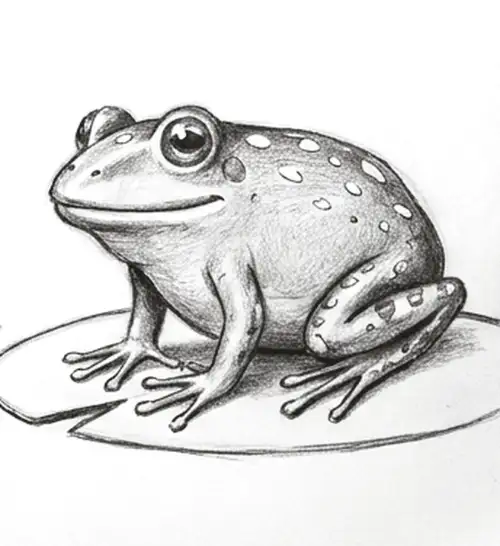 ▶ Video
The Z-shaped back leg trips everyone up, but it is the key to making the frog look ready to jump.
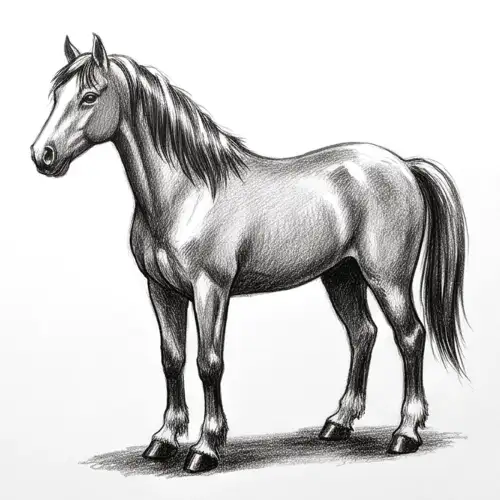 ▶ Video
We use two circles to prevent the horse from looking like a long limousine, which is a common mistake for beginners.
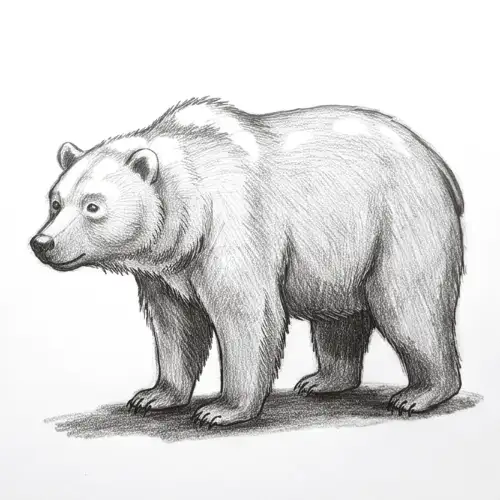 ▶ Video
Make sure they include the shoulder hump for a grizzly look, or the animal might start to look like a dog.
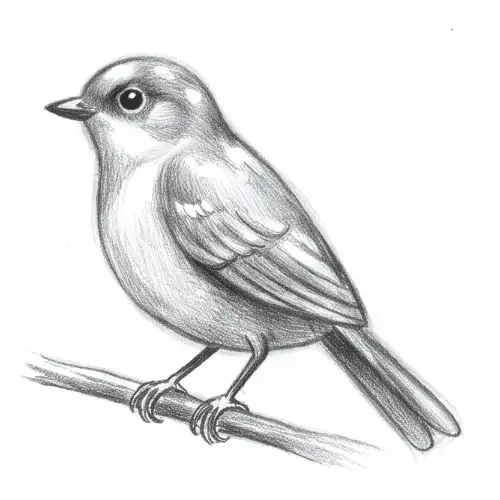 ▶ Video
A long tail rectangle helps balance the bird visually, so we tell them not to make that shape too short.
 ▶ Video
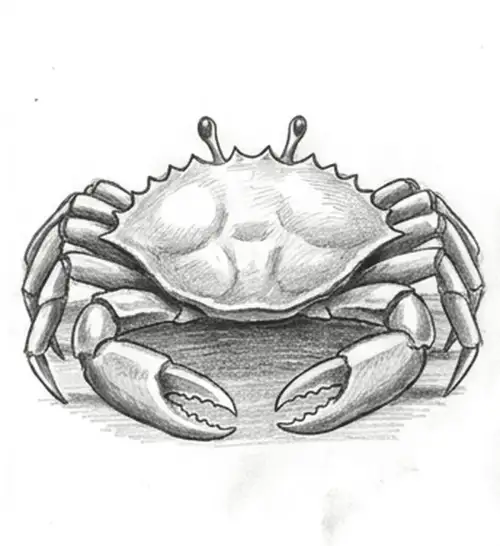
This is a great exercise for spacing legs evenly along a wide horizontal oval rather than crowding them at the front.
 ▶ Video
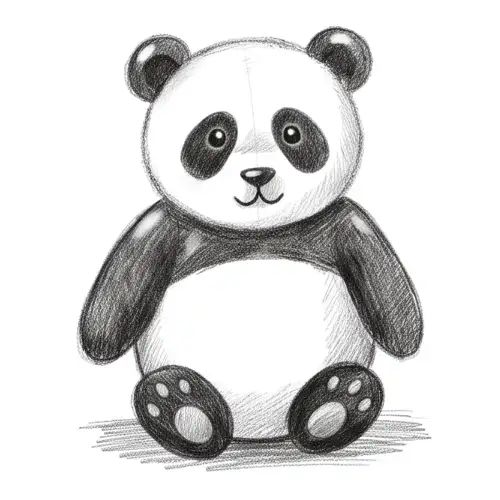
Use fuzzy, broken lines instead of smooth ones to make sure the panda looks like it has soft fur instead of plastic.
 ▶ Video
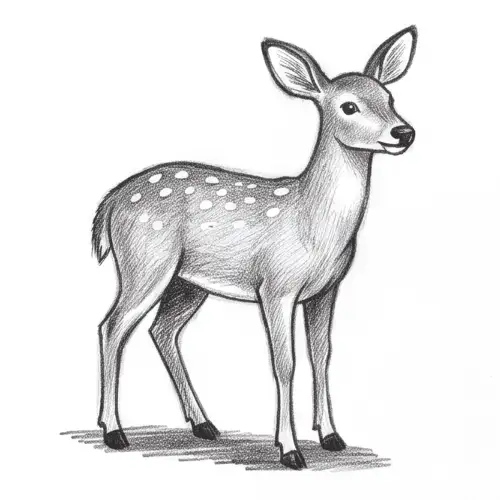
Remind your students that deer have very large teardrop ears, which makes them look alert and wild on the page.
 ▶ Video
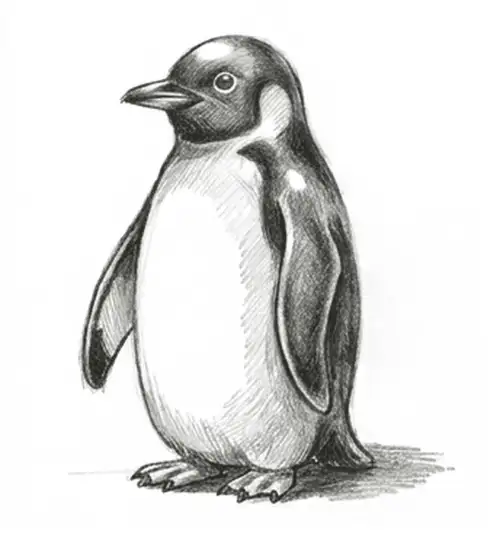
The trick here is letting the flipper curves hang down close to the body rather than sticking them straight out.
 ▶ Video
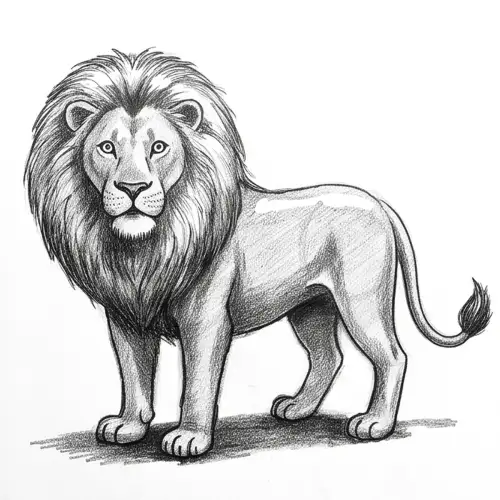
We keep the head circle close to the chest to show a thick neck, which helps support the large teardrop mane.
 ▶ Video
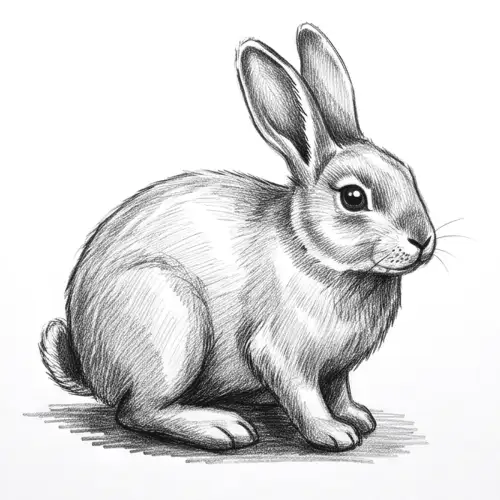
Move the almond-shaped eye toward the side of the head rather than the center to make the rabbit look more natural.
 ▶ Video
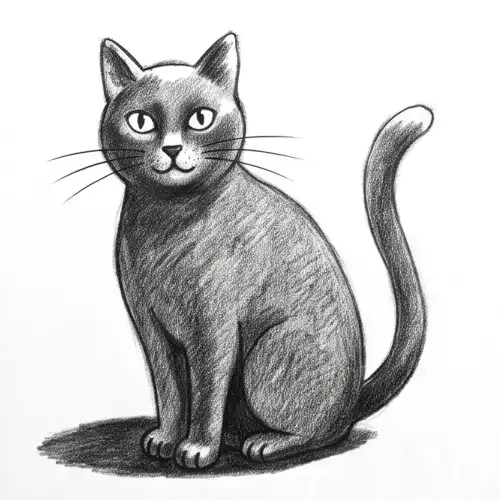
Use quick motions for the whiskers to avoid shaky lines, and remember to leave a thin light edge for the highlights.
 ▶ Video
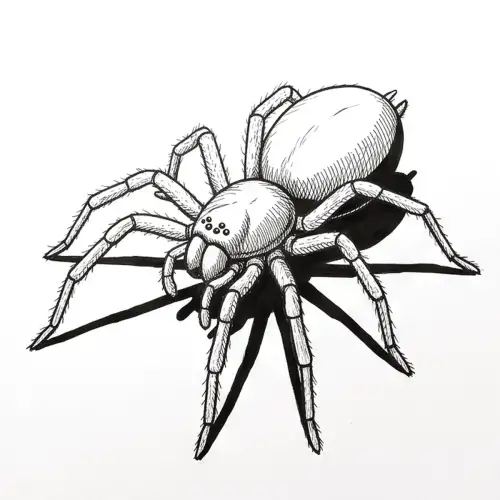
It often surprises our kids that all eight legs connect to the small front circle rather than the large back oval.
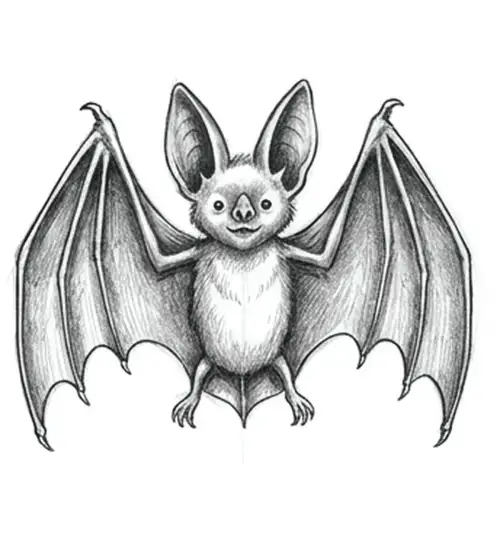 ▶ Video
Watch for the small thumb hook at the top of the wing, as it is a detail that many young artists miss.
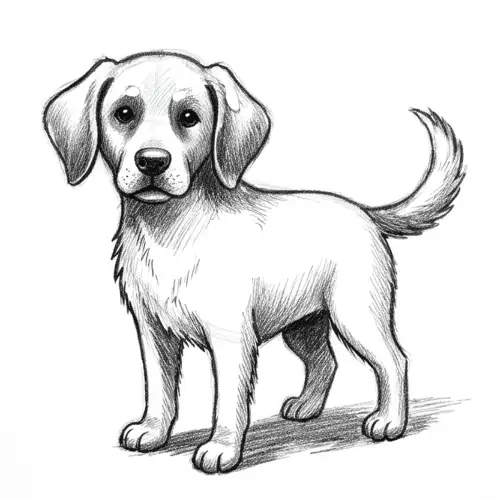 ▶ Video
We use a small square for the muzzle to keep the proportions right so the dog does not look like another animal.
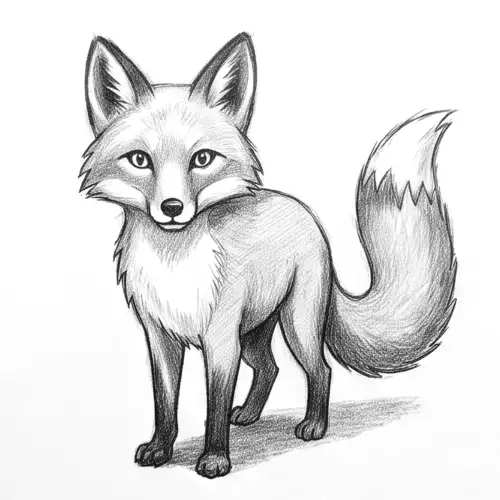 ▶ Video
The thick, bushy tail should be almost as large as the body oval to make the fox look authentic and cozy.
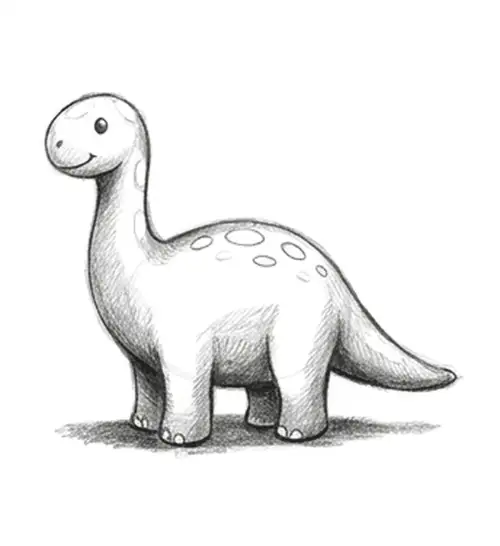 ▶ Video
Keep the head circle small compared to the large body oval to make the dinosaur look truly massive and powerful.
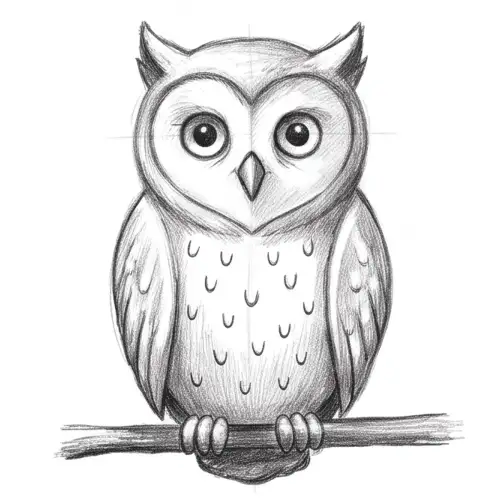 ▶ Video
We vary the size of the feather marks so the pattern looks natural rather than looking like a stiff, even grid.
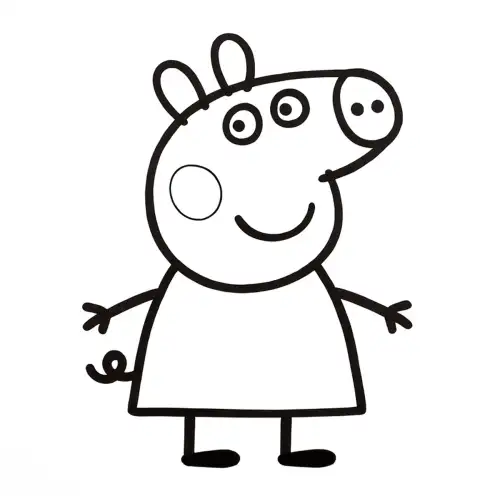 ▶ Video
This is the easiest choice for markers, focusing on a whistle-shaped snout and simple vertical ovals for the ears.
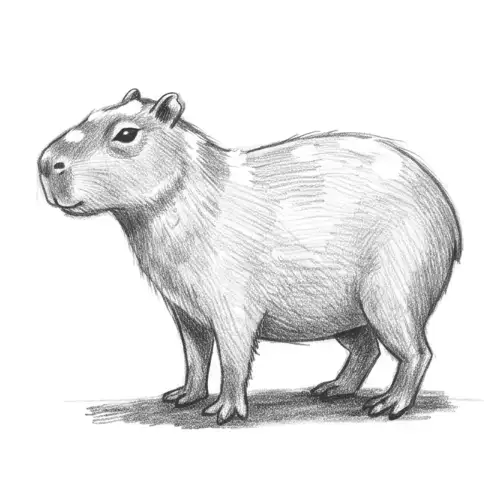 ▶ Video
Kids enjoy drawing the high, rounded arch over the rear, which is much more accurate than a flat back line.
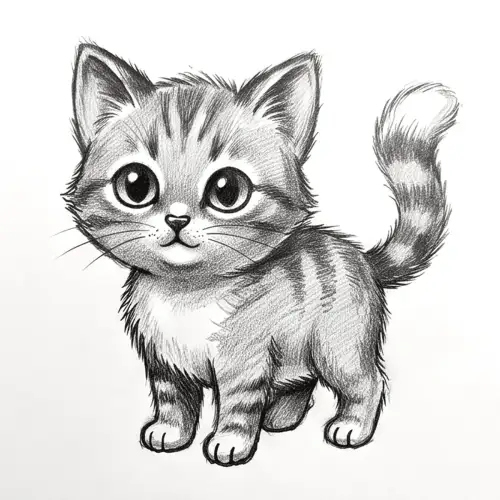 ▶ Video
Keep the large eyes low on the face circle to make the kitten look much younger and cuter to the viewer.
 ▶ Video
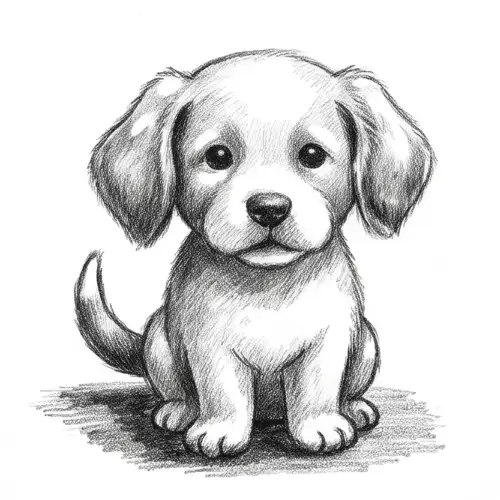
Use short, flicking motions for the fur texture instead of long smooth lines to keep the puppy looking soft and cuddly.
 ▶ Video
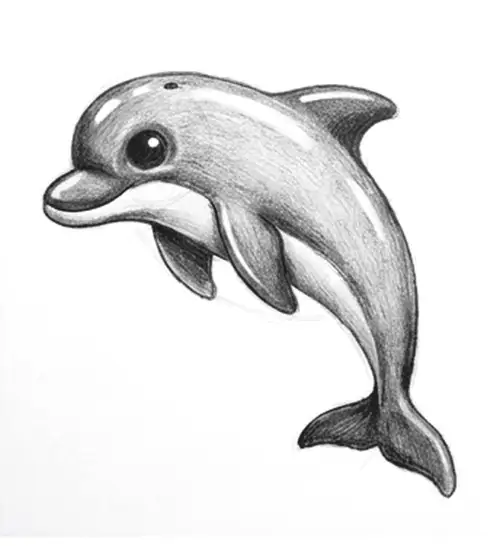
Ensure the tail fluke is a wide horizontal shape, because drawing it vertically makes the dolphin look like a regular fish.
 ▶ Video
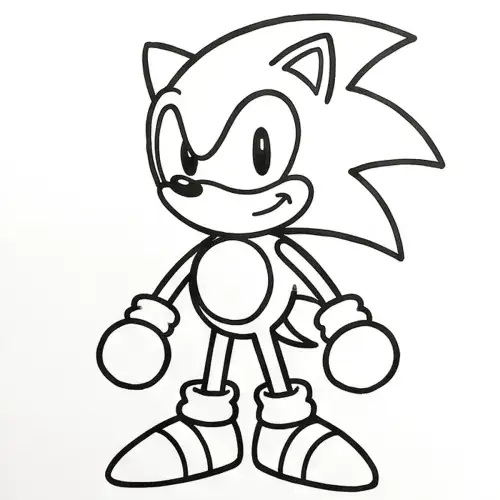
The head should be twice as big as the body to capture the classic look of this fast, lanky character.
Our method relies on drawing light blue guide shapes first and then adding the firm 2B graphite outline over the top. In the tiger tutorial, step four often trips kids up because they use hairy lines instead of long, smooth strokes. We teach them to look for the slight dip in the back rather than drawing a perfectly straight line. Seeing the real hand in our videos helps them understand exactly how much pressure to use for those contours.
For a four-year-old who wants to give up at step three, we hand them the printable practice sheet with the guide shapes already there. This lets them focus on the fun part of adding the face and the tail without worrying about proportions. Once the pencil work is done, the free coloring page makes a great reward for finishing the lesson. These tools keep the mood light and the pencils moving in a busy classroom.
Start with the printable practice sheets that have the light blue guide shapes already printed on the page. This removes the hardest part of getting the proportions right and lets them focus on the 2B pencil outlines.
We teach kids to add a cast shadow on the ground directly beneath the animal. This simple step stops the character from looking like it is floating and makes the drawing feel solid.
They might be shading the entire body instead of leaving one side white to show where the light hits. We use a 4B or 6B pencil for deep shadows on the right side to create a rounded look.
Tell them to avoid long, straight lines and use short, jagged strokes instead. These small clusters of marks suggest the texture of fur without making the drawing look messy or cluttered.
Each tutorial uses the same method art teachers use: light guide shapes first (a circle for the head, an oval for the body), then the outline over the guides, then the details and the finishing touches. Easy lessons have six steps and suit children from about four with a grown-up nearby; nine-step lessons work well from six; the detailed ones are for eight and up or patient beginners of any age.
Every lesson shows the exact materials used (pencils, fineliners or markers) and comes with a short video of a real hand drawing each step, a printable step sheet, and a free coloring page of the finished drawing. When a drawing goes wrong, the "common mistake" note under each step tells you what to fix.