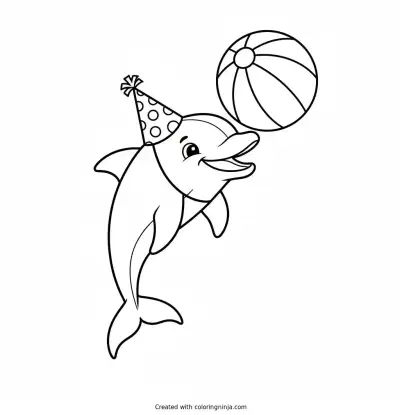
Dolphins have smooth, curved bodies that taper toward the tail. Starting with a large bean shape helps establish the posture. This lesson results in a rounded dolphin with a simple expression.
About a Kawaii Dolphin
Dolphins are aquatic mammals with a dorsal fin on their back and two pectoral fins on their sides. Their tail fluke is horizontal, unlike the vertical tail of a fish.
What you need
- 2B graphite pencil
- 4B or 6B graphite pencil for the darkest shadows
- Blue col-erase pencil for the construction lines
- Kneaded eraser
- Cream or white drawing paper
The 8 steps
Light comes from the upper left in every step. Each picture shows the drawing as it should look when that step is done.

Step 1: Body oval
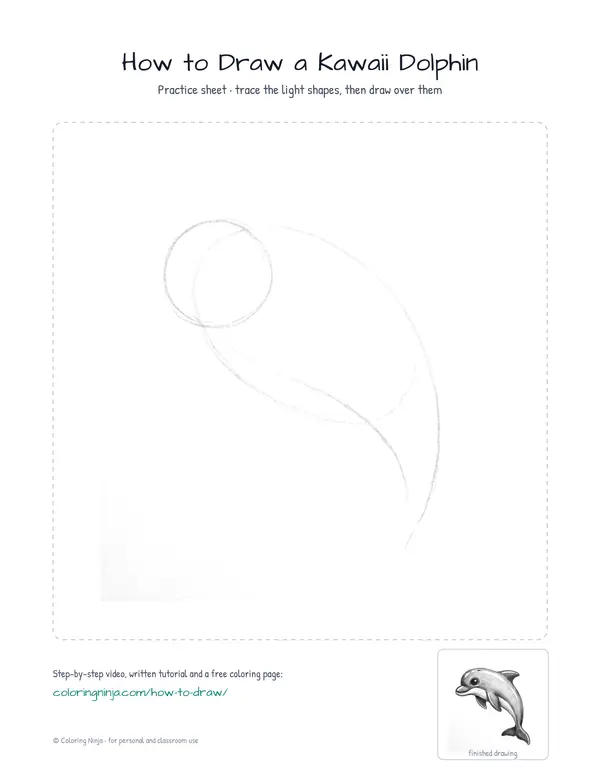
Draw a large tilted oval with the blue col-erase pencil.
Common mistake: Making the oval too small leaves no room for fins later.

Step 2: Head and tail guide
Add a circle for the head and a long curved line for the tail using the blue col-erase pencil.
Common mistake: Placing the head circle too far away makes the neck look disconnected.

Step 3: Main body outline
Switch to the 2B pencil to draw the smooth outer line of the body over the blue shapes.
Common mistake: Drawing jagged lines instead of one long smooth curve.

Step 4: Fins and eyes
Use the 2B pencil to add a triangle dorsal fin, a side pectoral fin, and two large circular eyes.
Common mistake: Placing the dorsal fin too far forward makes the dolphin look unbalanced.

Step 5: Snout and tail fluke
Use the 2B pencil to draw the snout and the horizontal tail fluke at the end of the body.
Common mistake: Making the tail fluke vertical like a fish instead of horizontal.

Step 6: Shadow block-in
Switch to the 4B pencil and apply light pressure to shade the right side and bottom of the dolphin.
Common mistake: Shading the whole body makes it look flat rather than round.

Step 7: Darkest darks
Use the 6B pencil to fill the eyes and darken the shadows under the fins and tail.
Common mistake: Pressing too hard everywhere; keep the light side clean to show form.

Step 8: Highlights
Use the kneaded eraser to lift small white spots on the head and back for a wet look.
Common mistake: Rubbing too hard with the eraser can smudge the surrounding graphite.
What makes it look right
- Keep the blue construction lines light so the 2B pencil can easily cover them.
- Draw the tail fluke as a wide heart shape to keep it looking cute.
- Leave a small white circle in the eyes when shading to make them look shiny.
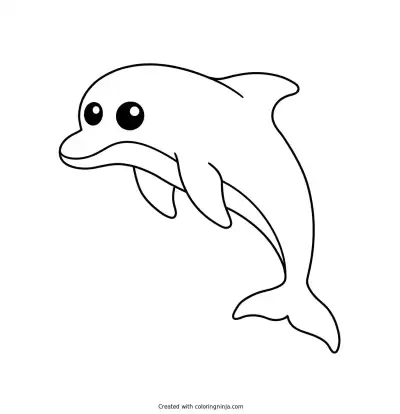
Get the finished coloring page
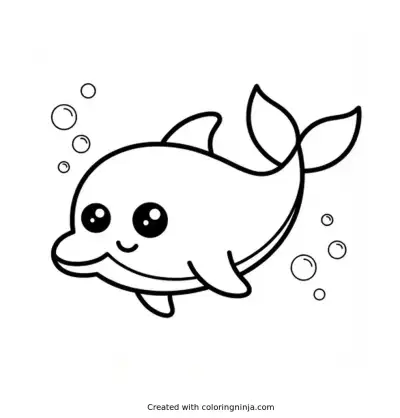
The clean outline from step 5, ready to print and colour.
View the coloring pageThe whole lesson on one sheet
All 8 steps with their captions on one page. Print it and keep it next to your paper.

The dolphin is now complete with light and shadow. Practice drawing the dolphin in different poses like jumping or swimming.