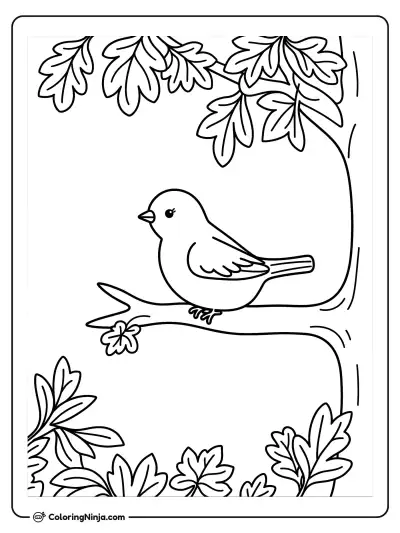
Drawing a bird starts with understanding how the head and body overlap. Many beginners draw them as separate circles, but they should sit close together. You will end up with a realistic songbird perched on a branch.
The secret to a round songbird
Birds have a lightweight skeleton and feathers that smooth out their silhouette into rounded shapes. The eye is usually positioned level with the middle of the beak.
What you need
- 2B graphite pencil
- 4B or 6B graphite pencil for the darkest shadows
- Blue col-erase pencil for the construction lines
- Kneaded eraser
- Cream or white drawing paper
The 9 steps
Light comes from the upper left in every step. Each picture shows the drawing as it should look when that step is done.

Step 1: Head and body circles
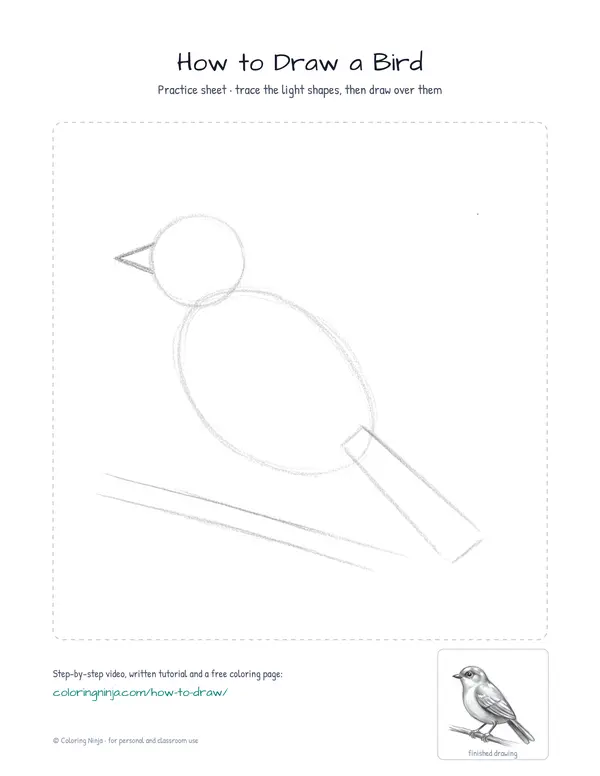
Use the blue col-erase pencil to draw a small circle for the head and a larger oval for the body.
Common mistake: Beginners often place the head too far from the body; make sure they overlap slightly to create a neck.

Step 2: Tail and branch
Still with the blue pencil, add a triangle for the beak and a long rectangle for the tail. Draw a branch line.
Common mistake: Do not make the tail too short; a long tail helps balance the bird's weight visually.

Step 3: Top outline
Switch to the 2B pencil and draw a smooth line from the top of the head down to the tail tip.
Common mistake: Avoid jagged lines here; keep the curve smooth to represent the layer of feathers.

Step 4: Bottom outline and wing
Use the 2B pencil to outline the throat, the round belly, and a teardrop shape for the wing.
Common mistake: If the belly is too flat, the bird will look thin; keep the curve round and full.

Step 5: Eye and feet
Add a small circle for the eye and draw the feet wrapping around the branch with the 2B pencil.
Common mistake: Placing the eye too high makes the head look flat; put it level with the beak.

Step 6: Feathers and dark eye
Add feather textures to the wing and tail with the 2B pencil, then fill the eye using the 6B pencil.
Common mistake: Be careful not to make the feather lines too uniform or the bird will look unnatural.

Step 7: Body shading
Switch to the 4B pencil to add soft gray shading across the bird's head and belly.
Common mistake: Keep the shading light at this stage so you can still add darker details later.

Step 8: Darkest darks
Use the 6B pencil for the black of the eye and the deepest shadows under the wing and on the branch.
Common mistake: Beginners often fear using dark values; press firmly with the 6B to create strong contrast.

Step 9: Lifted highlights
Use the kneaded eraser to dab away graphite from the top of the head and back to create bright highlights.
Common mistake: Avoid rubbing with the eraser; just press and lift to keep the edges of the highlight soft.
What makes it look right
- Keep your construction lines light so they disappear under the shading.
- Sharpen your 2B pencil frequently to keep the eye and beak details crisp.
- Follow the direction of the feathers when applying your shading strokes.
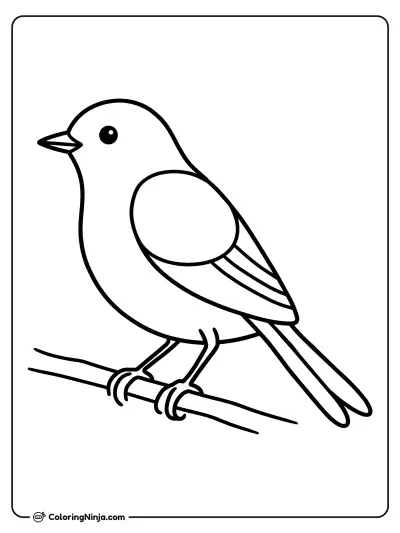
Get the finished coloring page
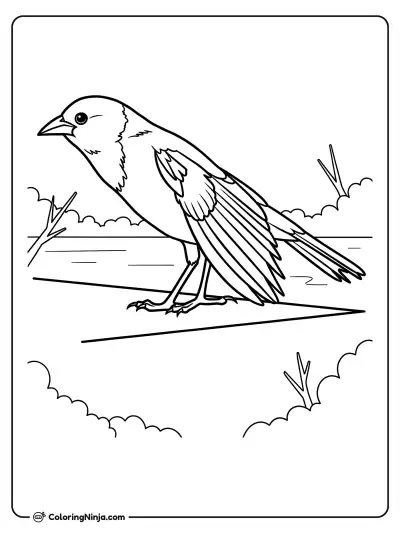
The clean outline from step 7, ready to print and colour.
View the coloring pageThe whole lesson on one sheet
All 9 steps with their captions on one page. Print it and keep it next to your paper.

You have used different pencil grades to create a three-dimensional bird. Try drawing a different bird by changing the length of the tail or the shape of the beak.