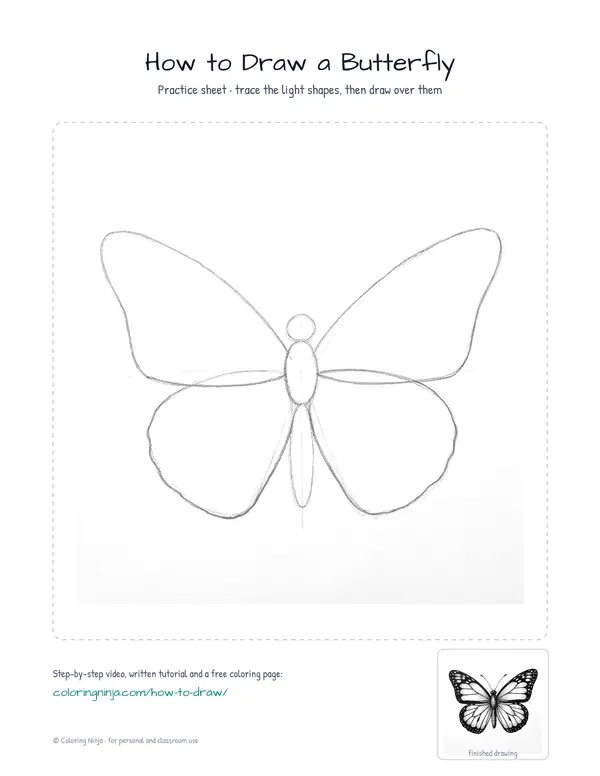
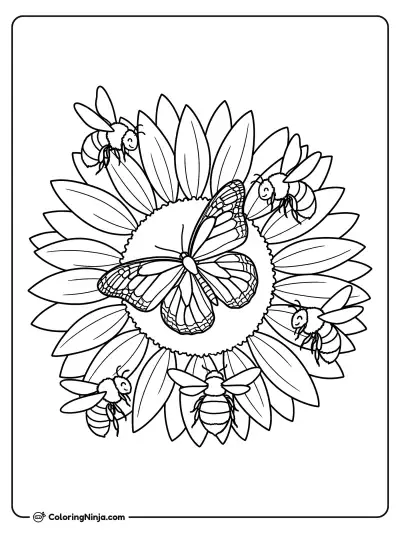
Drawing a butterfly starts with a straight body and symmetrical wings. Getting the top and bottom wings to match in size creates a sense of balance. You will end up with a detailed ink drawing of a butterfly seen from above.
The balance of four fragile wings
Butterflies have four wings: two forewings on top and two hindwings below. The wings are covered in tiny scales that create the patterns we see. The body has three parts: the head, the thorax where the wings attach, and the abdomen.
What you need
- HB pencil for the construction lines
- 0.3 mm black fineliner
- 0.8 mm black fineliner
- Black brush pen for the darkest accents
- Eraser
- Smooth white paper
The 9 steps
Light comes from the upper left in every step. Each picture shows the drawing as it should look when that step is done.

Step 1: Main body shapes
Use the HB pencil to draw three stacked shapes: a small circle, a medium oval, and a long thin oval.
Common mistake: Avoid making the abdomen too short; it should be the longest part of the body.

Step 2: Upper wing construction
Lightly draw two large, rounded triangles for the forewings using the HB pencil.
Common mistake: Do not press hard with the pencil, as these lines are only guides.

Step 3: Lower wing construction
Draw two smaller, teardrop-shaped hindwings below the first pair with the HB pencil.
Common mistake: Ensure the bottom wings overlap slightly with the top wings at the base.

Step 4: Final outer contour
Switch to the 0.8 fineliner to trace the outer edges of the wings, the body segments, and add antennae.
Common mistake: Don't make the wing edges perfectly straight; give them a slight natural wobble.

Step 5: Wing vein details
Use the 0.3 fineliner to draw thin lines branching out from the body across all four wings.
Common mistake: Avoid drawing too many veins, or the wings will look cluttered.

Step 6: Wing patterns
Add small spots and border shapes inside the wings using the 0.3 fineliner.
Common mistake: Try to keep the patterns similar on both sides to maintain symmetry.

Step 7: Hatching for tone
Create shadows by drawing short, thin parallel lines on the right side of the forms with the 0.3 fineliner.
Common mistake: Keep the hatching lines evenly spaced to avoid creating messy dark patches.

Step 8: Solid black areas
Use the brush pen to fill in the thick outer borders and the darkest spots on the wings.
Common mistake: Be careful not to cover the small white spots you drew in the previous steps.

Step 9: Clean the drawing
Wait for the ink to dry completely, then use the eraser to remove all the HB pencil construction lines.
Common mistake: Erasing too soon will smudge the ink, so check that it is dry first.
What makes it look right
- Keep your hand light when drawing veins to ensure they look delicate.
- Look at the distance between the wing and the body to ensure they are attached correctly.
- Rotate the paper as you draw the patterns to keep your lines steady.
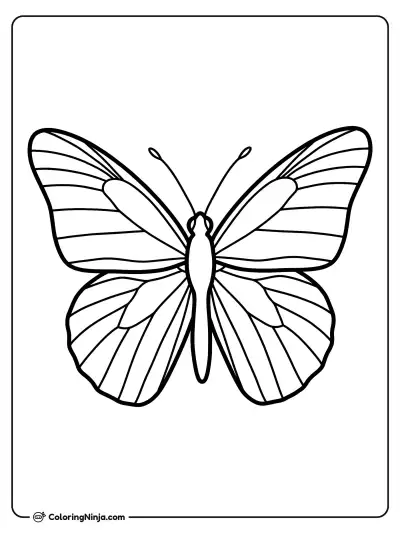
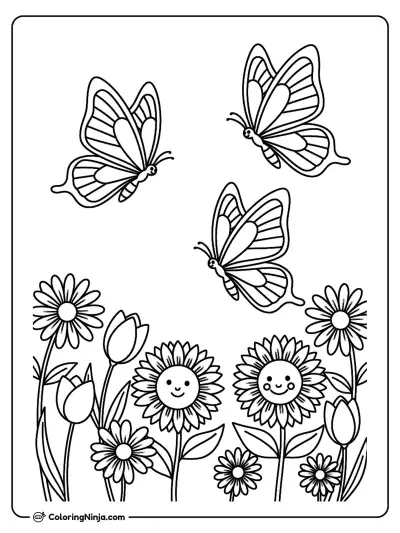
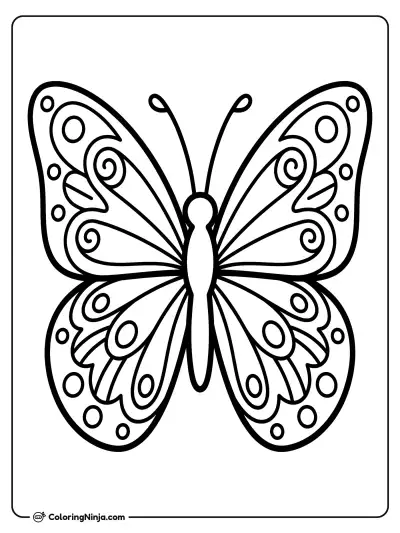
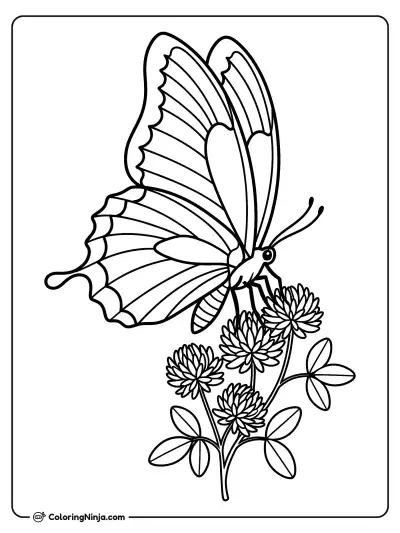
Get the finished coloring page
The clean outline from step 7, ready to print and colour.
View the coloring pageThe whole lesson on one sheet
All 9 steps with their captions on one page. Print it and keep it next to your paper.

The butterfly is now complete with its detailed wing patterns and ink shading. Try drawing another one with a different wing shape or pattern.