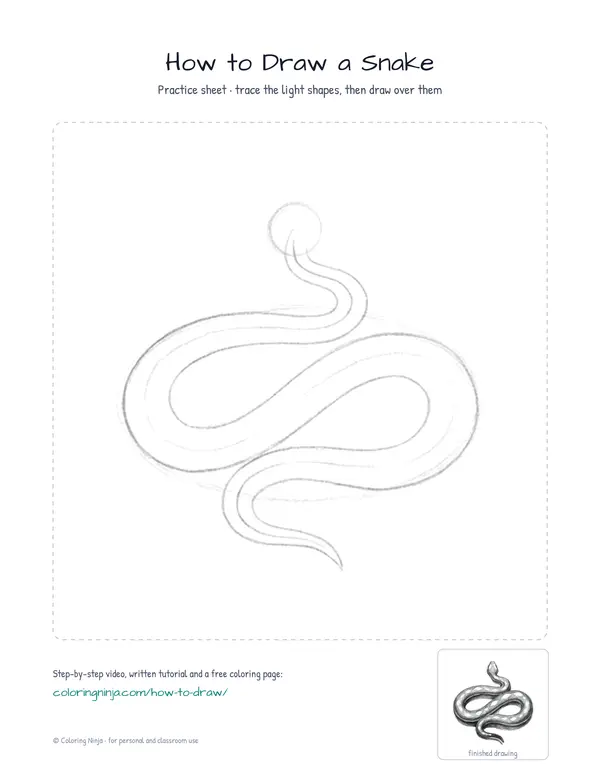
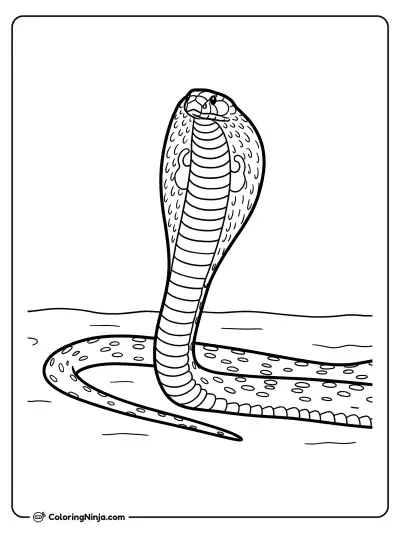
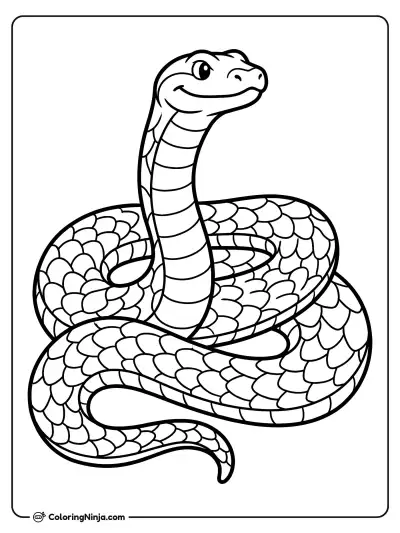
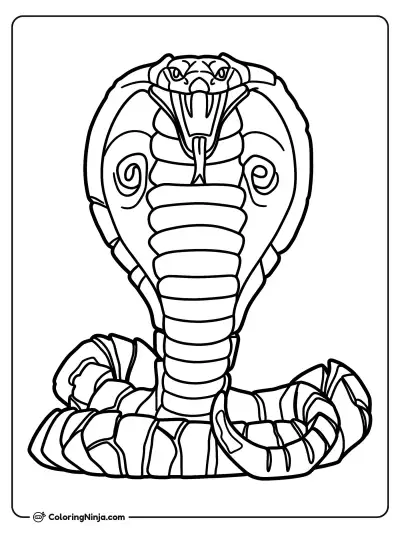
Drawing a snake starts with a long, flowing path rather than a stiff line. Most beginners make the body too thin or uniform. This lesson builds a thick, coiled snake with realistic weight.
The tapering body of a slithering hunter
Snakes are long cylinders with heads that are often slightly wider than their necks. Their bodies taper gradually from the middle toward the tip of the tail.
What you need
- 2B graphite pencil
- 4B or 6B graphite pencil for the darkest shadows
- Blue col-erase pencil for the construction lines
- Kneaded eraser
- Cream or white drawing paper
The 8 steps
Light comes from the upper left in every step. Each picture shows the drawing as it should look when that step is done.

Step 1: Basic shapes
Use the blue col-erase pencil to draw a large oval for the body and a small circle for the head.
Common mistake: Making the head circle too far from the body oval.

Step 2: Center line
Draw a curving S-line to connect the head to the body and plan the tail.
Common mistake: Making the curves too sharp; keep the S-line smooth and flowing.

Step 3: Body outline
Switch to the 2B pencil to draw the outer edges of the body following the blue guide.
Common mistake: Making the body the same width everywhere; remember to taper the tail.

Step 4: Head and eye
Refine the head into a diamond shape and add a small circle for the eye.
Common mistake: Placing the eye too high; keep it level with the snout.

Step 5: Scale pattern
Add a series of V-shapes or diamonds along the back for a pattern.
Common mistake: Making patterns too small and busy; keep them large and spaced out.

Step 6: Shadow block-in
Use the 4B pencil to shade the right side and the bottom of every coil.
Common mistake: Shading the whole body; leave the top-left side white for the light.

Step 7: Deep shadows
Switch to the 6B pencil for the darkest shadows where the body touches the ground.
Common mistake: Forgetting the cast shadow on the ground surface.

Step 8: Bright highlights
Use the kneaded eraser to dab small bright spots on the top of the head and coils.
Common mistake: Rubbing too hard; just tap the paper to lift the graphite.
What makes it look right
- Keep the body width consistent except for the tapering tail.
- Follow the curve of the body when drawing scale patterns.
- Use light pressure with the blue pencil so it stays hidden.
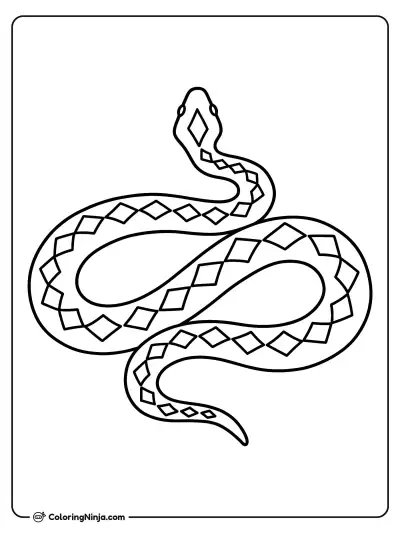
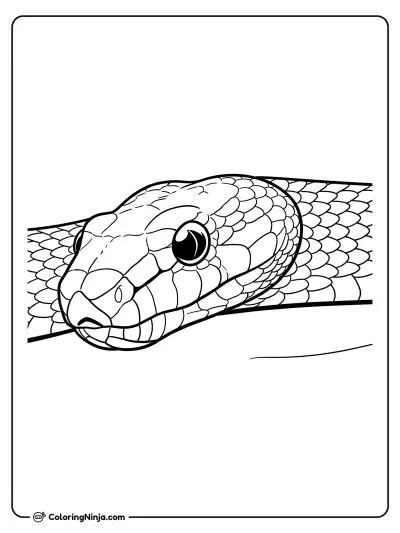
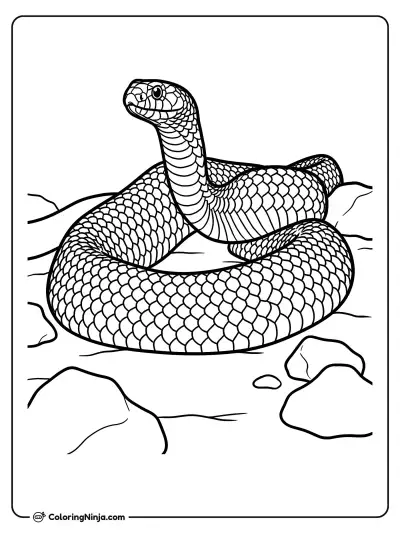
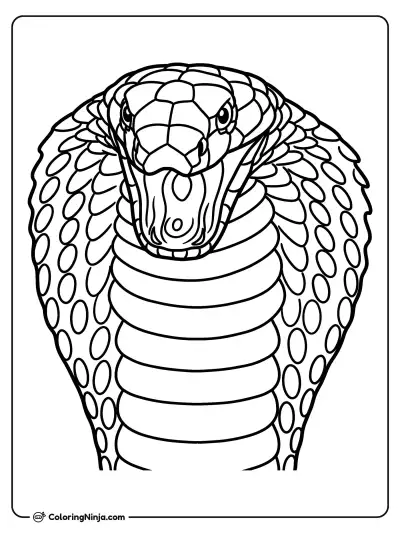
Get the finished coloring page
The clean outline from step 5, ready to print and colour.
View the coloring pageThe whole lesson on one sheet
All 8 steps with their captions on one page. Print it and keep it next to your paper.

The snake now has a rounded, heavy look. Try drawing a different pattern like stripes or spots on the next one.