Drawing a frog starts with understanding its folded limbs and bulging eyes. Beginners often make the legs too straight, but they are actually tucked tight against the body. You will finish with a realistic frog sitting on a lily pad.
The Z-shaped legs of a sitting frog
Frogs have powerful hind legs folded into a Z-shape when sitting. Their eyes sit on top of the head to see above water while the body stays submerged.
What you need
- 2B graphite pencil
- 4B or 6B graphite pencil for the darkest shadows
- Blue col-erase pencil for the construction lines
- Kneaded eraser
- Cream or white drawing paper
The 8 steps
Light comes from the upper left in every step. Each picture shows the drawing as it should look when that step is done.

Step 1: The main body shapes
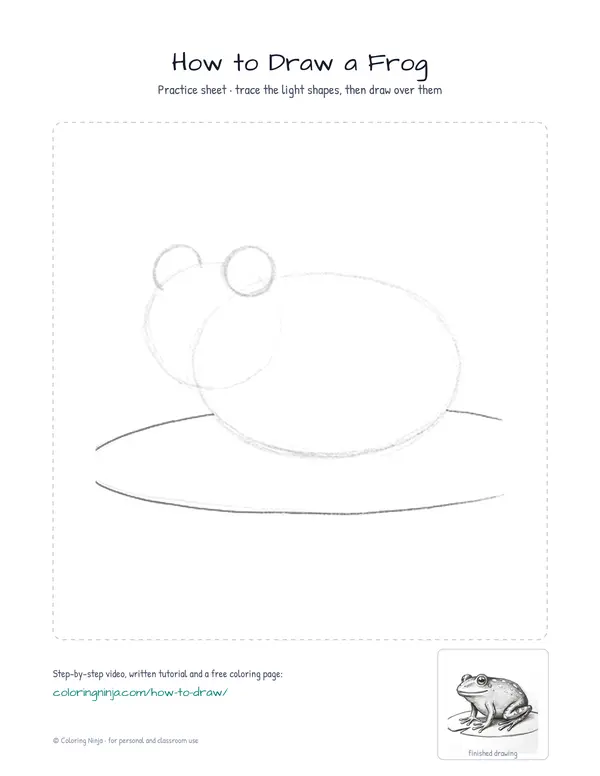
Use the blue col-erase pencil to draw a large oval for the body and a smaller circle for the head.
Common mistake: Do not press hard as these are just guide shapes that will be covered later.

Step 2: Eyes and lily pad
Add two small circles for eyes on top of the head and a flat line for the lily pad using the blue pencil.
Common mistake: Avoid placing the eyes inside the head circle because they should sit on top like bumps.

Step 3: Defining the profile
Switch to the 2B pencil and draw a smooth line over the top of the head and back, then add the mouth.
Common mistake: Making the mouth too short will look wrong since a frog's mouth usually extends past the eye.

Step 4: Folding the legs
Use the 2B pencil to draw the front legs and the large, folded back leg tucked against the body.
Common mistake: Drawing the back leg as a simple circle is a common error; remember it is a folded limb.

Step 5: Feet and skin texture
Add long toes to the feet and small circles for texture using the 2B pencil.
Common mistake: Making the toes too short is common but frog toes are surprisingly long and thin.

Step 6: Blocking in shadows
Switch to the 4B pencil and lightly shade the right side of the frog, away from the light.
Common mistake: Shading the whole frog will make it look flat; keep the top left side white to show where the light hits.

Step 7: Deepening the darks
Use the 6B pencil for the darkest areas under the body and to draw a cast shadow on the lily pad.
Common mistake: Forgetting the cast shadow makes the frog look like it is floating in the air.

Step 8: Lifting the highlights
Use the kneaded eraser to tap and lift small spots of graphite from the eyes and the upper back.
Common mistake: Rubbing too hard with the eraser can smudge the drawing; just tap it to lift the color gently.
What makes it look right
- Keep the pencil sharp for the skin texture dots.
- Hold the pencil further back when shading to get smoother tones.
- Use the side of the lead for the lily pad shadow to cover more ground.
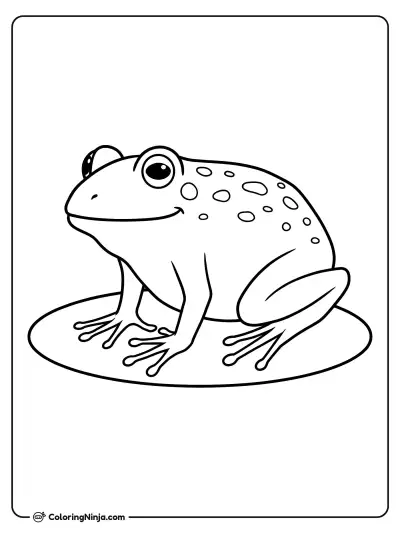
Get the finished coloring page
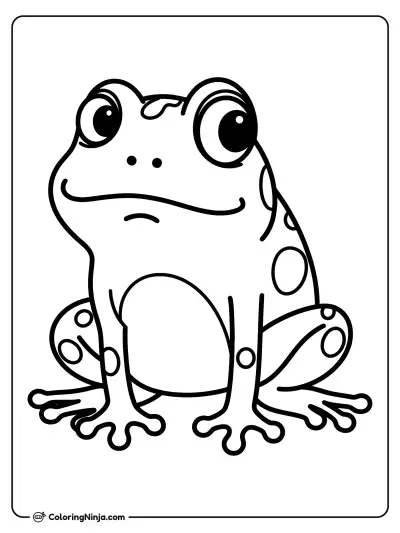
The clean outline from step 5, ready to print and colour.
View the coloring pageThe whole lesson on one sheet
All 8 steps with their captions on one page. Print it and keep it next to your paper.

Practice drawing frogs in different sitting positions to master the leg folds. Try drawing a smaller fly near the frog's head.