Drawing a panda starts with seeing the large, round shapes that make up its body. Beginners often make the black patches too small, which loses the character of the animal. You will create a seated panda with soft fur and deep shadows.
The heavy shapes of a giant panda
Pandas have a heavy bone structure and thick fur that makes their limbs look like rounded cylinders. Their distinctive black eye patches are teardrop-shaped and tilt toward the nose.
What you need
- 2B graphite pencil
- 4B or 6B graphite pencil for the darkest shadows
- Blue col-erase pencil for the construction lines
- Kneaded eraser
- Cream or white drawing paper
The 9 steps
Light comes from the upper left in every step. Each picture shows the drawing as it should look when that step is done.

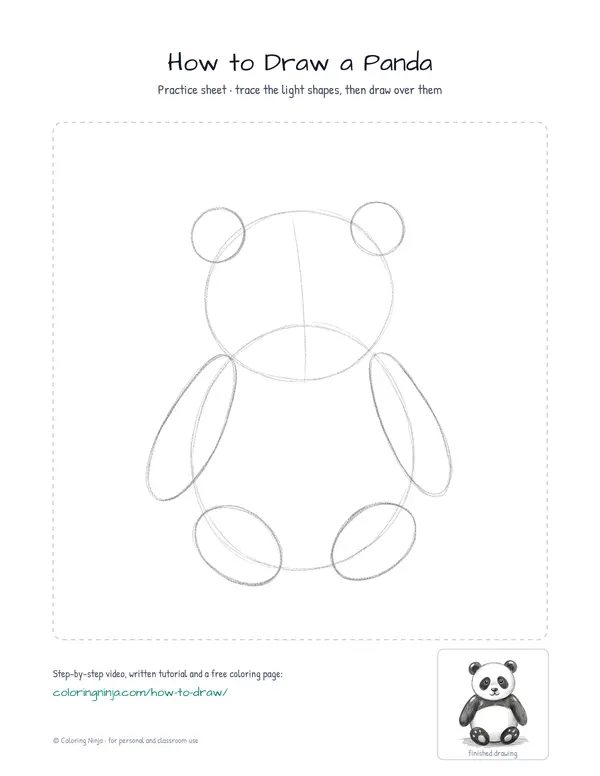
Step 1: Basic body shapes
Use the blue col-erase pencil to draw a large, slightly tilted oval for the body and a smaller circle for the head.
Common mistake: Do not make the head too small or the panda will look like a different kind of bear.

Step 2: Add the limbs
Draw two small circles for ears and four ovals for the limbs using the blue pencil.
Common mistake: Beginners often draw thin limbs, but panda legs should look thick and heavy.

Step 3: Define the fur
Switch to the 2B pencil to draw a fuzzy, broken line around the head and body shapes.
Common mistake: Avoid drawing a single smooth line because it makes the panda look like it is made of plastic rather than fur.

Step 4: Place the face
Draw two large, slanted teardrop shapes for eye patches and a small triangle for the nose using the 2B pencil.
Common mistake: Do not make the eye patches perfect circles; they should tilt inward toward the nose.

Step 5: Eyes and paws
Add small circles for the eyes inside the patches and draw the pads on the feet with the 2B pencil.
Common mistake: Keep the eyes small and centered within the patches so they do not get lost in the dark fur.

Step 6: Block in dark fur
Switch to the 4B pencil and fill the ears, eye patches, and limbs with a medium grey tone on the right side.
Common mistake: Do not shade the whole area evenly; keep the left side lighter to show where the light hits.

Step 7: Tone the white fur
Use the 4B pencil to add a very light grey tone to the right side of the white head and belly.
Common mistake: Pressing too hard here will make the white fur look dirty instead of shadowed.

Step 8: Deepen the blacks
Switch to the 6B pencil to make the black fur areas very dark and draw a flat shadow on the ground.
Common mistake: Avoid leaving the black fur grey, as high contrast is what makes a panda recognizable.

Step 9: Lift the highlights
Use the kneaded eraser to lift small white highlights on the top of the head and the shoulders.
Common mistake: Do not rub with your fingers to blend, as this will smudge the graphite and lose the fur texture.
What makes it look right
- Keep your pencil strokes short and flick them outward to mimic the look of thick fur.
- Leave a tiny white dot in the center of the black eyes to make the panda look alive.
- Make the shadow on the ground darkest right where the panda touches the floor.
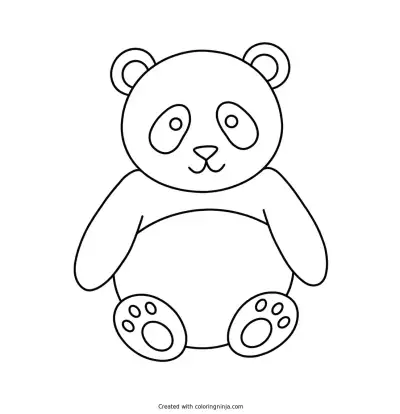
Get the finished coloring page
The clean outline from step 5, ready to print and colour.
View the coloring pageThe whole lesson on one sheet
All 9 steps with their captions on one page. Print it and keep it next to your paper.

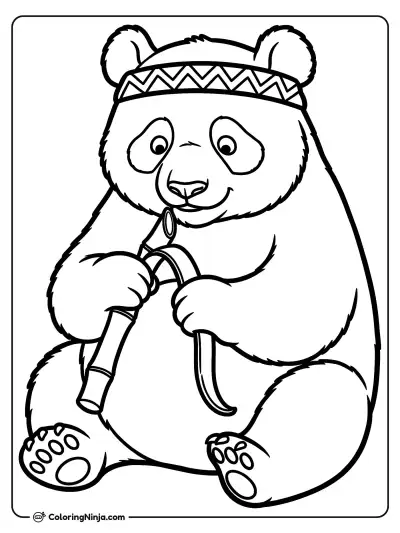
The drawing is complete once the contrast between the dark limbs and white fur is clear. Try drawing a stalk of bamboo in the panda's paw next.