
 ▶ Video
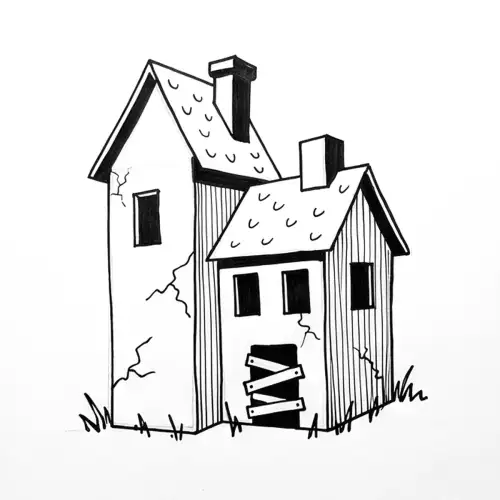
How to Draw a Haunted House
We start with this for Halloween because the printable practice sheet helps our kids draw wobbly lines and steep triangular roofs.
We gathered these tutorials to help our kids draw their own spooky scenes with simple shapes like ovals and triangles. We usually tell parents to start with the ghost because it only has six steps and uses markers instead of pencils. It is a great way to build confidence before moving on to the more detailed 2B graphite projects.
9 drawing tutorials · Updated
▶ Video
We start with this for Halloween because the printable practice sheet helps our kids draw wobbly lines and steep triangular roofs.
 ▶ Video
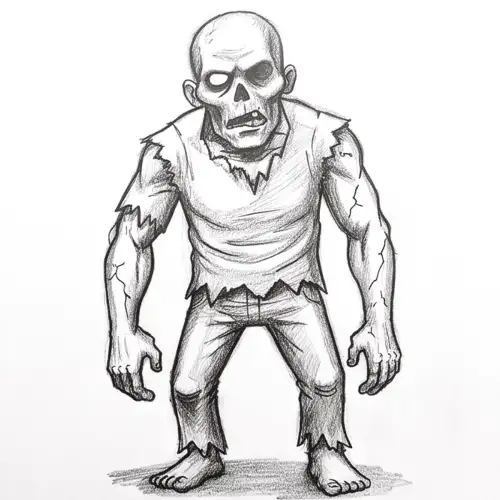
Start with the circle and torso oval but use a light touch to keep the guide lines from being permanent.
 ▶ Video
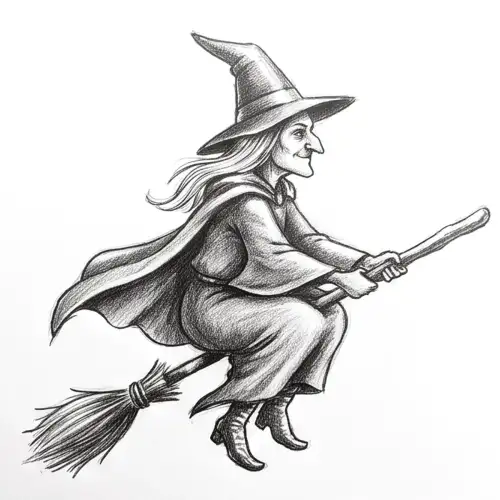
Our kids love the challenge of the long diagonal broom line and the flowing, wavy edges of the witch's cloak.
 ▶ Video
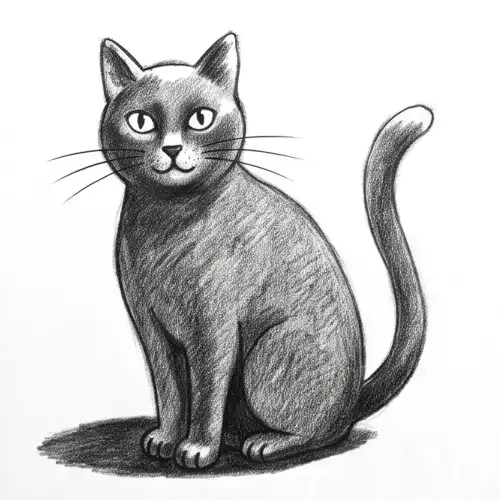
This one surprises everyone because we use a blue pencil for the initial oval before switching to a dark 2B graphite.
 ▶ Video
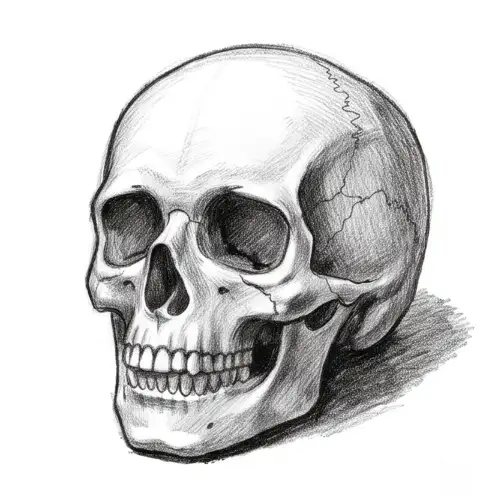
We suggest this for older kids who want to practice symmetry with the U-shaped jaw and the rounded square eye sockets.
 ▶ Video
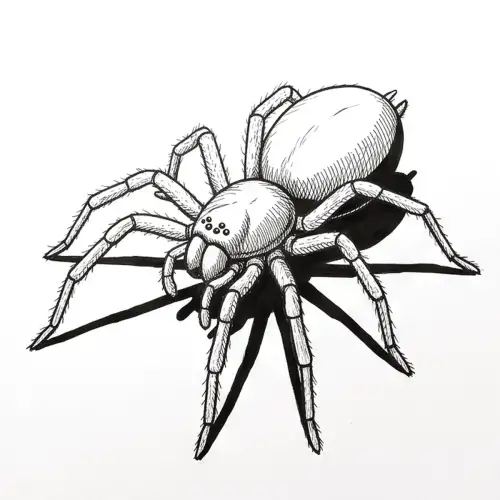
Watch out for step two because the eight legs must connect to the small front circle and not the large abdomen.
 ▶ Video
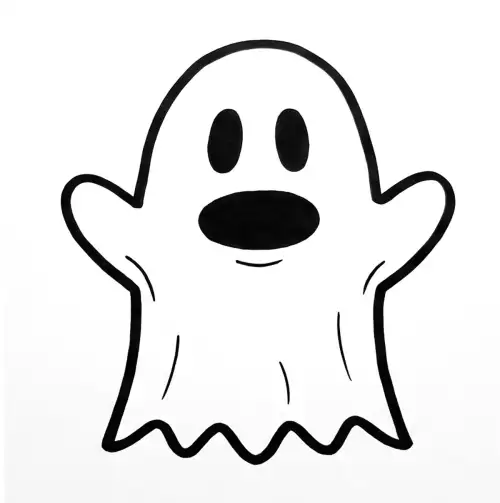
This is our favorite for the youngest artists because they can use markers to draw the simple vertical and horizontal ovals.
 ▶ Video
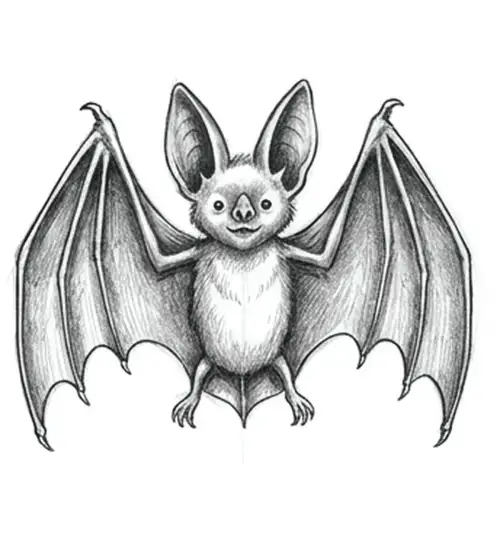
The tricky part here is the thumb claw at the top bend of the wing which many of our students miss.
 ▶ Video
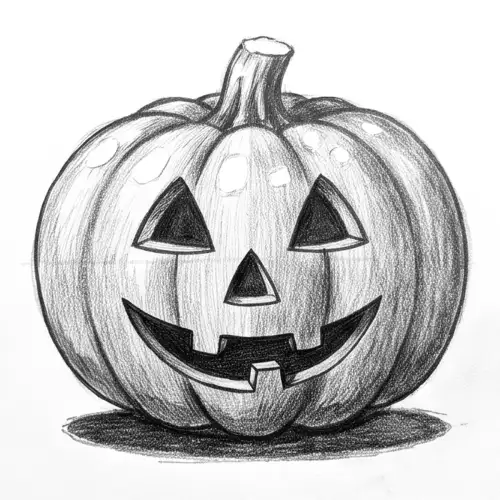
We use a blue col-erase pencil for the ribs to help kids see where to place the triangular eyes and nose.
Every drawing begins with light guide shapes that we eventually cover with a darker outline or ink. In the spider tutorial, we use an HB pencil to draw two circles for the body before adding the permanent ink. The step that trips everyone up is the second one where all eight legs must attach to the smaller front circle.
For our youngest students, we print the practice sheet so the guide shapes are already there for them to trace. If a four-year-old gives up at step three, we just let them move straight to the free coloring page as a reward. Older kids can follow the video to see exactly how we use a 6B lead for the darkest shadows.
Start with the ghost tutorial since it uses simple vertical ovals and markers. The printable practice sheet helps them follow along without needing to get the proportions perfect on their own.
This usually happens when the artist forgets to add a cast shadow on the ground. We teach our kids to add a dark 6B graphite shape under the pumpkin or zombie to anchor it to the page.
We recommend using a light blue pencil for the first construction steps so the lines are easy to hide. For the final details, a 2B pencil works for outlines while a 6B is best for the deep shadows.
If they get stuck on a difficult part like the witch's broom, suggest they watch the video of the real hand drawing. You can also let them use the coloring page to practice their shading while they take a break.
Each tutorial uses the same method art teachers use: light guide shapes first (a circle for the head, an oval for the body), then the outline over the guides, then the details and the finishing touches. Easy lessons have six steps and suit children from about four with a grown-up nearby; nine-step lessons work well from six; the detailed ones are for eight and up or patient beginners of any age.
Every lesson shows the exact materials used (pencils, fineliners or markers) and comes with a short video of a real hand drawing each step, a printable step sheet, and a free coloring page of the finished drawing. When a drawing goes wrong, the "common mistake" note under each step tells you what to fix.