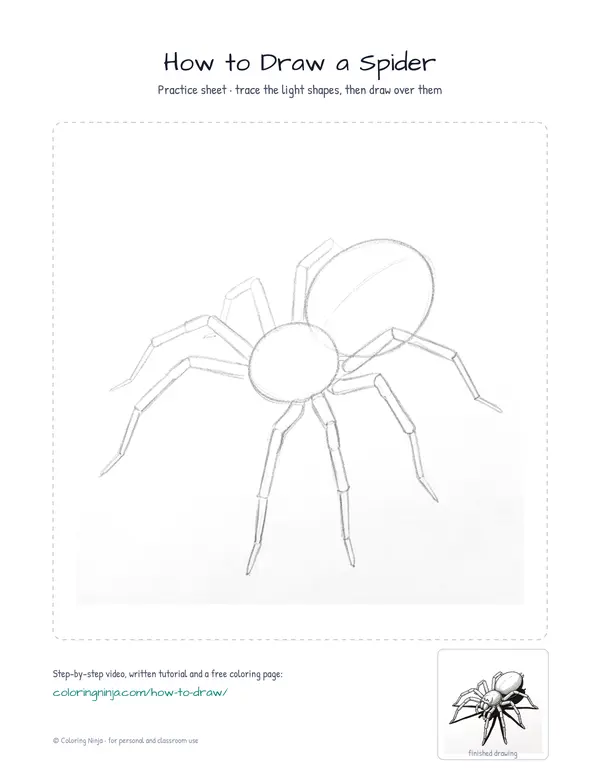
Drawing a spider requires careful placement of the eight legs to ensure they look attached to the body. Beginners often draw legs coming out of the abdomen instead of the front section. This lesson produces a structured ink drawing of a garden spider.
Eight legs, all joined to the front half
A spider's body has two main parts: the cephalothorax at the front and the abdomen at the back. All eight legs are attached to the cephalothorax, not the abdomen.
What you need
- HB pencil for the construction lines
- 0.3 mm black fineliner
- 0.8 mm black fineliner
- Black brush pen for the darkest accents
- Eraser
- Smooth white paper
The 9 steps
Light comes from the upper left in every step. Each picture shows the drawing as it should look when that step is done.

Step 1: Body construction
Using an HB pencil, draw a small circle for the front and a larger oval for the back.
Common mistake: Avoid making the two body parts the same size; the back oval should be significantly larger than the front circle.

Step 2: Leg guidelines
Draw four bent lines on each side of the front circle using the HB pencil to map the legs.
Common mistake: Do not attach legs to the large back oval; all legs must connect to the smaller front circle.

Step 3: Body contour
Switch to the 0.8 fineliner and trace the outer edge of the two body parts.
Common mistake: Do not draw a single continuous outline; keep the two body segments distinct where they meet.

Step 4: Leg thickness
Use the 0.8 fineliner to draw the thickness of the legs, following your pencil guides.
Common mistake: Avoid drawing the legs as thin sticks; give them visible thickness and clear joint segments.

Step 5: Face and mouthparts
With the 0.3 fineliner, add the eyes and the two small pinchers at the front of the head.
Common mistake: Do not make the eyes too large; they should look like tiny, distinct beads.

Step 6: Surface texture
Add tiny hair details along the legs and body using the 0.3 fineliner.
Common mistake: Avoid drawing long, messy hairs; keep the strokes short and following the direction of the leg segments.

Step 7: Hatching for tone
Use the 0.3 fineliner to draw thin hatching lines on the right side of the spider.
Common mistake: Do not cross-hatch into a solid block; keep the lines parallel to suggest the rounded form.

Step 8: Deep shadows
Switch to the brush pen to fill in the darkest shadows and add a cast shadow on the ground.
Common mistake: Do not fill the entire spider with black; keep the left side white to show where the light hits.

Step 9: Pencil removal
Wait for the ink to dry completely, then use the eraser to remove all HB pencil lines.
Common mistake: Avoid erasing too early or you will smudge the ink; wait at least one minute.
What makes it look right
- Keep the leg segments slightly different in length for a natural look.
- Leave small white gaps in the hatching to suggest a shiny exoskeleton.
- Ensure all eight legs originate from the smaller front body segment.
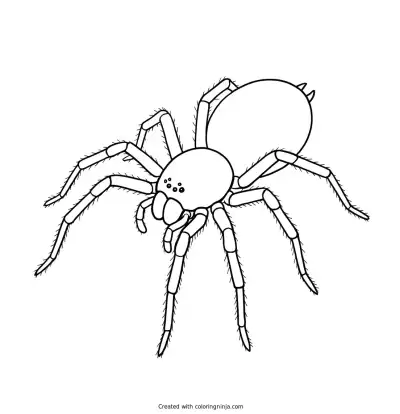
Get the finished coloring page
The clean outline from step 6, ready to print and colour.
View the coloring pageThe whole lesson on one sheet
All 9 steps with their captions on one page. Print it and keep it next to your paper.

The spider is now complete with accurate anatomy and depth. Try drawing a web behind it using very light 0.3 fineliner lines.