Drawing a horse starts with understanding the distance between the chest and the hindquarters. Many beginners draw the body too long or the legs too short. This lesson produces a standing horse seen from the side.
The secret to a strong horse: long legs and big lungs
A horse is roughly one-third head and neck, one-third body, and one-third legs. Their knees on the front legs are like human wrists, while the hocks on the back legs point backward like a human heel.
What you need
- 2B graphite pencil
- 4B or 6B graphite pencil for the darkest shadows
- Blue col-erase pencil for the construction lines
- Kneaded eraser
- Cream or white drawing paper
The 9 steps
Light comes from the upper left in every step. Each picture shows the drawing as it should look when that step is done.

Step 1: Body circles
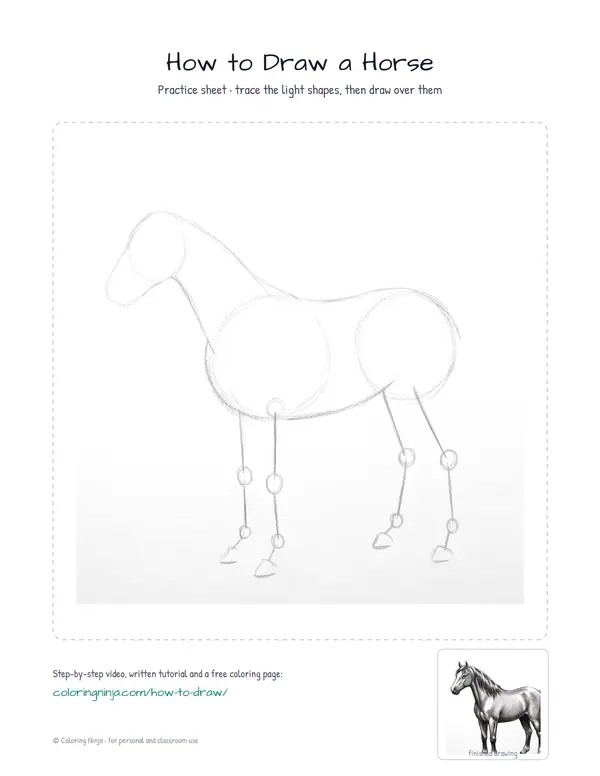
Draw two circles with the blue col-erase pencil, leaving a gap between them about the width of one circle.
Common mistake: Avoid placing the circles too far apart or the horse will look like a limousine.

Step 2: Head and neck
Use the blue col-erase pencil to draw a small oval above the chest and connect it with two diagonal lines.
Common mistake: Do not make the neck too thin; a horse needs a thick neck to support its heavy head.

Step 3: Leg guides
Sketch four lines for legs using the blue pencil, adding small circles halfway down for the knees and hocks.
Common mistake: Ensure the legs are long enough; the distance from the belly to the ground should equal the body thickness.

Step 4: Main outline
Switch to the 2B pencil and draw the outer contour, smoothing the transitions between the blue circles.
Common mistake: Avoid making the back perfectly straight; include a slight dip behind the neck for the withers.

Step 5: Head and tail
Use the 2B pencil to add two pointed ears, a small dark eye, and a tail that starts at the rump.
Common mistake: Do not draw the tail starting from the top of the back; it should begin at the end of the spine.

Step 6: Mane and hooves
Draw the mane in clumps with the 2B pencil and add square hooves at the base of each leg.
Common mistake: Avoid drawing individual hairs for the mane; draw the overall shape first and then add a few lines.

Step 7: Shadow block-in
Switch to the 4B pencil and lightly shade the areas facing away from the upper left light source.
Common mistake: Do not shade the entire horse; leave the top and left edges white to show where the light hits.

Step 8: Darkest darks
Use the 6B pencil for the darkest parts of the mane and tail, and draw a dark shadow on the ground.
Common mistake: Make sure the cast shadow on the ground is dark enough to make the horse look like it is standing.

Step 9: Highlights
Use the kneaded eraser to dab and lift graphite from the top edges to create bright highlights.
Common mistake: Do not rub the paper with the eraser; just press it down and lift it up to keep the paper clean.
What makes it look right
- Keep your construction lines very light so they do not show through the final shading.
- The eye of a horse is on the side of its head, not the front.
- Sharpen your 2B pencil frequently to keep the outlines crisp before you start shading.
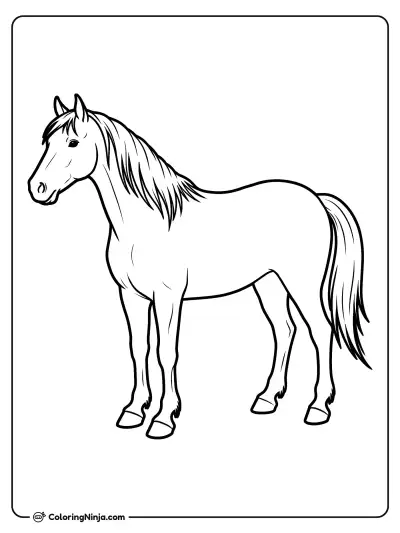
Get the finished coloring page
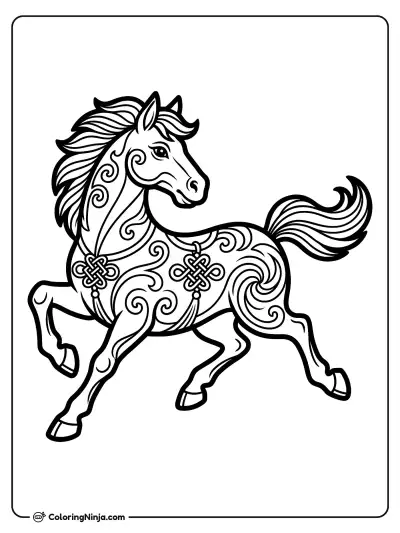
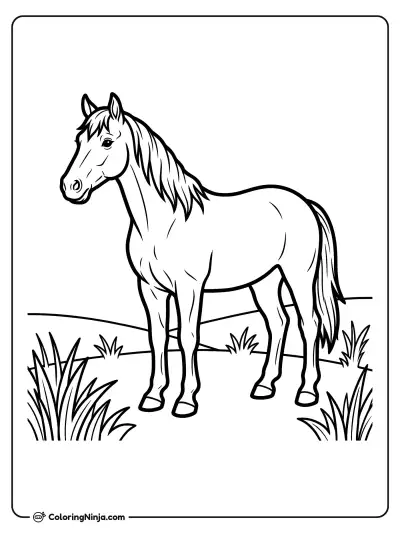
The clean outline from step 6, ready to print and colour.
View the coloring pageThe whole lesson on one sheet
All 9 steps with their captions on one page. Print it and keep it next to your paper.

The horse is now complete with realistic form and light. Try drawing another horse in a walking pose by bending the leg guide lines.