
 ▶ Video
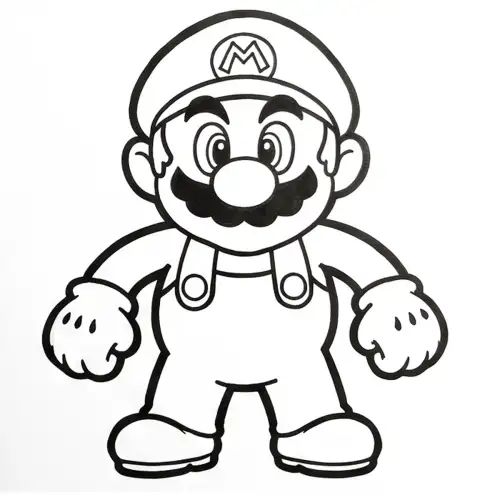
How to Draw Mario
Choose this one for kids who want to master proportions, especially getting that large nose to overlap the face circle.
These fan-favorite characters all rely on simple, overlapping shapes to look like the ones on television. We suggest starting our kids with Peppa Pig because she uses the most basic forms like circles and trapezoids. It builds their confidence before they try more complex figures like Sonic or Mario. Our kids usually feel proud when that first whistle-shaped snout looks just right on the paper.
6 drawing tutorials · Updated
▶ Video
Choose this one for kids who want to master proportions, especially getting that large nose to overlap the face circle.
 ▶ Video
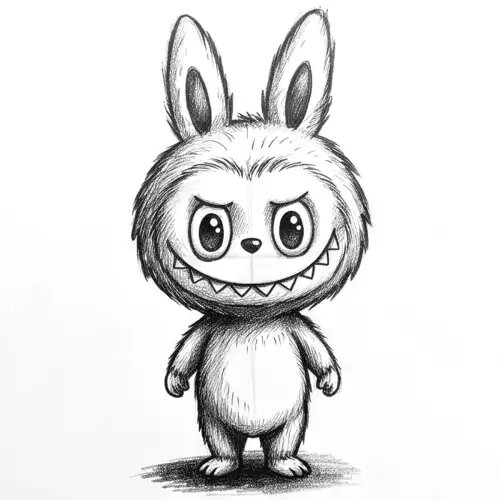
This pencil tutorial surprises kids because they get to draw exactly nine pointed teeth and use an eraser for highlights.
 ▶ Video
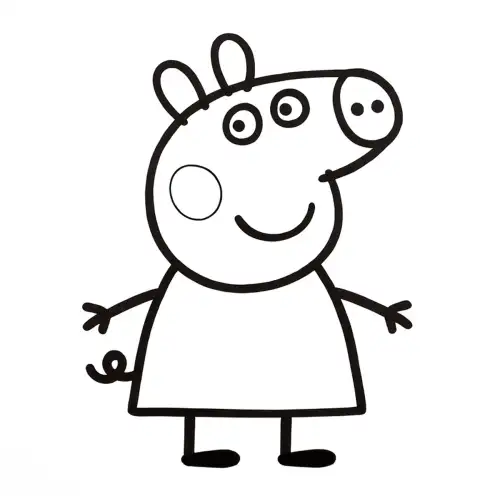
We love this for the youngest artists because the dress is just a simple trapezoid with a curved bottom edge.
 ▶ Video
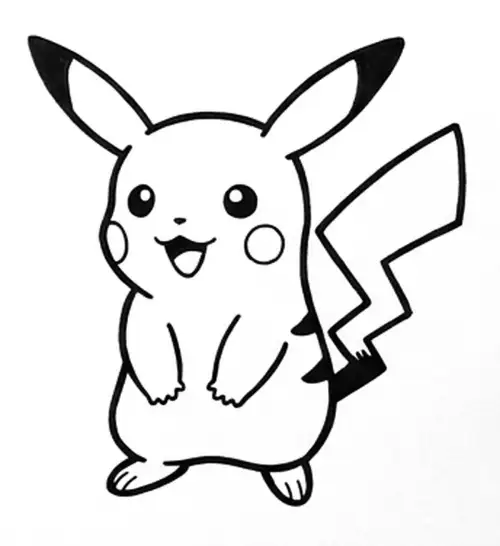
Pick this to practice bold outlines and wide, blocky zig-zags for that famous lightning-bolt tail.
 ▶ Video
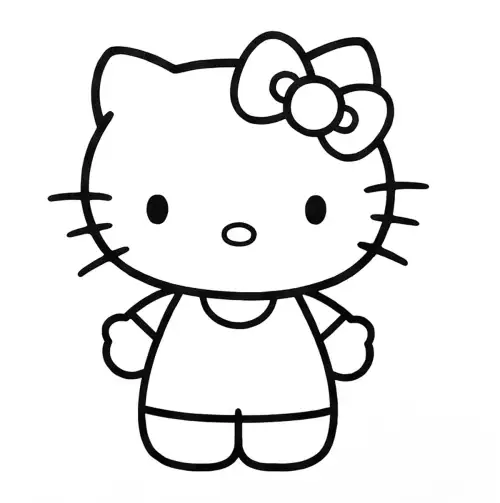
This lesson teaches the importance of a wide head oval and placing the bow so it covers the left ear.
 ▶ Video
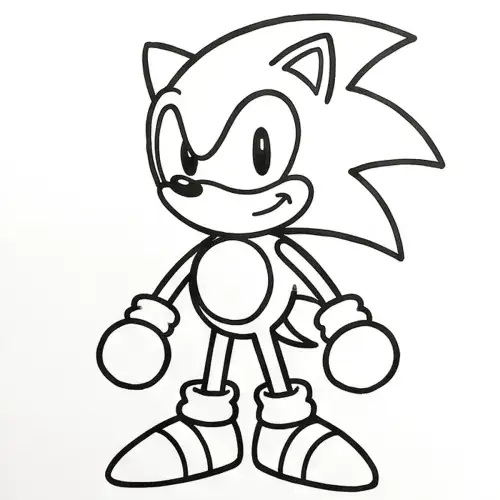
Kids enjoy the challenge of drawing the connected eye mask and those three large triangles for the head spikes.
We always start with light pencil guide shapes before we ever touch a marker for the bold outlines. In the Pikachu lesson, our kids often struggle with step four where they have to connect the head and lightning-bolt tail into one continuous line. Beginners tend to use short, hairy strokes, but we encourage them to try one long, steady motion instead. This creates a much cleaner look that matches the real cartoon style.
For our four-year-olds who might give up at step three, we have a printable practice sheet with the guide shapes already there. They can focus on the fun parts like adding Peppa's boots or Hello Kitty's bow without getting frustrated by the initial proportions. Once they finish the hard work of drawing, we give them the free coloring page as a reward. It keeps the energy high and lets them experiment with colors while the marker ink dries.
We tell our kids to look at the head and body circles in step one of the Mario or Sonic guides. If the head is smaller than the body, the character will look off, so we use the practice sheet to show them how to fill the space.
This is the most common mistake in our Mario and Hello Kitty lessons. We ask our kids to wait a full minute before erasing any pencil lines so the ink can dry completely.
We focus on step six of the Mario tutorial where we replace sketchy pencil lines with a bold outer outline. Using one continuous stroke instead of many short ones makes the character pop off the page.
In the Pikachu and Sonic lessons, we remind kids to keep the pupils or eyes at the right distance. Placing eyes too close or too far apart is a simple mistake that changes the whole expression.
Each tutorial uses the same method art teachers use: light guide shapes first (a circle for the head, an oval for the body), then the outline over the guides, then the details and the finishing touches. Easy lessons have six steps and suit children from about four with a grown-up nearby; nine-step lessons work well from six; the detailed ones are for eight and up or patient beginners of any age.
Every lesson shows the exact materials used (pencils, fineliners or markers) and comes with a short video of a real hand drawing each step, a printable step sheet, and a free coloring page of the finished drawing. When a drawing goes wrong, the "common mistake" note under each step tells you what to fix.