
 ▶ Video
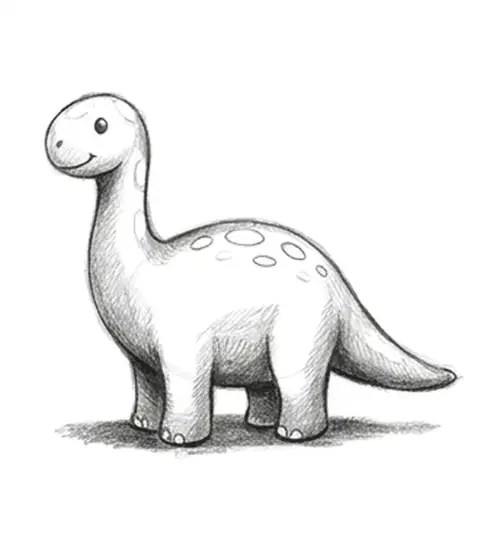
How to Draw a Cute Dinosaur
This tutorial uses eight steps to build a small dinosaur with a round head and tiny spikes.
This page features eight kawaii drawing tutorials for young artists. These drawings include animals and food with large eyes and small smiles. Children can follow along with a video of a real hand drawing every line.
▶ Video
This tutorial uses eight steps to build a small dinosaur with a round head and tiny spikes.
 ▶ Video
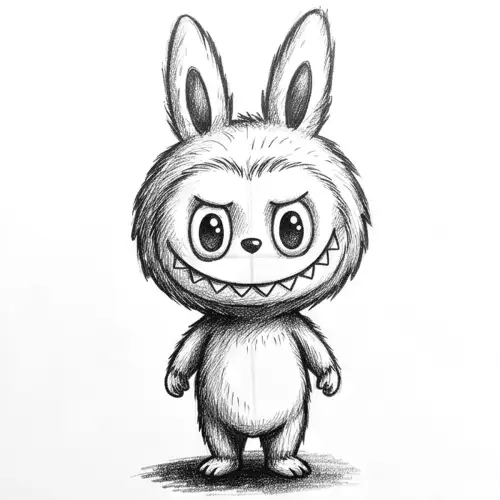
Kids follow nine pencil steps to draw this popular character with its distinct pointed ears and wide eyes.
 ▶ Video
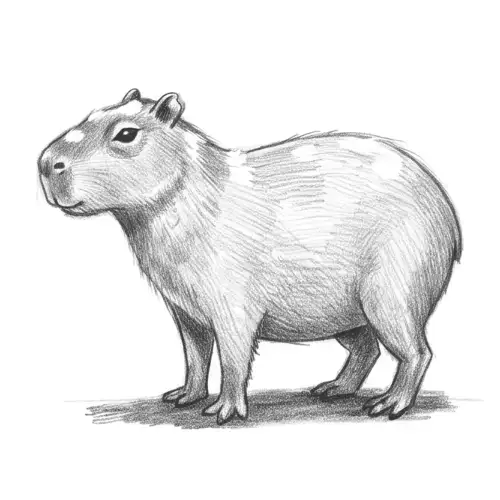
This lesson shows how to draw a calm capybara using simple oval shapes for the body and head.
 ▶ Video
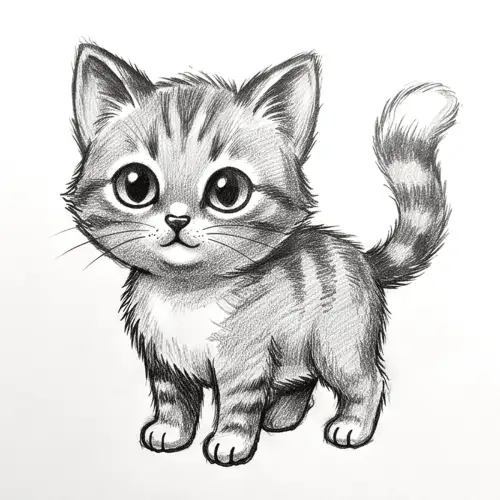
Children learn to draw a sitting cat with large eyes and a small triangular nose in nine steps.
 ▶ Video
This guide helps kids draw a puppy with floppy ears and a round belly using a pencil.
 ▶ Video
Younger children use markers to draw three scoops of ice cream with happy faces in six easy steps.
 ▶ Video
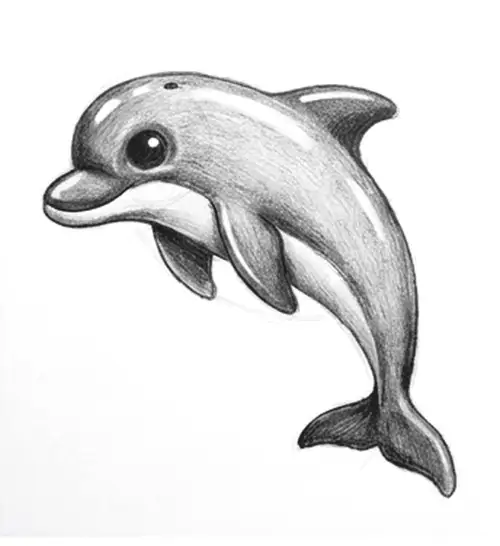
This tutorial uses curved lines to create a jumping dolphin with a tiny smile and big eyes.
 ▶ Video
Kids use markers to draw a simple coffee cup with steam and a friendly face in six steps.
Each guide starts with simple circles and ovals to build the body. These guide shapes help kids understand where to place the pencil. The steps move slowly from basic outlines to small details like ears and paws.
Parents can choose a tutorial based on the age level and tools like markers or pencils. You can print a practice sheet with the guide shapes already on the page. Every lesson ends with a free coloring page for kids to decorate.
Kawaii drawings use simple shapes and exaggerated features like large eyes placed low on the face. Tiny mouths and round bodies also add to the cute style.
Most of these lessons require a pencil, an eraser, and a piece of paper. Some easy tutorials work best with markers for bold outlines.
The printable sheets include light guide shapes to help children start their drawing. This reduces frustration and helps kids learn correct proportions.
These tutorials include a video and a coloring page for each character. Teachers can print the sheets for a quiet art activity or a group lesson.
Each tutorial uses the same method art teachers use: light guide shapes first (a circle for the head, an oval for the body), then the outline over the guides, then the details and the finishing touches. Easy lessons have six steps and suit children from about four with a grown-up nearby; nine-step lessons work well from six; the detailed ones are for eight and up or patient beginners of any age.
Every lesson shows the exact materials used (pencils, fineliners or markers) and comes with a short video of a real hand drawing each step, a printable step sheet, and a free coloring page of the finished drawing. When a drawing goes wrong, the "common mistake" note under each step tells you what to fix.