Bears are composed of large, heavy masses that overlap. Drawing them starts with finding the weight of the torso and the position of the head. You will end up with a standing grizzly bear shown in a three-quarter view.
The hump and the heavy paws
Grizzly bears have a distinct muscular hump over their shoulders and a dish-shaped face. Their back legs are thick, and their front paws are slightly turned inward when standing.
What you need
- 2B graphite pencil
- 4B or 6B graphite pencil for the darkest shadows
- Blue col-erase pencil for the construction lines
- Kneaded eraser
- Cream or white drawing paper
The 9 steps
Light comes from the upper left in every step. Each picture shows the drawing as it should look when that step is done.

Step 1: Main body shapes
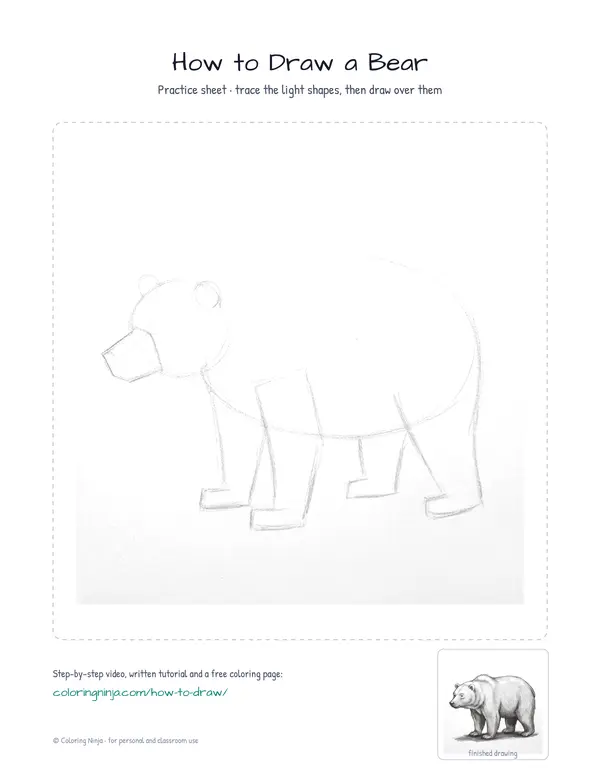
Use the blue col-erase to draw a large horizontal oval and a smaller circle overlapping its top left side.
Common mistake: Drawing the shapes too small, leaving too much empty space on the paper.

Step 2: Head and legs
Add a small circle for the head, a box for the snout, and four thick lines for the legs using the blue col-erase.
Common mistake: Making the legs too thin, which makes the bear look like a different animal.

Step 3: The top line
Switch to the 2B pencil to draw a line over the snout, head, hump, and back.
Common mistake: Skipping the shoulder hump, which is a key feature of a grizzly bear.

Step 4: Legs and belly
Outline the four thick legs and the curve of the belly with the 2B.
Common mistake: Drawing a flat belly instead of a heavy curve.

Step 5: Face and claws
Draw small circles for eyes, rounded ears, a dark nose, and sharp claws on the paws with the 2B.
Common mistake: Placing the eyes too high on the head.

Step 6: Fur texture
Add short, jagged lines along the neck, chest, and back to suggest fur using the 2B.
Common mistake: Drawing every single hair, which makes the drawing look messy.

Step 7: Shadow side
Switch to the 4B pencil to shade the right side of the bear, keeping the light on the left.
Common mistake: Shading the entire bear, which hides the light source.

Step 8: Deep shadows
Switch to the 6B pencil to darken the far legs, the underside of the belly, and the area under the hump.
Common mistake: Using the same pressure everywhere, which makes the drawing look flat.

Step 9: Ground and highlights
Add a cast shadow on the ground with the 6B and use the kneaded eraser to lift light off the hump.
Common mistake: Making the shadow on the ground too light, which makes the bear look like it is floating.
What makes it look right
- Keep your construction lines very light so they are easy to cover.
- Look at the space between the legs to get the belly height correct.
- Use the side of the pencil lead for smoother shading on the body.
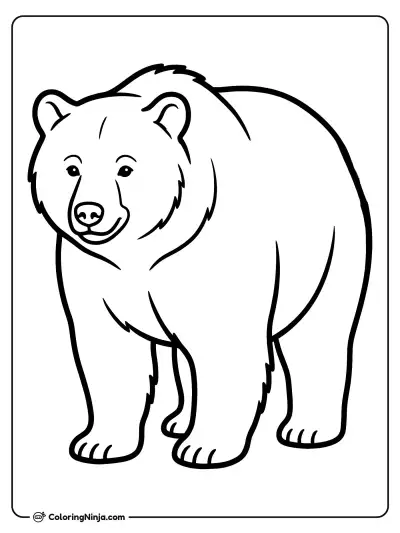
Get the finished coloring page
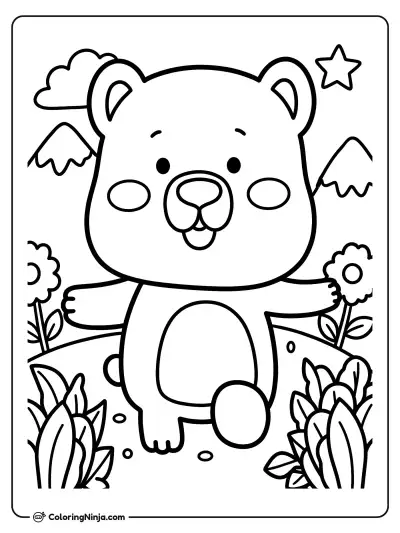
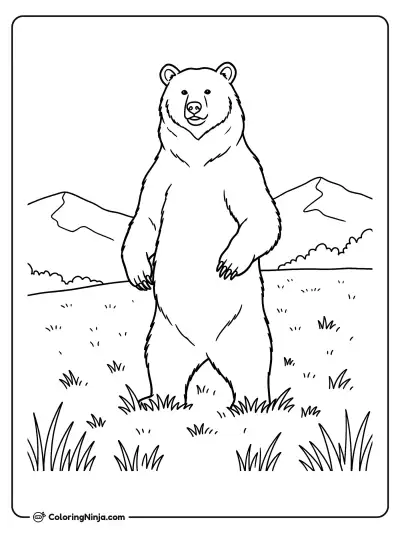
The clean outline from step 6, ready to print and colour.
View the coloring pageThe whole lesson on one sheet
All 9 steps with their captions on one page. Print it and keep it next to your paper.

Practice drawing the bear in different sizes on the same page. This helps you understand how the heavy shapes fit together in a landscape.