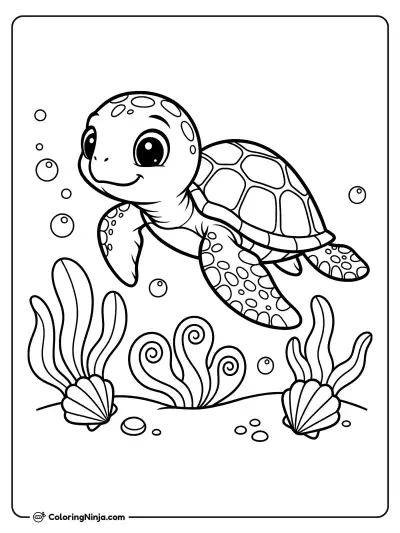
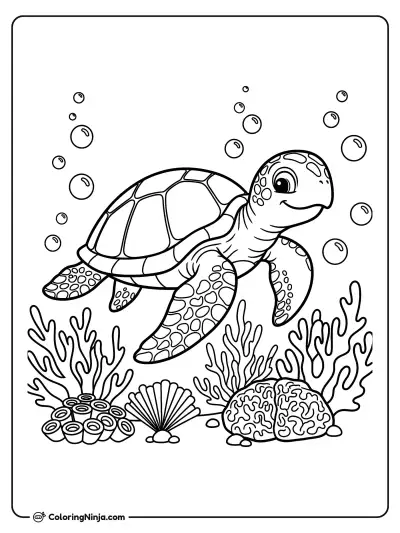
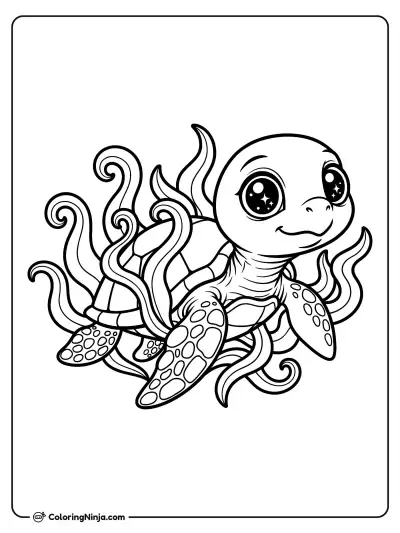
Drawing a turtle starts with understanding the shell as a solid dome. Beginners often make the shell too flat or the legs too thin. This lesson builds a sturdy turtle with a clear sense of weight and volume.
The heavy dome and scutes
A turtle shell is made of bony plates called scutes that usually grow in a repeating hexagonal pattern. The head and legs are thick and muscular to support the weight of the heavy shell.
What you need
- 2B graphite pencil
- 4B or 6B graphite pencil for the darkest shadows
- Blue col-erase pencil for the construction lines
- Kneaded eraser
- Cream or white drawing paper
The 8 steps
Light comes from the upper left in every step. Each picture shows the drawing as it should look when that step is done.

Step 1: Basic body shapes
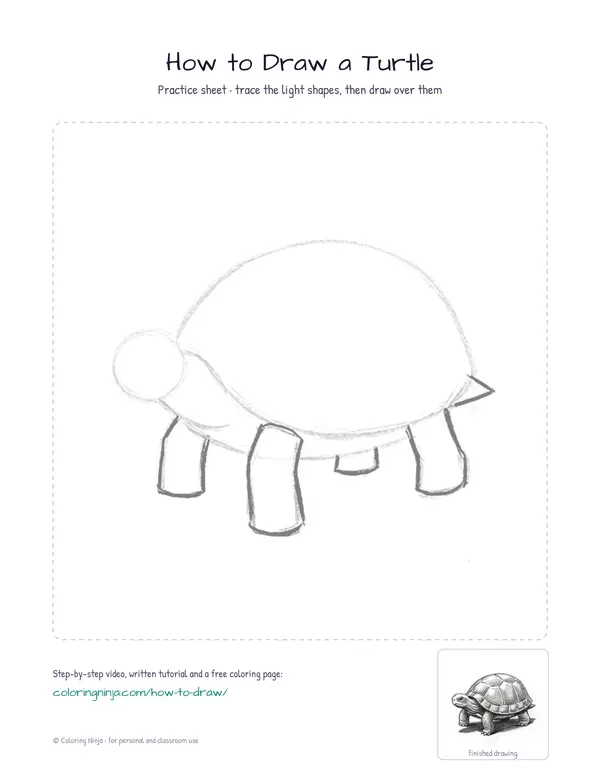
Use the blue col-erase pencil to draw a large oval for the shell and a small circle for the head.
Common mistake: Avoid making the head circle too large or it will look like a different animal.

Step 2: Legs and tail
Draw four thick rectangles under the shell for the legs and a small triangle for the tail with the blue pencil.
Common mistake: Do not draw thin legs; turtles need thick limbs to carry their heavy shells.

Step 3: Shell and neck outline
Switch to the 2B pencil to draw the dome of the shell and the thick neck over your blue lines.
Common mistake: Ensure the neck lines are wide enough to support the head circle.

Step 4: Head and feet details
Use the 2B pencil to define the face and add small claws to the bottom of each leg.
Common mistake: Avoid drawing sharp teeth because turtles have hard beaks instead of teeth.

Step 5: Shell pattern
Draw the hexagonal scute pattern on the shell and a small eye on the head using the 2B pencil.
Common mistake: Do not worry about perfect hexagons; natural patterns are often slightly irregular.

Step 6: Initial shading
Switch to the 4B pencil to block in shadows on the right side and under the body.
Common mistake: Keep the left side of the shell light to show where the light is hitting.

Step 7: Deep shadows
Use the 6B pencil for the darkest areas under the shell and to draw a cast shadow on the ground.
Common mistake: Avoid making the cast shadow a perfect circle; it should follow the shape of the turtle.

Step 8: Highlights and cleanup
Use the kneaded eraser to lift graphite from the top of the shell and head to create highlights.
Common mistake: Do not erase too much or the turtle will lose its rounded shape.
What makes it look right
- Keep the blue construction lines very light so they do not show through the final shading.
- Overlap the hexagons on the shell slightly to make the pattern look more organic.
- Vary the pressure on the 6B pencil to make the cast shadow darkest right where the feet touch the ground.
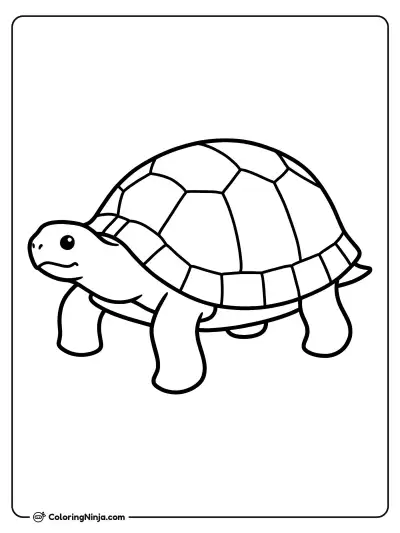
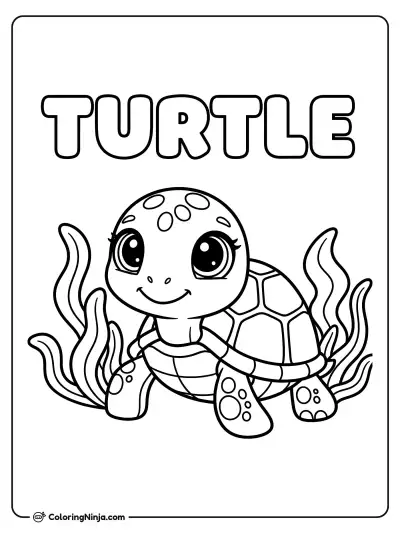
Get the finished coloring page
The clean outline from step 5, ready to print and colour.
View the coloring pageThe whole lesson on one sheet
All 8 steps with their captions on one page. Print it and keep it next to your paper.

The turtle now looks solid and heavy on the paper. Try drawing a smaller turtle next to it to practice different scales.