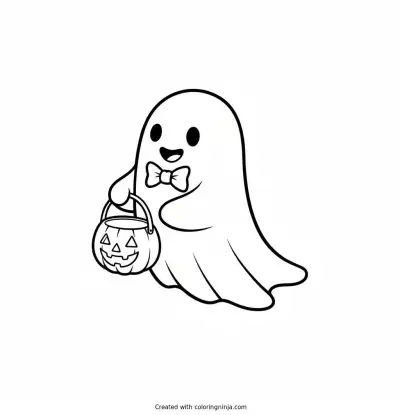
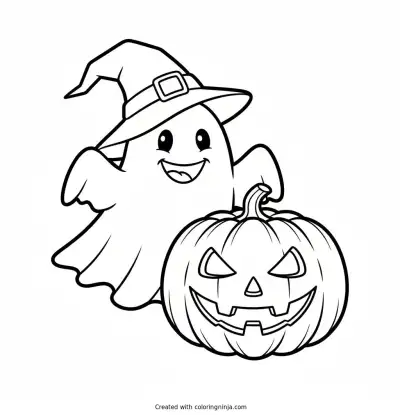
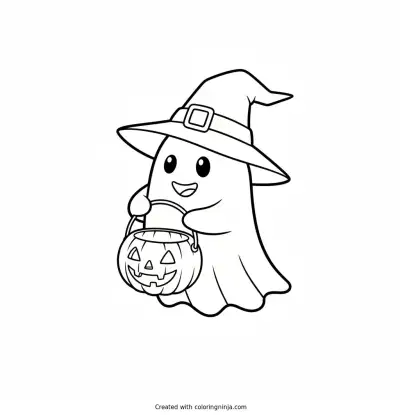
Drawing a ghost starts with a tall rounded shape for the head and body. The bottom edge uses wavy lines to suggest fabric floating in the air. You will end up with a classic cartoon ghost with arms and a face.
What you need
- HB pencil for the construction lines
- Black chisel-tip marker for the outlines
- Fine black marker for the details
- Eraser
- White cardstock or thick paper
The 6 steps
Light comes from the upper left in every step. Each picture shows the drawing as it should look when that step is done.

Step 1: Body construction
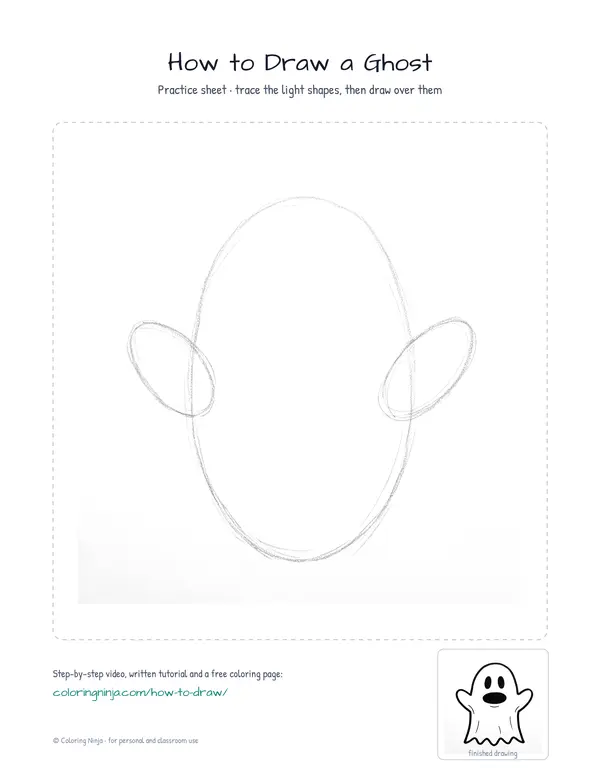
Draw a large vertical oval with the HB pencil, keeping the lines light and easy to erase.
Common mistake: Do not press too hard with the pencil or the lines will remain visible after erasing.

Step 2: Arm construction
Add two smaller ovals on the sides for arms using the HB pencil.
Common mistake: Avoid making the arms too long or they will look like wings instead of fabric sleeves.

Step 3: Main outline
Use the black chisel-tip marker to draw the outer edge and a wavy line across the bottom.
Common mistake: Do not trace the bottom curves of the construction ovals because the wavy line must replace them.

Step 4: Eye details
Switch to the fine black marker and draw two vertical ovals for the eyes.
Common mistake: Keep the eyes level with each other so the face does not appear tilted.

Step 5: Mouth detail
Draw a larger horizontal oval for the mouth using the fine black marker.
Common mistake: Leave enough space between the eyes and the mouth to keep the face from looking crowded.

Step 6: Final folds
Erase the HB pencil lines and add a few small fold lines with the fine marker.
Common mistake: Wait for the marker ink to dry completely before erasing to prevent smearing the black lines.
What makes it look right
- Keep the bottom wavy line uneven to make the ghost look like it is floating.
- Use the chisel-tip marker in one slow steady motion for a smooth outer edge.
- Place the eyes closer together to create a more focused expression.
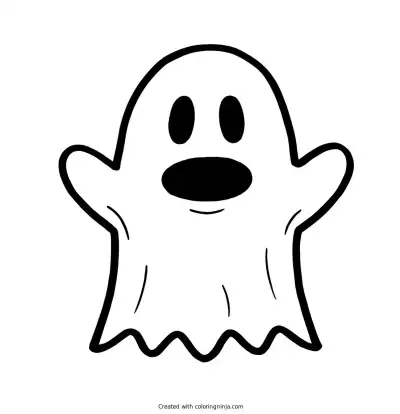
Get the finished coloring page
The clean outline from step 6, ready to print and colour.
View the coloring pageThe whole lesson on one sheet
All 6 steps with their captions on one page. Print it and keep it next to your paper.

The ghost is now ready to be colored with light blue or grey around the edges. Practice drawing different mouth shapes to change the ghost's expression.