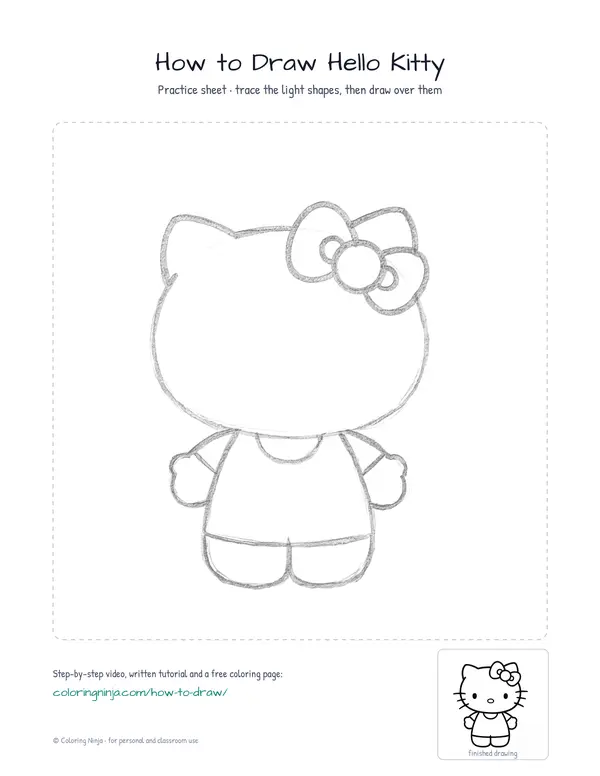
Drawing Hello Kitty starts with a large horizontal oval for the head. This shape is wider than it is tall. You will end up with a bold drawing of the character.
About Hello Kitty
Hello Kitty has no mouth and her eyes are level with her nose. Her head is wider than it is tall.
What you need
- HB pencil for the construction lines
- Black chisel-tip marker for the outlines
- Fine black marker for the details
- Eraser
- White cardstock or thick paper
The 6 steps
Light comes from the none in every step. Each picture shows the drawing as it should look when that step is done.

Step 1: Head oval
Use the HB pencil to lightly draw a large horizontal oval that is wider than it is tall.
Common mistake: Making the head a perfect circle instead of a wide oval.

Step 2: Body and ears
Sketch a small vertical oval below the head and two rounded triangles on top of the head using the HB pencil.
Common mistake: Drawing the ears too sharp; keep the tips rounded.

Step 3: Bow and limbs
Draw three overlapping circles on the left ear for the bow and four small ovals for limbs with the HB pencil.
Common mistake: Making the bow too small; it should cover most of the left ear.

Step 4: Silhouette and pencil details
Trace the head, ears, and body silhouette with the black chisel-tip marker, then sketch the whiskers and dress line with HB pencil.
Common mistake: Tracing the whiskers with the thick marker; they require the fine marker in a later step.

Step 5: Bow, limbs, and face
Use the fine black marker to outline the bow, arms, and feet, then draw the eyes, nose, and whiskers.
Common mistake: Inking the dress line too early; wait until the final step to add this detail in marker.

Step 6: Final details
Add the bow details and the dress line with the fine black marker, then erase all pencil marks.
Common mistake: Erasing while the ink is still wet; wait one minute for the marker to dry.
What makes it look right
- Keep the whiskers parallel to each other.
- Place the eyes wide apart on the face.
- Wait for the marker ink to dry before erasing.
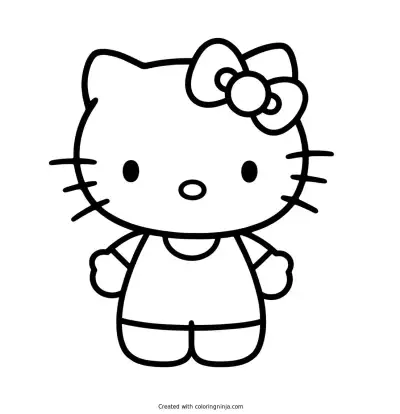
Get the finished coloring page
The clean outline from step 6, ready to print and colour.
View the coloring pageThe whole lesson on one sheet
All 6 steps with their captions on one page. Print it and keep it next to your paper.

The drawing is now ready for color. Use red for the bow and yellow for the nose.