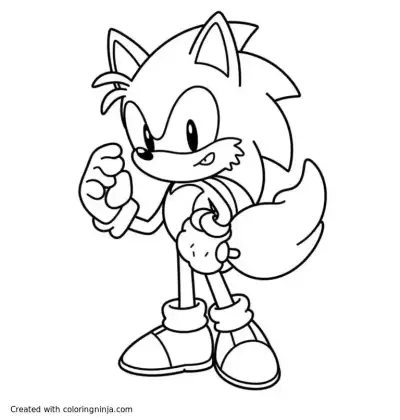
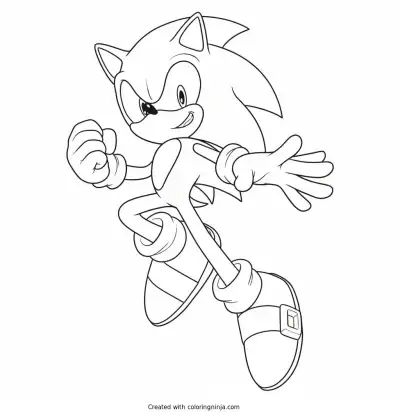
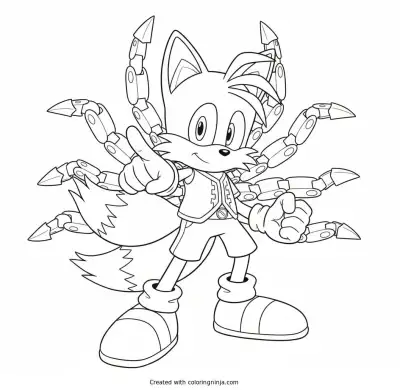
Sonic is built around a very large head and a small, round body. The spikes on the back of the head determine the direction of his movement. This lesson results in a standing pose with bold outlines.
About Sonic the Hedgehog
Sonic has a head-to-body ratio of nearly one-to-one. His eyes are connected in the center, and his limbs are thin tubes ending in large gloves and shoes.
What you need
- HB pencil for the construction lines
- Black chisel-tip marker for the outlines
- Fine black marker for the details
- Eraser
- White cardstock or thick paper
The 9 steps
Light comes from the upper left in every step. Each picture shows the drawing as it should look when that step is done.

Step 1: Head and body
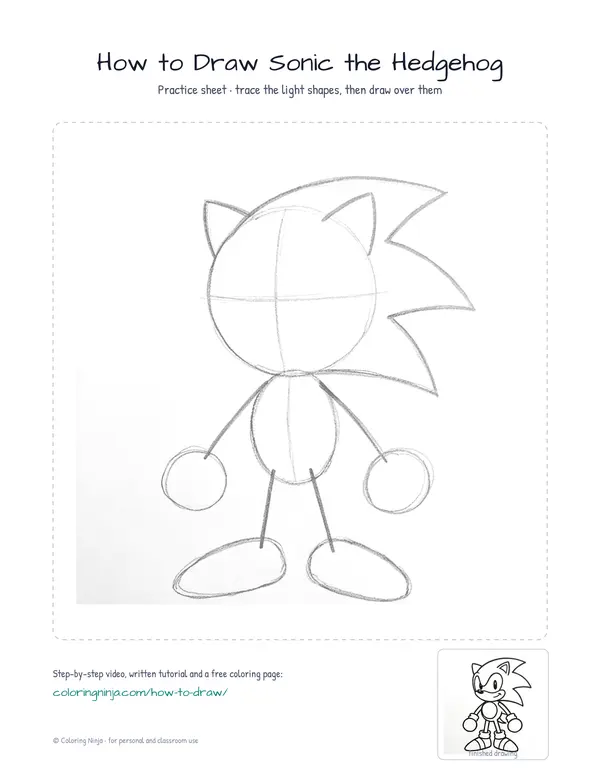
Draw a large circle for the head and a smaller oval below it using the HB pencil.
Common mistake: Beginners often make the body too large; keep the head almost twice the size of the body.

Step 2: Head spikes
Add three large triangles for the head spikes and two smaller triangles for the ears with the HB pencil.
Common mistake: Avoid making the spikes too small or they will look like hair rather than quills.

Step 3: Limb guides
Sketch thin lines for the arms and legs, then add large ovals for the hands and shoes using the HB pencil.
Common mistake: Making the limbs too thick will lose the character's lanky, fast appearance.

Step 4: Head outline
Use the chisel-tip marker to trace the outer edges of the head, the spikes, and the ears.
Common mistake: Pressing too hard can cause the marker to bleed; use a steady, single stroke for each line.

Step 5: Body and limbs
Trace the body, the thin limbs, the large gloves, and the shoes with the chisel-tip marker.
Common mistake: Do not trace the construction lines that overlap; only trace the outer visible edges.

Step 6: Face mask
Switch to the fine marker to draw the connected eye mask and the oval muzzle inside the head.
Common mistake: Beginners often separate the eyes, but Sonic's eye area is one continuous shape.

Step 7: Facial features
Use the fine marker to add the oval pupils, the small nose, and the inner ear lines.
Common mistake: Placing the pupils too far apart makes the character look unfocused.

Step 8: Shoe and glove details
Draw the sock cuffs and the horizontal stripes on the shoes with the fine marker.
Common mistake: Drawing the shoe stripes vertically instead of horizontally will make the shoes look incorrect.

Step 9: Final cleanup
Erase all pencil lines and use the fine marker to add a small pointed tail behind the body.
Common mistake: Erasing before the marker is fully dry can smear the black ink across the paper.
What makes it look right
- Keep the pencil construction lines very light so they erase completely at the end.
- Use the chisel-tip marker for the main body to get a professional, thick cartoon line.
- Draw the head spikes pointing slightly upward to suggest energy and speed.
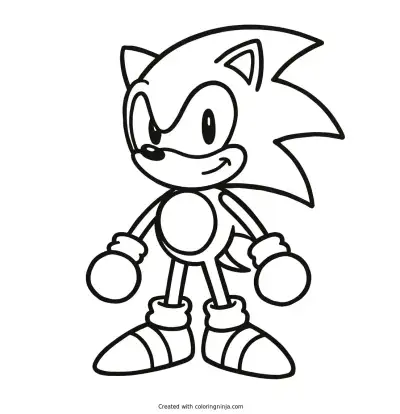
Get the finished coloring page
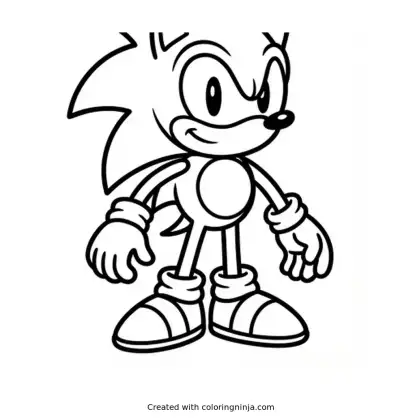
The clean outline from step 9, ready to print and colour.
View the coloring pageThe whole lesson on one sheet
All 9 steps with their captions on one page. Print it and keep it next to your paper.

The drawing is now ready for bright blue, red, and peach colors. Try drawing Sonic in a running pose next.