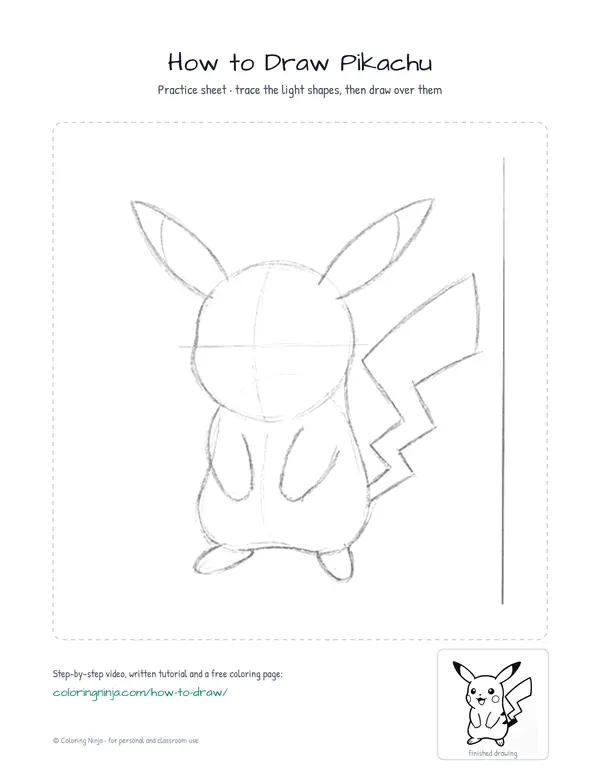
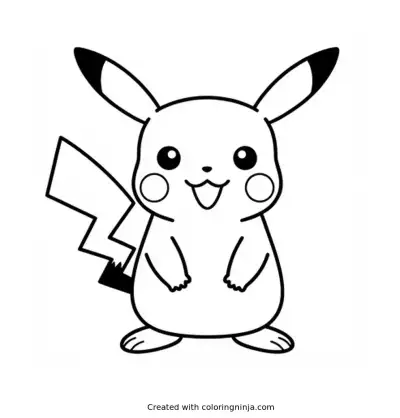
Drawing Pikachu starts with balancing the large head against the smaller body. Focus on the long ears and the zig-zag tail to capture the character. This lesson results in a bold, clean character outline.
About Pikachu
Pikachu is a mouse-like creature with long ears tipped in black and a tail shaped like a lightning bolt. It has two red circular pouches on its cheeks for storing electricity.
What you need
- HB pencil for the construction lines
- Black chisel-tip marker for the outlines
- Fine black marker for the details
- Eraser
- White cardstock or thick paper
The 8 steps
Light comes from the upper left in every step. Each picture shows the drawing as it should look when that step is done.

Step 1: Head and Body
Draw a circle for the head and a larger, pear-shaped oval below it using the HB pencil.
Common mistake: Beginners often draw the head too small; make it almost as wide as the body.

Step 2: Ears and Limbs
Add two long ovals for the ears and four smaller ovals for the arms and feet with the HB pencil.
Common mistake: Ears are often drawn too short; ensure they are at least half the length of the body.

Step 3: Tail and Face Guides
Sketch a zig-zag line for the tail and a horizontal guide line through the middle of the head using the HB pencil.
Common mistake: The tail is often drawn too thin; make the zig-zag sections wide and blocky.

Step 4: Bold Outline
Switch to the chisel-tip marker to trace the entire outer silhouette of the head, ears, body, and tail.
Common mistake: Drawing the outline with many short strokes; use long, continuous motions for a smooth look.

Step 5: Facial Features
Use the fine marker to draw two circles for eyes, leaving a small white dot in each, a nose, and a mouth.
Common mistake: Placing the eyes too close together; keep them far apart to maintain the character look.

Step 6: Markings
Add the cheek circles and the diagonal lines on the ear tips with the fine marker.
Common mistake: Forgetting the ear tips; remember to draw the black sections at the very top.

Step 7: Back Stripes
Draw two horizontal stripes on the back using the fine marker.
Common mistake: Making the stripes too long; they should only span the middle of the back.

Step 8: Final Details
Erase all pencil marks and use the fine marker to add small lines for the fingers and toes.
Common mistake: Erasing before the marker ink is dry; wait a moment to avoid smearing the black lines.
What makes it look right
- Keep the cheek circles aligned with the corners of the mouth.
- Ensure the ears tilt outward slightly to create a balanced look.
- Use the width of the chisel-tip marker for the thickest parts of the tail.
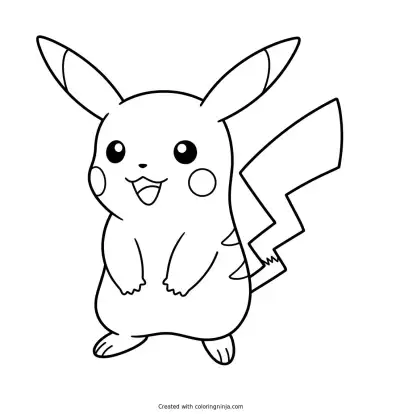
Get the finished coloring page
The clean outline from step 8, ready to print and colour.
View the coloring pageThe whole lesson on one sheet
All 8 steps with their captions on one page. Print it and keep it next to your paper.

The drawing is now ready for yellow and red colors. Place the paper in a folder to protect the ink from fading.