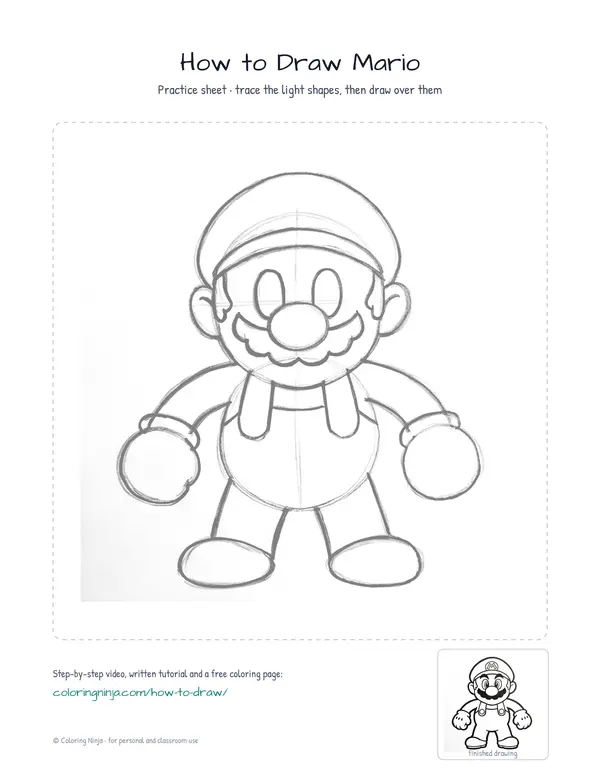
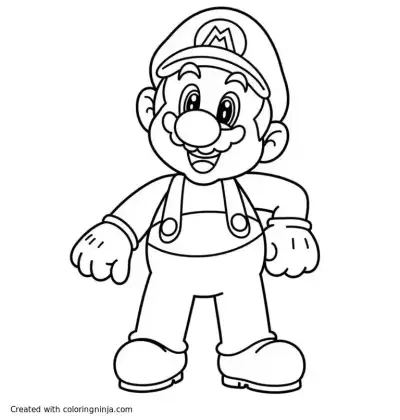
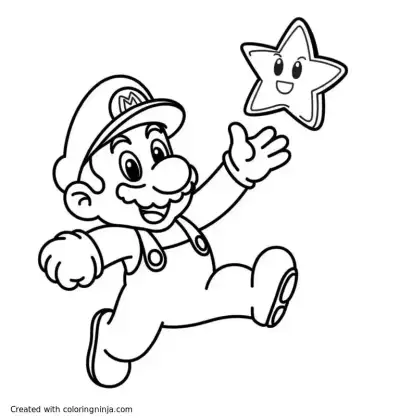
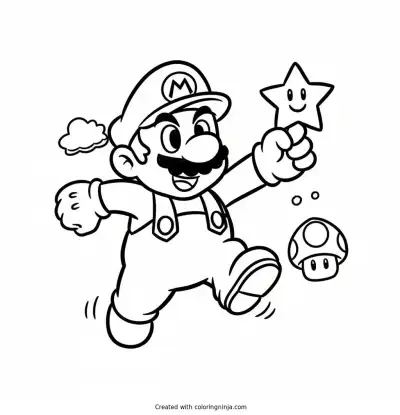
Drawing Mario begins with his large nose and round body. Beginners often make the head too small for the hat. You will end up with a bold, clean drawing of the character.
Proportions of a world-famous plumber
Mario is a short character with a head that is about one-third of his total height. His mustache is located directly under his large, round nose.
What you need
- HB pencil for the construction lines
- Black chisel-tip marker for the outlines
- Fine black marker for the details
- Eraser
- White cardstock or thick paper
The 9 steps
Light comes from the upper left in every step. Each picture shows the drawing as it should look when that step is done.

Step 1: Head and body circles
Draw a large circle for the head and a slightly smaller oval below it for the body using the HB pencil.
Common mistake: Beginners often draw the body too large, so keep the head circle bigger than the body oval.

Step 2: Nose and hat brim
Add a smaller circle on the front of the face for the nose and a curved line for the hat brim using the HB pencil.
Common mistake: Beginners place the nose in the center of the face, but it should overlap the front edge of the circle.

Step 3: Arm and leg tubes
Sketch two thick tubes for the arms and two short tubes for the legs using the HB pencil.
Common mistake: Beginners draw thin stick limbs, but Mario needs thick, short tubes for his arms and legs.

Step 4: Gloves and shoes
Place large circles at the ends of the arms for gloves and ovals at the bottom of the legs for shoes with the HB pencil.
Common mistake: Beginners make the hands too small, so ensure the glove circles are as wide as the nose.

Step 5: Face and overalls
Draw two tall ovals for eyes, a thick mustache under the nose, and two vertical straps on the body with the HB pencil.
Common mistake: Beginners forget the mustache volume, so draw it wide enough to touch the sides of the face.

Step 6: Bold outer outline
Switch to the chisel-tip marker to trace the outermost lines of the whole character with one thick stroke.
Common mistake: Beginners use many short strokes, but one continuous line creates a cleaner look.

Step 7: Facial details
Use the fine marker to draw the pupils, the curved segments of the mustache, and two circles for the buttons.
Common mistake: Beginners draw the pupils too small, so make them large and oval to match the eyes.

Step 8: Gloves and hat circle
Add three lines on the back of each glove and a circle on the front of the hat with the fine marker.
Common mistake: Beginners draw too many lines on the gloves, so stick to exactly three lines per hand.

Step 9: Clean and finish
Clean the drawing with the eraser and use the fine marker to draw the letter M inside the hat circle.
Common mistake: Beginners erase while the ink is wet, so wait a full minute before cleaning the page.
What makes it look right
- Keep your pencil lines very light so they disappear after erasing.
- Move your whole arm when using the chisel-tip marker to get smoother curves.
- Wait for the marker ink to dry completely before using the eraser.
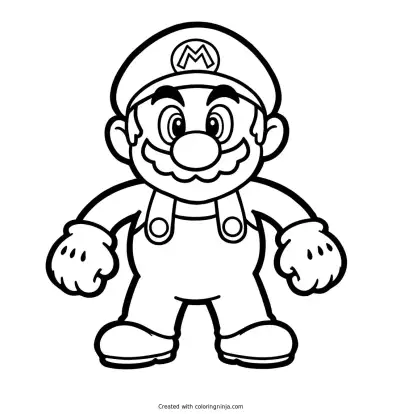
Get the finished coloring page
The clean outline from step 9, ready to print and colour.
View the coloring pageThe whole lesson on one sheet
All 9 steps with their captions on one page. Print it and keep it next to your paper.

The drawing is now ready for color. Use bright red for the hat and shirt.