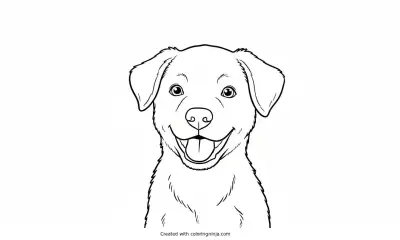
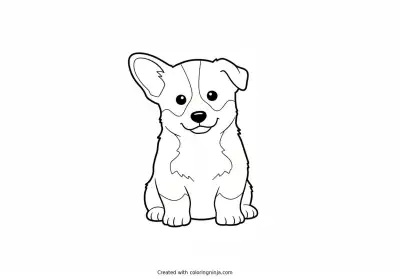
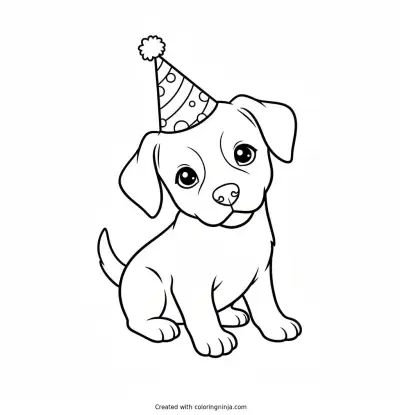
Drawing a puppy starts with simple circles to manage the proportions of the head and body. Beginners often make the head too small, but a puppy's head is large compared to its body. This lesson produces a seated puppy with realistic light and shadow.
About a Cute Puppy
Puppies have large heads, low-set ears, and paws that often look too big for their legs. Their eyes are placed halfway down the head and spaced wide apart.
What you need
- 2B graphite pencil
- 4B or 6B graphite pencil for the darkest shadows
- Blue col-erase pencil for the construction lines
- Kneaded eraser
- Cream or white drawing paper
The 9 steps
Light comes from the upper left in every step. Each picture shows the drawing as it should look when that step is done.

Step 1: Head and body circles
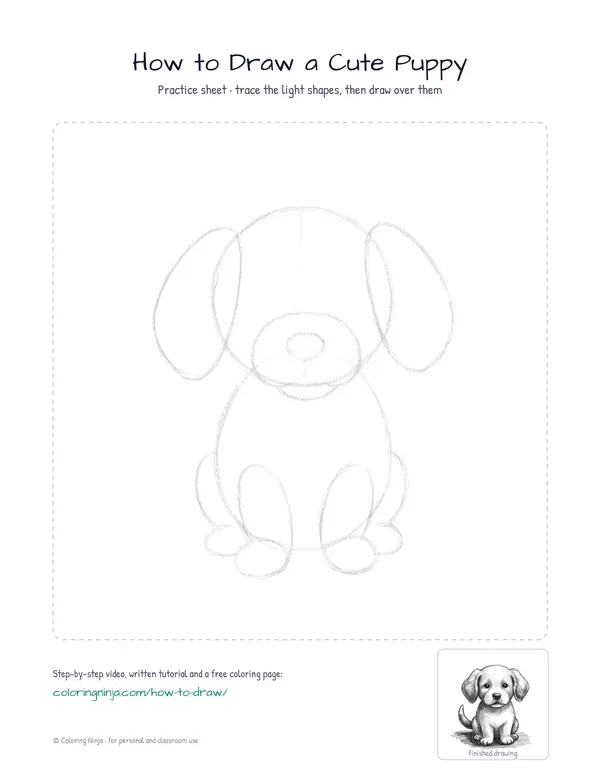
Draw a large circle for the head and a slightly larger oval below it for the body with the blue col-erase pencil.
Common mistake: Beginners often make the head too small; ensure the head circle is nearly as wide as the body oval.

Step 2: Muzzle and leg ovals
Add a small circle for the muzzle and four ovals for the legs at the base of the body with the blue pencil.
Common mistake: Beginners place ears on top of the head; keep them on the sides to make the puppy look young.

Step 3: Furry outer contour
Use the 2B pencil to draw short, jagged lines over the blue circles to create a furry outer contour.
Common mistake: Avoid long, smooth lines; use short, flicking motions to represent the texture of fur.

Step 4: Facial features
Draw two dark circles for eyes and a rounded triangle for the nose with the 2B pencil.
Common mistake: Beginners draw eyes too high; place them halfway down the head for a natural look.

Step 5: Tail and paws
Add the tail on the left and small curved lines for the toes on the front paws using the 2B pencil.
Common mistake: Avoid making the tail too thin; keep it thick at the base where it meets the body.

Step 6: Shadow block-in
Switch to the 4B pencil and lightly shade the right side of the head, body, and legs.
Common mistake: Do not shade the entire puppy; leave the left side white to show where the light hits.

Step 7: Darkest darks
Use the 6B pencil to darken the pupils, the nostrils, and the deepest fur folds under the ears.
Common mistake: Do not use the 6B everywhere; only apply it to the smallest, darkest areas for contrast.

Step 8: Cast shadow
Draw a dark, flat oval on the ground beneath the puppy with the 6B pencil to create a cast shadow.
Common mistake: Avoid drawing a circle around the feet; the shadow should be a flat shape on the ground.

Step 9: Highlights
Dab the kneaded eraser on the top of the head and the tip of the nose to lift highlights.
Common mistake: Do not rub the eraser; press it down and lift it up to keep the edges clean.
What makes it look right
- Keep your pencil sharp to make the fur strokes look like individual hairs.
- Hold the pencil further back when shading to keep the pressure light and even.
- Use the side of the 4B lead for the larger shadow areas to avoid harsh lines.
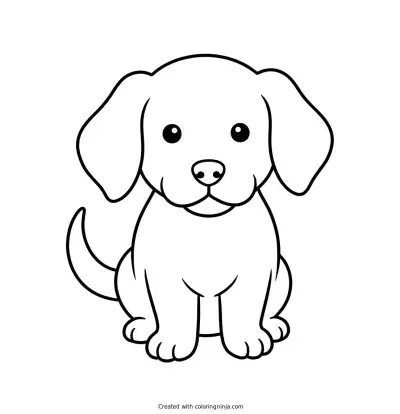
Get the finished coloring page
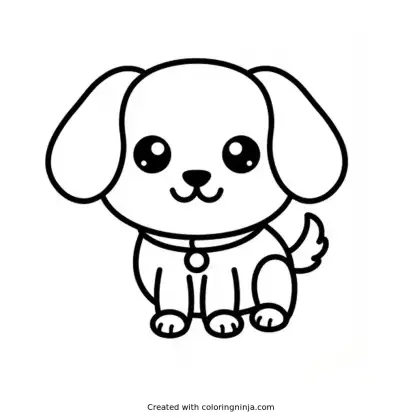
The clean outline from step 5, ready to print and colour.
View the coloring pageThe whole lesson on one sheet
All 9 steps with their captions on one page. Print it and keep it next to your paper.

The puppy now has depth and texture through the use of different graphite grades. Practice drawing the ears in different positions to change the puppy's expression.