Drawing an ice cream cone starts with balancing a heavy circle on a pointed base. This lesson uses basic geometric shapes to build a character. You will end up with a bold, cartoon-style drawing ready for color.
About a Cute Ice Cream Cone
Ice cream cones usually consist of a wafer or waffle base and one or more spheres of frozen dairy. The texture on the cone is a grid pattern of diagonal lines.
What you need
- HB pencil for the construction lines
- Black chisel-tip marker for the outlines
- Fine black marker for the details
- Eraser
- White cardstock or thick paper
The 6 steps
Light comes from the upper left in every step. Each picture shows the drawing as it should look when that step is done.

Step 1: Cone construction
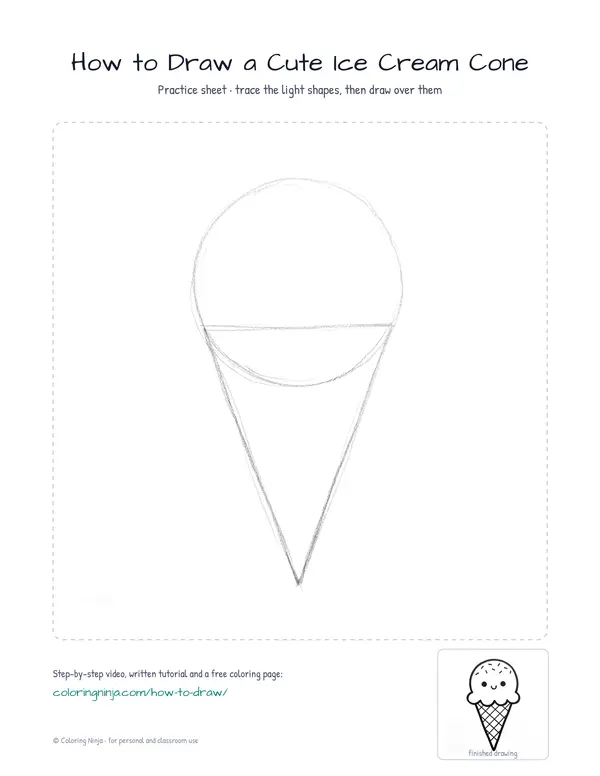
Use the HB pencil to draw a tall, narrow triangle with the point at the bottom.
Common mistake: Beginners often make the cone too wide; keep it narrow to leave room for the scoop.

Step 2: Scoop construction
Draw a large circle with the HB pencil so it sits on top of the triangle's flat edge.
Common mistake: Do not worry about overlapping lines yet because these are just guides for the final marker lines.

Step 3: Bold outline
Switch to the chisel-tip marker. Trace the outer circle and the cone sides, adding a wavy line where they meet.
Common mistake: Avoid tracing the flat top of the triangle; the scoop should sit directly on the cone's side edges.

Step 4: Facial features
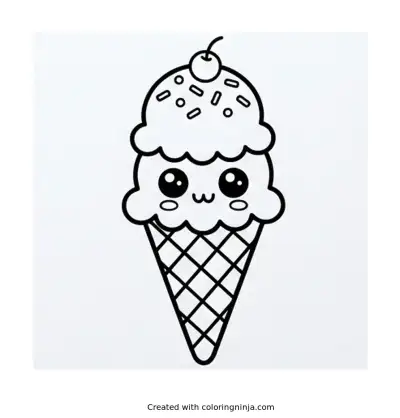
Switch to the fine marker. Draw two small circles for eyes and a small curved line for the mouth.
Common mistake: Placing the eyes too high makes the face look unbalanced; keep them in the lower half of the scoop.

Step 5: Waffle texture
Use the fine marker to draw diagonal lines across the cone in both directions to create a waffle grid.
Common mistake: Spacing the lines too closely can make the cone look dark and messy; keep the grid squares large.

Step 6: Final sprinkles
Erase the pencil lines. Use the fine marker to add small, short dashes for sprinkles on the scoop.
Common mistake: Ensure the ink is dry before erasing to prevent smudging the black lines across the paper.
What makes it look right
- Hold the chisel-tip marker at a consistent angle to keep the thickness of the outer line even.
- Keep the sprinkles pointing in different directions to make the topping look natural.
- Wait at least one minute for the marker ink to set before using the eraser.
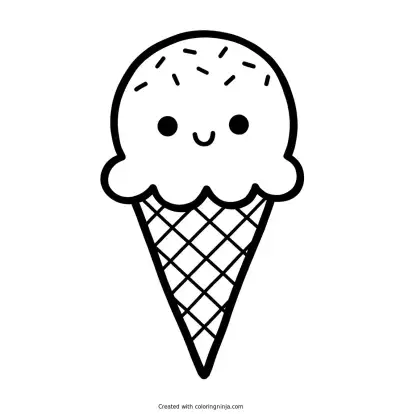
Get the finished coloring page
The clean outline from step 6, ready to print and colour.
View the coloring pageThe whole lesson on one sheet
All 6 steps with their captions on one page. Print it and keep it next to your paper.

The drawing is now ready for bright colors like pink or yellow. Practice drawing different shapes of scoops to create a double-decker cone.