Drawing a zombie starts with a stiff, unbalanced pose to suggest movement. Focus on the contrast between the round head and the jagged tears in the fabric. This lesson results in a standing zombie with tattered clothes and deep shadows.
The stiff look of a shuffling zombie
Zombies are often drawn with a stiff, unbalanced posture to suggest they are moving slowly. Their clothes are usually shown with jagged, uneven tears rather than clean cuts.
What you need
- 2B graphite pencil
- 4B or 6B graphite pencil for the darkest shadows
- Blue col-erase pencil for the construction lines
- Kneaded eraser
- Cream or white drawing paper
The 9 steps
Light comes from the upper left in every step. Each picture shows the drawing as it should look when that step is done.

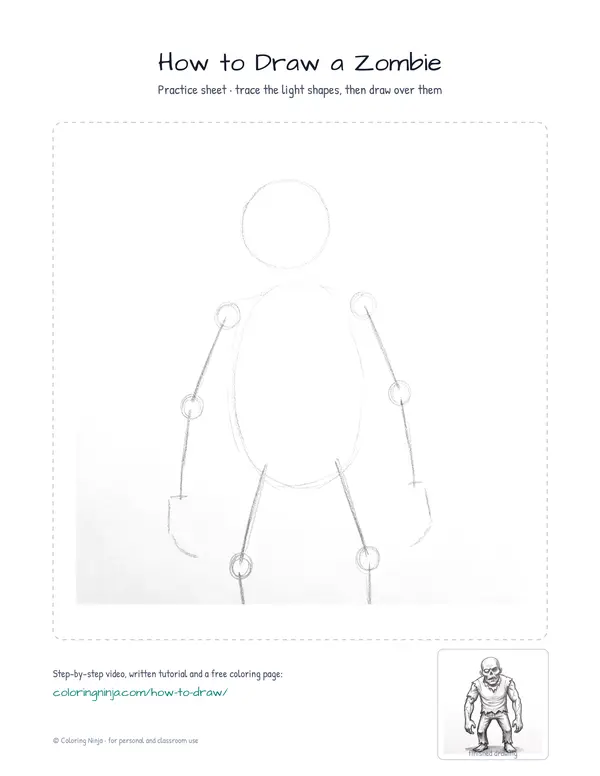
Step 1: Circle and torso oval
Use the blue col-erase pencil to draw a circle for the head and a large oval for the body.
Common mistake: Do not press hard; these lines are only to guide the later steps.

Step 2: Limbs and joints
Draw the arms and legs using thin blue lines, making one arm reach forward and one leg trail behind.
Common mistake: Avoid making the limbs symmetrical; a zombie should look unbalanced.

Step 3: Head and torso outline
Switch to the 2B pencil and draw the jagged outline of the head and the torn edges of the shirt.
Common mistake: Do not draw smooth lines; use short, shaky strokes to make the clothes look old.

Step 4: Arms and legs
Use the 2B pencil to draw the arms and legs, adding sharp zig-zags where the fabric is ripped.
Common mistake: Avoid drawing perfect feet; make them look like flat, heavy shapes on the ground.

Step 5: Facial features
Draw two large circles for the eyes and a small gap for the nose with the 2B pencil.
Common mistake: Do not add pupils; leaving the eyes as empty circles makes the zombie look more vacant.

Step 6: Texture and clothing folds
Add thin lines to the clothes to show folds and small cracks on the arms with the 2B pencil.
Common mistake: Do not overdraw the cracks; a few well-placed lines are enough to suggest old skin.

Step 7: Shadow block-in
Switch to the 4B pencil and lightly shade the entire right side of the zombie to create depth.
Common mistake: Avoid shading the left side, as the light comes from the upper left.

Step 8: Darkest values
Use the 6B pencil to fill in the eye sockets and mouth, then draw a dark shadow on the ground.
Common mistake: Do not forget the cast shadow on the ground or the zombie will look like it is floating.

Step 9: Highlights
Use the kneaded eraser to tap and lift the graphite from the left side of the head and shoulders.
Common mistake: Do not rub the eraser; just press it down to lift the color cleanly.
What makes it look right
- Keep the pose stiff and slightly leaning to one side.
- Use messy, irregular lines for the rips in the clothing.
- Focus on keeping the eye sockets large and dark to create a sunken look.
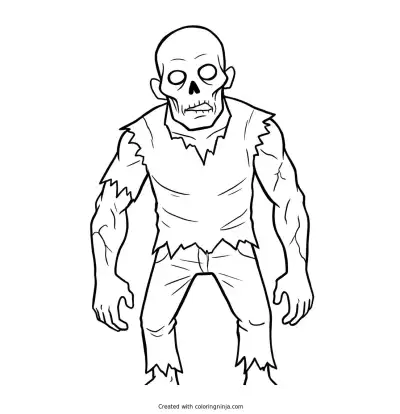
Get the finished coloring page
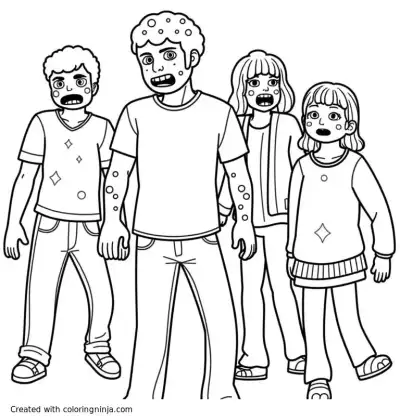
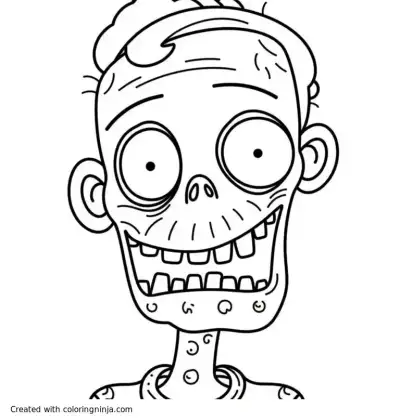
The clean outline from step 6, ready to print and colour.
View the coloring pageThe whole lesson on one sheet
All 9 steps with their captions on one page. Print it and keep it next to your paper.

Look at the drawing to see if the tattered edges look sharp enough. Place the drawing next to a lamp to see how real shadows fall on objects.