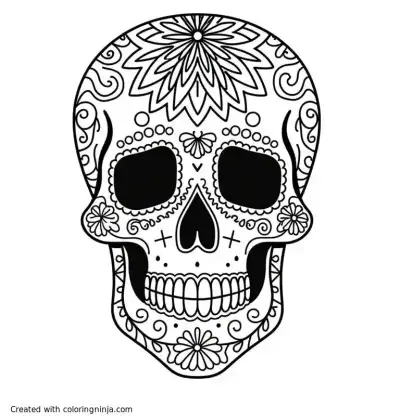
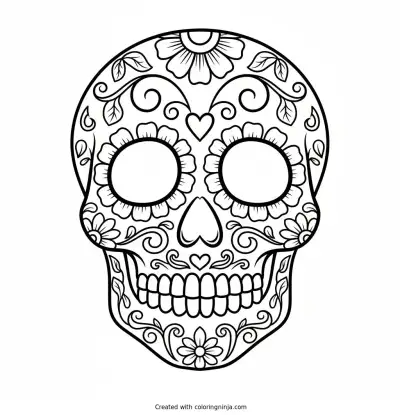
Drawing a skull involves mapping out the heavy bone of the cranium and the hollow spaces for the eyes and nose. This lesson focuses on using construction shapes to align the features before adding depth with shading. You will end up with a three-dimensional study of a human skull.
The hollow spaces of a human skull
The human skull is made of many bones fused together, with the jaw being the only moving part. The eye sockets are deep, rounded cavities located roughly halfway down the height of the head.
What you need
- 2B graphite pencil
- 4B or 6B graphite pencil for the darkest shadows
- Blue col-erase pencil for the construction lines
- Kneaded eraser
- Cream or white drawing paper
The 9 steps
Light comes from the upper left in every step. Each picture shows the drawing as it should look when that step is done.

Step 1: Cranium circle
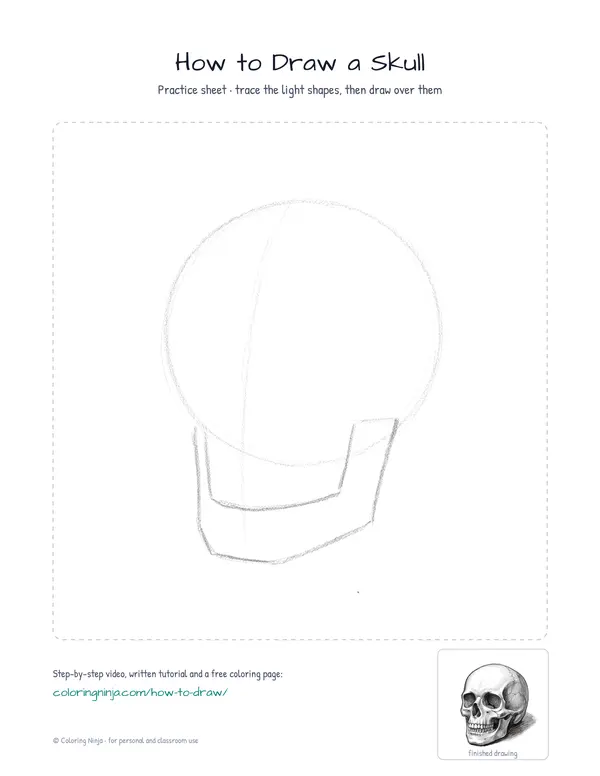
Draw a large circle with the blue col-erase pencil and add a vertical line down the middle.
Common mistake: Do not press hard with the blue pencil because these lines are only guides.

Step 2: Jaw and chin box
Use the blue col-erase pencil to draw a box for the jaw below the circle.
Common mistake: Avoid making the jaw as wide as the circle or the skull will look too heavy.

Step 3: Eye and nose cavities
Switch to the 2B pencil to draw the eye sockets and the nose hole on the center line.
Common mistake: Beginners often draw the eyes too high; place them near the bottom edge of the blue circle.

Step 4: Cheekbones and jawline
Use the 2B pencil to define the cheekbones and the outer edge of the jaw over the blue lines.
Common mistake: Keep the cheekbones symmetrical by checking their distance from the center line.

Step 5: Teeth and jaw gap
Add the mouth line with the 2B pencil and draw simple vertical lines for the teeth.
Common mistake: Do not draw every individual tooth as a separate circle; use simple lines to suggest them instead.

Step 6: Temple and suture lines
Draw faint, wiggly lines for the sutures and curved lines at the temples with the 2B pencil.
Common mistake: Make these lines very light so they do not look like deep cracks.

Step 7: Shadow block-in
Switch to the 4B pencil to fill in the shadow side on the right and the hollow areas.
Common mistake: Avoid shading the left side, as that is where the light is coming from.

Step 8: Darkest darks
Use the 6B pencil to make the eye sockets and nose cavity very dark.
Common mistake: Do not leave the eye sockets gray; they need to be dark to show depth.

Step 9: Cast shadow and highlights
Add a cast shadow with the 6B pencil and use the kneaded eraser to lift highlights on the left.
Common mistake: Make sure the cast shadow touches the bottom of the jaw so the skull does not look like it is floating.
What makes it look right
- Keep the eye sockets large because they occupy a significant portion of the face area.
- Use the side of the graphite lead for smoother shading transitions on the rounded cranium.
- Place the nose cavity slightly higher than the bottom of the eye sockets.
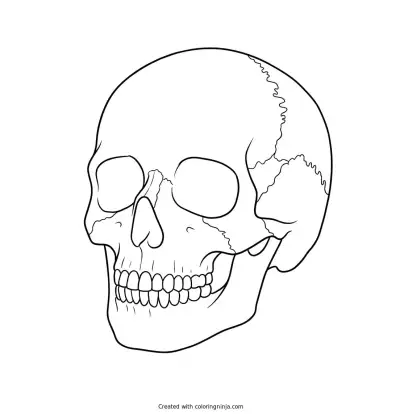
Get the finished coloring page
The clean outline from step 6, ready to print and colour.
View the coloring pageThe whole lesson on one sheet
All 9 steps with their captions on one page. Print it and keep it next to your paper.

The skull is now complete with depth and form. Try drawing it from a side view next to see how the jaw connects to the ear area.