Drawing a dark animal requires building a clear form before adding heavy values. Starting with light shapes prevents the drawing from becoming a flat silhouette. You will end up with a seated black cat with soft fur and bright eyes.
The teardrop shape of a sitting cat
Cats have a flexible spine and retractable claws, but when sitting, their bodies form a compact teardrop shape. Their ears are wide at the base and their pupils adjust to light.
What you need
- 2B graphite pencil
- 4B or 6B graphite pencil for the darkest shadows
- Blue col-erase pencil for the construction lines
- Kneaded eraser
- Cream or white drawing paper
The 9 steps
Light comes from the upper left in every step. Each picture shows the drawing as it should look when that step is done.

Step 1: Basic shapes
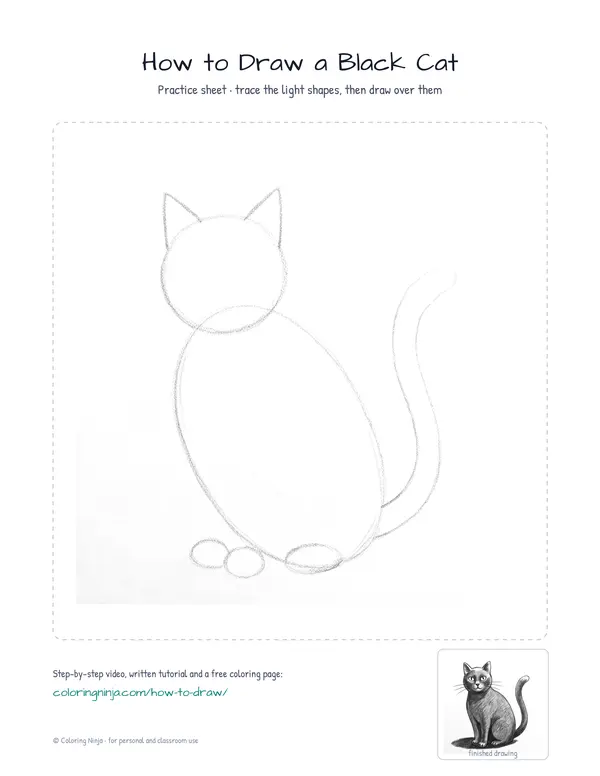
Use the blue col-erase pencil to draw a large tilted oval for the body and a circle for the head.
Common mistake: Do not press hard with the blue pencil as these lines should stay light.

Step 2: Body features
Use the blue col-erase to add two triangles for ears, two small ovals for paws, and a long curved tail.
Common mistake: Avoid making the ears too small or the cat will look like a different animal.

Step 3: Outer contour
Switch to the 2B pencil and draw a smooth outline around the head and body, ignoring the overlapping blue lines.
Common mistake: Do not just trace the blue lines; look for a smooth, natural flow for the cat's back.

Step 4: Face features
Use the 2B pencil to draw two almond-shaped eyes, a small triangle nose, and a 'w' shape for the mouth.
Common mistake: Avoid placing the eyes too high on the head; they should be near the middle.

Step 5: Final details
Add short lines for the toes and long, sweeping lines for the whiskers using the 2B pencil.
Common mistake: Do not draw whiskers with slow, shaky lines; use one quick motion for each.

Step 6: Shadow block
Switch to the 4B pencil and lightly shade the right side of the face and body to block in shadows.
Common mistake: Do not shade the left side as dark as the right to maintain the light source.

Step 7: Tone fill
Use the 4B pencil to fill the rest of the cat with a medium grey, leaving the left edges lighter.
Common mistake: Do not shade the whole cat the same color or it will look flat.

Step 8: Darkest darks
Use the 6B pencil for the darkest parts of the fur, the pupils, and a shadow on the ground.
Common mistake: Do not forget the cast shadow on the ground or the cat will look like it is floating.

Step 9: Bright highlights
Use the kneaded eraser to lift small white highlights in the eyes and along the top of the head.
Common mistake: Do not rub the eraser back and forth; tap it to lift the graphite cleanly.
What makes it look right
- Keep your 6B pencil sharp to make the darkest details crisp.
- Use the side of the 4B pencil for smoother shading over large areas.
- Place a clean piece of paper under your hand to avoid smearing the graphite.
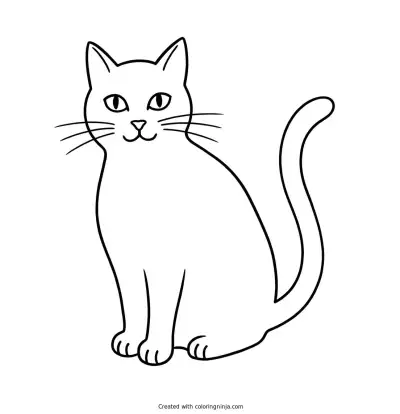
Get the finished coloring page
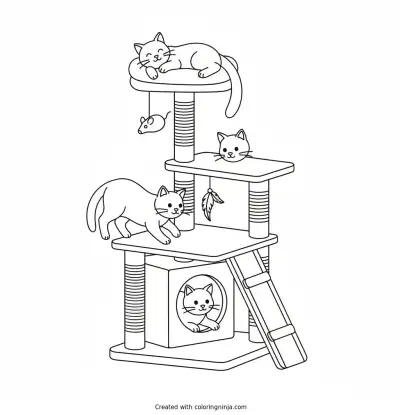
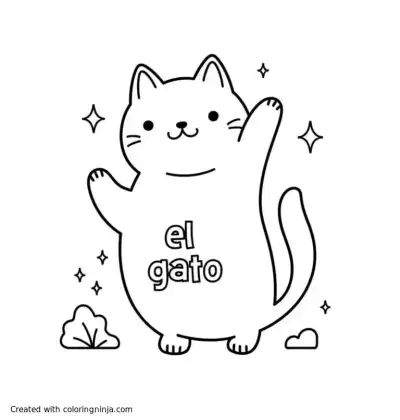
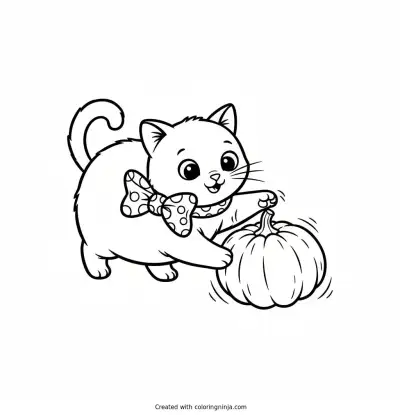
The clean outline from step 5, ready to print and colour.
View the coloring pageThe whole lesson on one sheet
All 9 steps with their captions on one page. Print it and keep it next to your paper.

Place your drawing in a frame or folder. Practice drawing the cat in a stretching pose next.