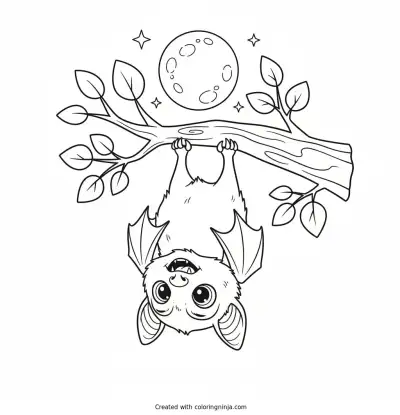
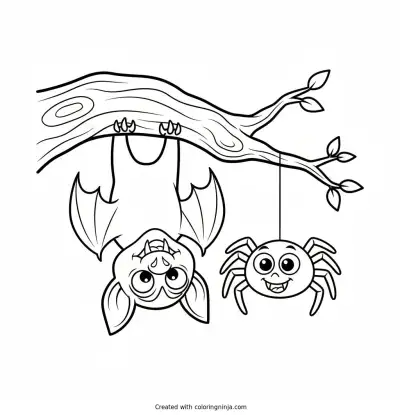
Drawing a bat starts with the long bones of the wings rather than the skin. The body is small compared to the wide span of the wings. This lesson builds a fruit bat from simple circles and lines.
About a Bat
Bats are the only mammals capable of true flight. Their wings are modified hands with very long finger bones covered by a thin membrane called a patagium.
What you need
- 2B graphite pencil
- 4B or 6B graphite pencil for the darkest shadows
- Blue col-erase pencil for the construction lines
- Kneaded eraser
- Cream or white drawing paper
The 8 steps
Light comes from the upper left in every step. Each picture shows the drawing as it should look when that step is done.

Step 1: Basic body shapes
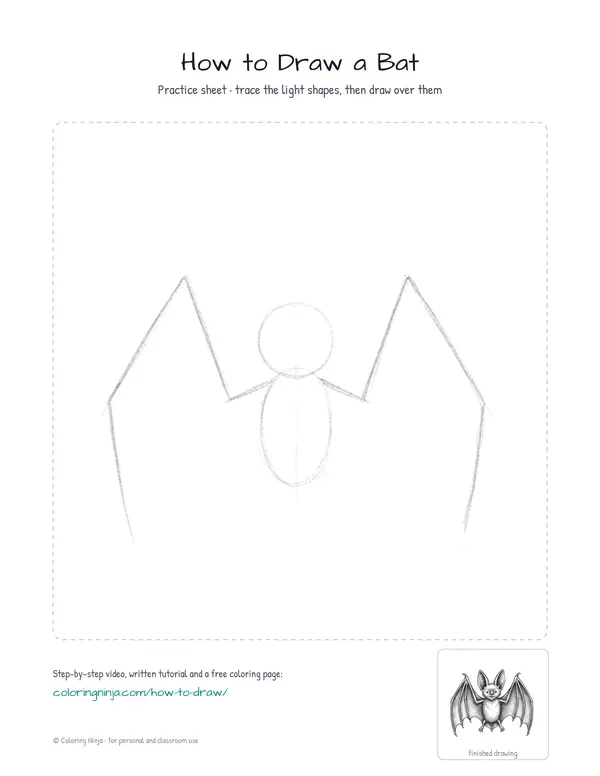
Use the blue col-erase pencil to draw a small vertical oval for the body and a circle for the head.
Common mistake: Beginners often draw the head too large; keep it about half the size of the body oval.

Step 2: Wing armatures
With the blue col-erase pencil, draw two long, angled lines extending from the shoulders to represent the top edge of the wings.
Common mistake: Avoid making the wing lines straight; give them a slight bend at the elbow joint for a natural look.

Step 3: Head and body outline
Switch to the 2B pencil to outline the head with two large pointed ears and a fuzzy torso over the blue shapes.
Common mistake: Pressing too hard with the 2B can make lines permanent; use a light touch to keep the fur looking soft.

Step 4: Wing membranes
Use the 2B pencil to draw the long finger bones and connect them with curved, scalloped lines for the bottom wing edge.
Common mistake: Do not forget the thumb claw; it is a small hook located at the top bend of the wing.

Step 5: Facial features
Add small circular eyes, a simple nose, and tiny hooked claws at the top of the wing joints with the 2B pencil.
Common mistake: Keep the eyes small and spaced apart to match the proportions of a fruit bat.

Step 6: Shadow block-in
Switch to the 4B pencil and lightly shade the right side of the head, body, and the underside of the wings.
Common mistake: Avoid shading the entire wing; leave the left side lighter to show where the light hits the membrane.

Step 7: Darkest darks
Switch to the 6B pencil to darken the pupils, the deep folds of the wings, and add a cast shadow.
Common mistake: Beginners often use the 6B everywhere; only use it for the darkest areas to maintain contrast.

Step 8: Highlights and texture
Use the kneaded eraser to lift small patches of graphite on the left side of the head and wing bones.
Common mistake: Rubbing the paper too hard can damage the surface; dab the eraser gently to lift the color.
What makes it look right
- Keep the wing membrane lines thin to suggest they are translucent.
- Use short, flicking strokes for the fur on the body to create a fuzzy texture.
- Ensure the wing bones radiate from the wrist joint like fingers on a hand.
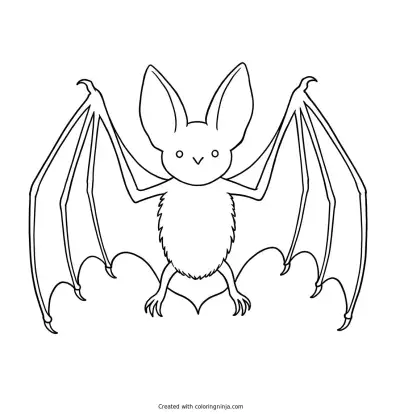
Get the finished coloring page
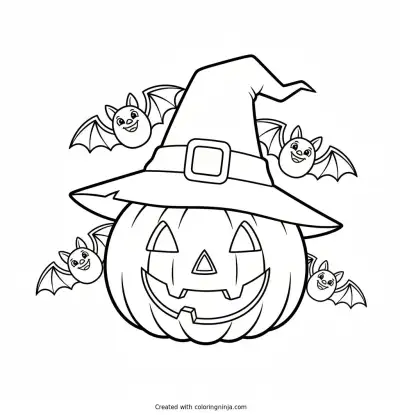
The clean outline from step 5, ready to print and colour.
View the coloring pageThe whole lesson on one sheet
All 8 steps with their captions on one page. Print it and keep it next to your paper.

Check that the wing spans are symmetrical on both sides of the body. Practice drawing the bat in different hanging or flying positions next.