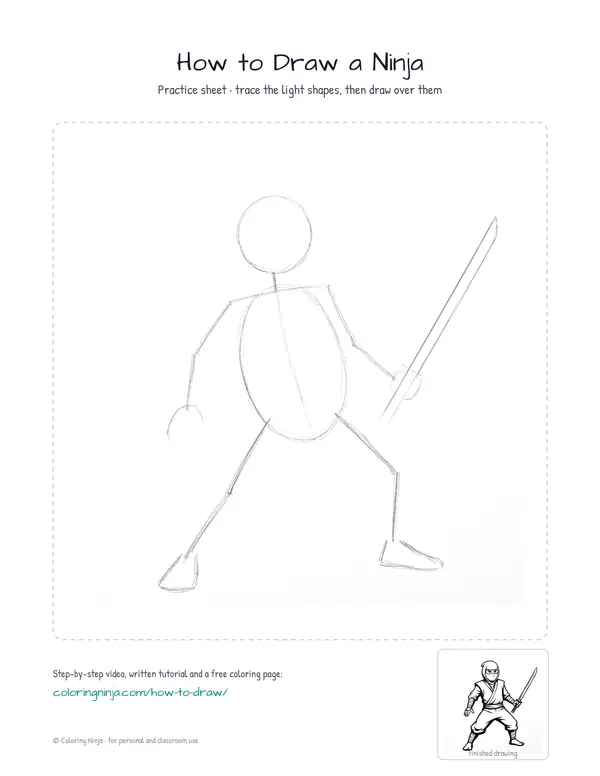
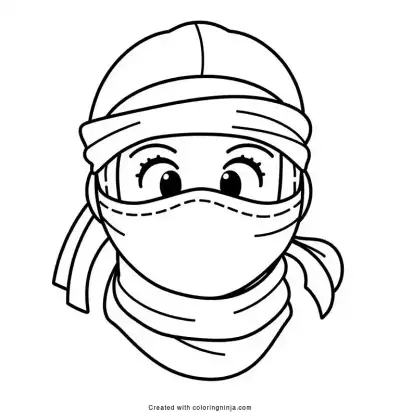
Drawing a ninja starts with a strong pose hidden under loose clothing. You will use circles and lines to set the action before adding the mask and robes. The final drawing features a masked warrior in a dynamic stance.
About a Ninja
Ninjas often wear hoods and masks that leave only the eyes visible. Their clothing is designed for movement, with tight wraps at the wrists and ankles to prevent snagging.
What you need
- HB pencil for the construction lines
- 0.3 mm black fineliner
- 0.8 mm black fineliner
- Black brush pen for the darkest accents
- Eraser
- Smooth white paper
The 9 steps
Light comes from the upper left in every step. Each picture shows the drawing as it should look when that step is done.

Step 1: Head and torso
Use the HB pencil to draw a circle for the head and an oval for the torso, leaving space for limbs.
Common mistake: Avoid making the head too large; a ninja's head should fit into the torso height about three times.

Step 2: Action lines
Sketch simple lines with the HB pencil to show the position of the arms, legs, and the sword.
Common mistake: Do not draw the limbs straight; give them slight bends at the elbows and knees to show a ready stance.

Step 3: Hood and upper body
Switch to the 0.8 fineliner to draw the outer edges of the hood, shoulders, and the top of the tunic.
Common mistake: Beginners often draw the shoulders too narrow; make them wider than the head to show strength.

Step 4: Pants and boots
Use the 0.8 fineliner to draw the baggy pants and the feet, following your pencil guides.
Common mistake: Do not make the pants tight; keep the lines wide and slightly wavy to suggest loose fabric.

Step 5: Face and sword
Switch to the 0.3 fineliner to draw the eye opening, the belt, and the straight edges of the sword.
Common mistake: Avoid drawing the sword blade too thick; a katana should be thin and slightly curved at the tip.

Step 6: Wraps and folds
Add wrist and shin wraps with the 0.3 fineliner, then draw small fold lines where the fabric bends.
Common mistake: Do not overdraw the folds; just a few lines at the joints are enough to show movement.

Step 7: Hatching for tone
Use the 0.3 fineliner to add hatching on the right side of the body to create a shadow effect.
Common mistake: Avoid crossing the lines into a grid; keep them parallel and moving in the same direction for a clean look.

Step 8: Solid blacks
Fill in the darkest parts of the suit and the ground shadow using the brush pen.
Common mistake: Do not fill the entire suit black; leave the left side white to show where the light hits.

Step 9: Final cleanup
Erase all HB pencil marks and use the 0.3 fineliner to add small pupils to the eyes.
Common mistake: Do not erase until the ink is completely dry to prevent smearing the drawing.
What makes it look right
- Keep your pencil lines light so they are easy to erase after inking.
- Place the eyes halfway down the head circle to leave room for the hood.
- Use the brush pen slowly to avoid going outside the 0.8 fineliner outlines.
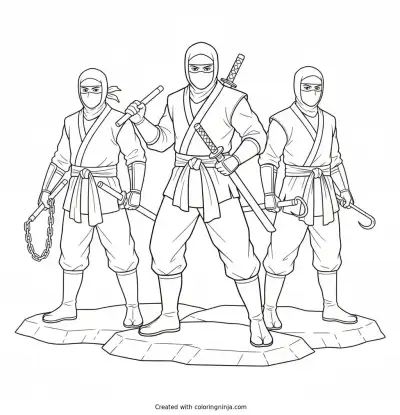
Get the finished coloring page
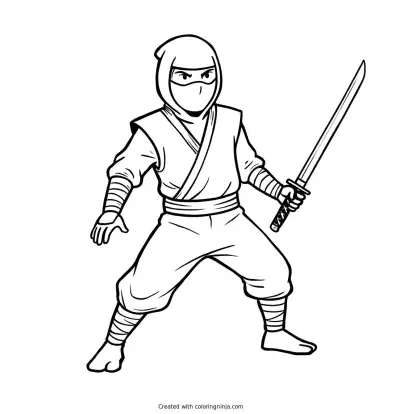
The clean outline from step 6, ready to print and colour.
View the coloring pageThe whole lesson on one sheet
All 9 steps with their captions on one page. Print it and keep it next to your paper.

The ninja is now complete with its dynamic pose and high-contrast shadows. Try drawing a second ninja in a different pose to build a scene.