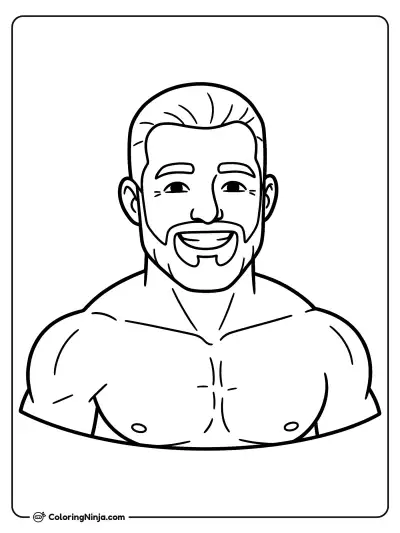
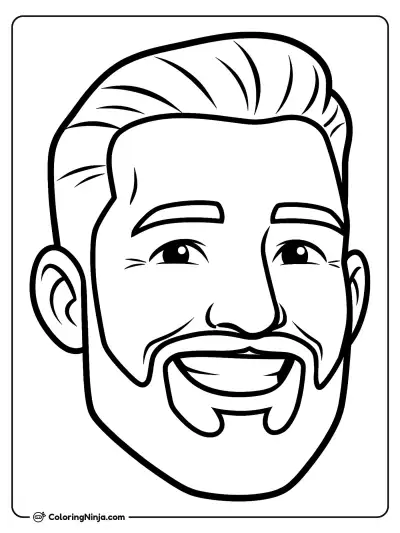
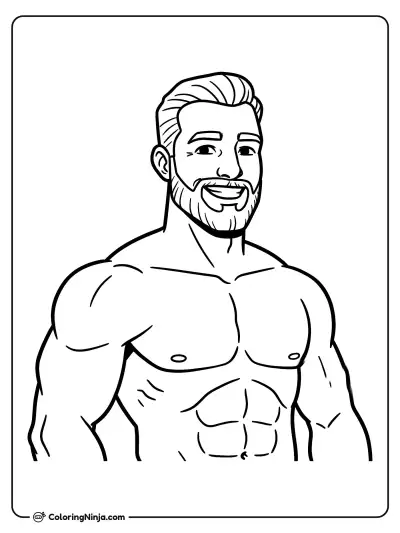
Giga Chad is defined by extremely sharp angles and exaggerated facial features. You will start with a blocky head shape and build up to a heavily shaded portrait. This lesson focuses on using shadows to show bone structure.
The secret to the sharpest jawline
This character is known for an exceptionally wide jaw, high cheekbones, and a very muscular neck. These features are often drawn with high contrast to emphasize the bone structure.
What you need
- 2B graphite pencil
- 4B or 6B graphite pencil for the darkest shadows
- Blue col-erase pencil for the construction lines
- Kneaded eraser
- Cream or white drawing paper
The 9 steps
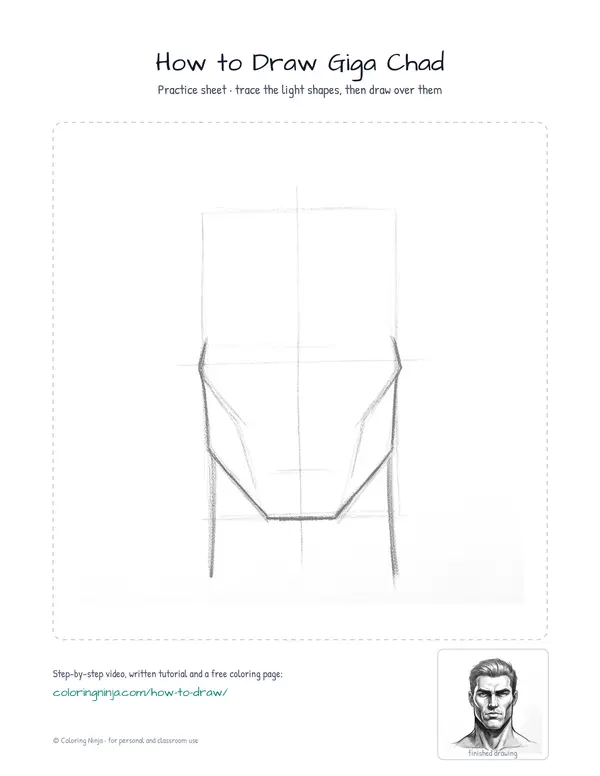
Light comes from the upper left in every step. Each picture shows the drawing as it should look when that step is done.

Step 1: Head and guidelines
Use the blue col-erase pencil to draw a tall rectangle and a cross for the face guidelines.
Common mistake: Avoid making the rectangle too wide because you need space for the jaw.

Step 2: Jaw and neck
Draw a wide, sharp V-shape at the bottom of the rectangle and two thick lines for the neck.
Common mistake: Do not make the neck thin; it should be almost as wide as the head rectangle.

Step 3: Facial planes
Sketch sharp diagonal lines from the jaw corners to the eye line to define the cheekbones.
Common mistake: Avoid rounding the corners because every line on this face should be straight and sharp.

Step 4: Main features
Switch to the 2B pencil to draw a thick brow line and a straight nose with a flat tip.
Common mistake: Do not place the mouth too low or the chin will look too small.

Step 5: Eyes and hair
Draw small, squinted eyes and use thick, upward strokes for the hair on top of the head.
Common mistake: Avoid making the eyes large because they should look recessed under the heavy brow.

Step 6: Neck muscles
Draw two long lines from behind the ears to the center of the collarbone to show muscle.
Common mistake: Do not skip the neck details as they are a key part of the character's look.

Step 7: Shadow block-in
Switch to the 4B pencil and lightly shade the entire right side of the face and neck.
Common mistake: Avoid shading the whole face; keep the left side white to show the light source.

Step 8: Darkest darks
Use the 6B pencil for the darkest shadows under the jawline and in the deep parts of the hair.
Common mistake: Do not smudge the graphite with your fingers; keep the shadow edges crisp.

Step 9: Highlights and cleanup
Use the kneaded eraser to tap and lift highlights on the left cheekbone and the tip of the nose.
Common mistake: Avoid over-erasing; only lift small spots to make the bone structure pop.
What makes it look right
- Keep your pencil strokes straight to maintain the blocky look of the face.
- Press harder with the 6B pencil to create a strong contrast between light and dark.
- Leave the white of the paper for the brightest parts of the face.
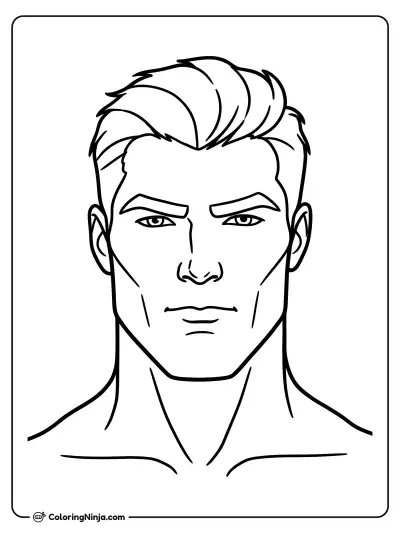
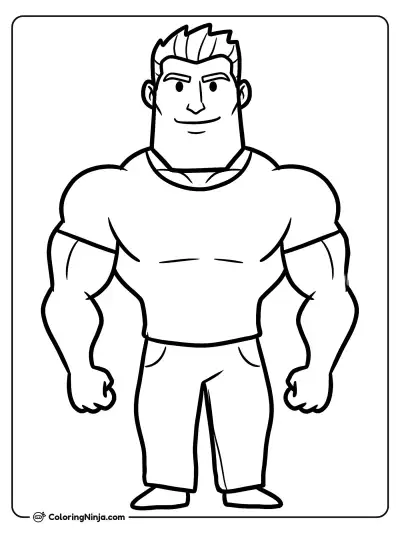
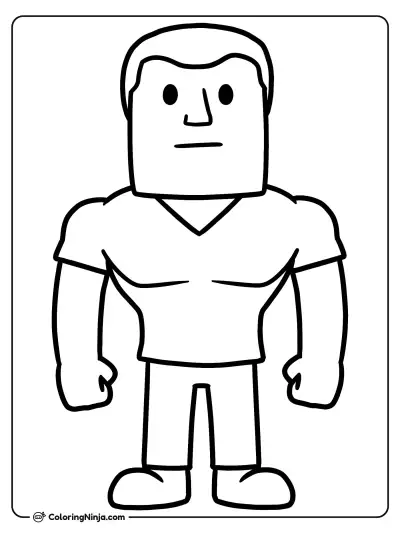
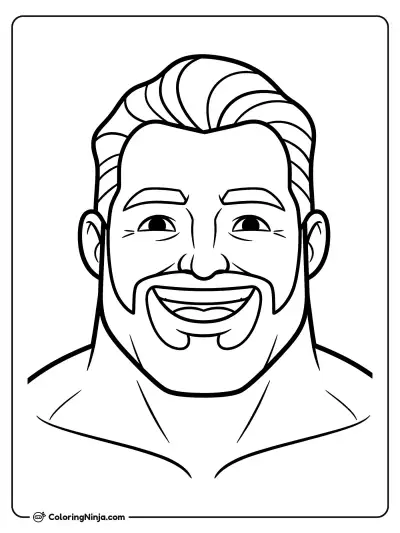
Get the finished coloring page
The clean outline from step 6, ready to print and colour.
View the coloring pageThe whole lesson on one sheet
All 9 steps with their captions on one page. Print it and keep it next to your paper.

The drawing is complete once the shadows look like carved stone. Try drawing the same head from a side view next.