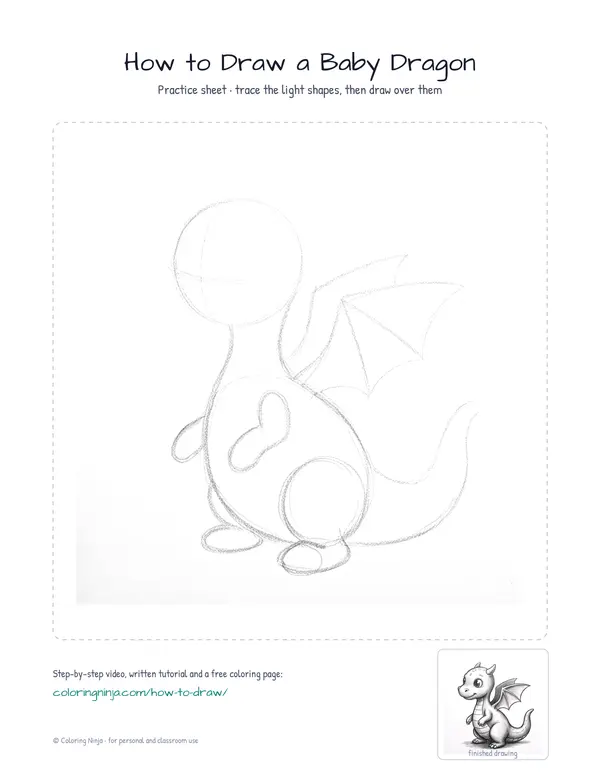
Drawing a baby dragon starts with large, soft shapes to capture the weight of the belly and head. Beginners often make the neck too long, so keep the proportions compact. You will end up with a shaded sketch of a small dragon sitting on its haunches.
About a Baby Dragon
A baby dragon usually has a larger head and eyes relative to its body size compared to an adult. While imaginary, their anatomy is often based on reptiles like lizards and crocodiles.
What you need
- 2B graphite pencil
- 4B or 6B graphite pencil for the darkest shadows
- Blue col-erase pencil for the construction lines
- Kneaded eraser
- Cream or white drawing paper
The 9 steps
Light comes from the upper left in every step. Each picture shows the drawing as it should look when that step is done.

Step 1: Head and body shapes
Use the blue col-erase to draw a circle for the head and a larger oval for the body, connected by a curve.
Common mistake: Avoid making the head too small; a baby dragon needs a large head to look young.

Step 2: Limbs and wings
Sketch small ovals for the front limbs and two triangles on the back for the wings using the blue pencil.
Common mistake: Don't place the wings too high; start them at the shoulder area of the back oval.

Step 3: Main contour
Switch to the 2B pencil and draw a continuous line around the head and body, following your blue guide shapes.
Common mistake: Do not press hard yet; keep the lines light so you can adjust the shape of the snout.

Step 4: Legs and tail
Use the 2B pencil to define the legs and draw a tail that curves around the bottom of the body.
Common mistake: Avoid drawing a thin tail; a baby dragon's tail should be thick at the base to look sturdy.

Step 5: Facial features and horns
Draw a large eye and two small horns on the head with the 2B pencil, adding a small nostril near the front.
Common mistake: Don't make the eye too small; large eyes are a key feature of baby animals.

Step 6: Belly plates and wing ribs
Add horizontal lines for the belly scales and vertical lines to show the structure of the wings using the 2B pencil.
Common mistake: Space the belly lines evenly to make the texture look consistent across the chest.

Step 7: Shadow block-in
Switch to the 4B pencil and lightly shade the right side of the dragon, keeping the upper left side white.
Common mistake: Avoid shading the whole dragon; leave the left side bright to show where the light is coming from.

Step 8: Darkest darks
Use the 6B pencil for the darkest parts of the eye and a cast shadow on the ground under the feet.
Common mistake: Do not smudge the shadow with your finger; use the pencil tip to keep the values clean.

Step 9: Highlights
Use the kneaded eraser to lift graphite from the top of the head and snout to create bright highlights.
Common mistake: Don't rub the eraser back and forth; press it down and lift it up to keep the highlights crisp.
What makes it look right
- Keep the blue construction lines very light so they do not show through the final shading.
- Use the side of the 4B pencil lead to create broader, softer shadow areas.
- Sharpen the 6B pencil frequently to ensure the darkest details in the eye remain sharp.
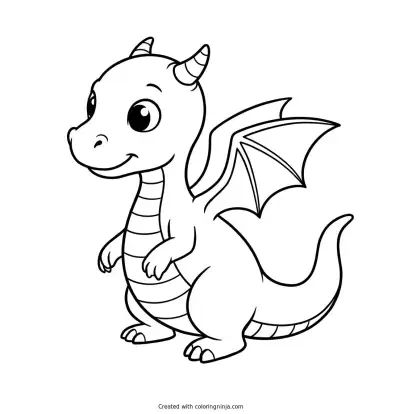
Get the finished coloring page
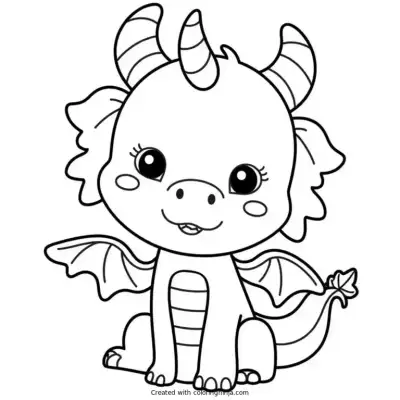
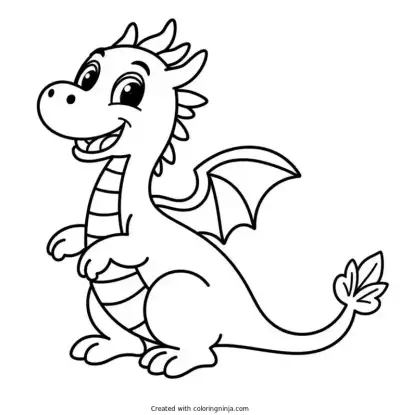
The clean outline from step 6, ready to print and colour.
View the coloring pageThe whole lesson on one sheet
All 9 steps with their captions on one page. Print it and keep it next to your paper.

The drawing is complete once the contrast between the deep shadows and the erased highlights is visible. Try drawing another dragon in a different pose using the same circle-based construction.