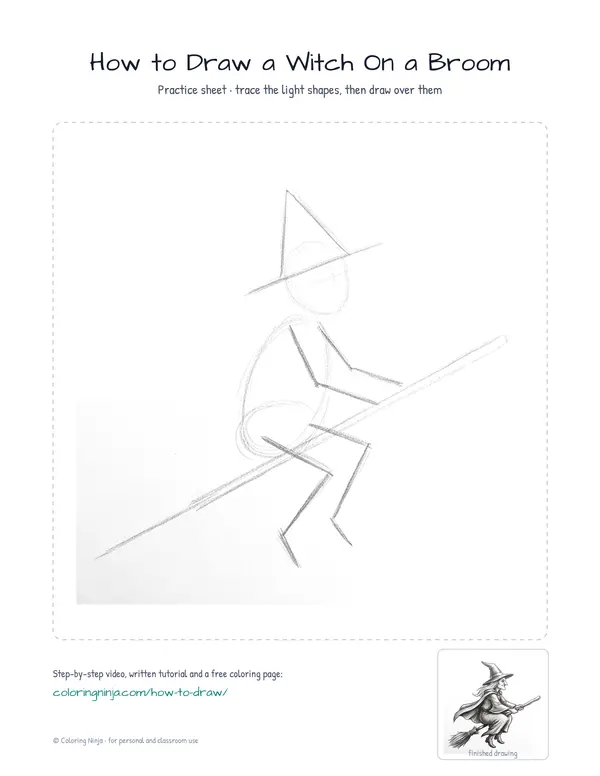
Drawing a figure on a broom requires balancing the character along a single diagonal line. Start with light construction shapes to ensure the witch sits firmly on the handle. You will finish with a shaded drawing that shows depth and movement.
The secret to a flying silhouette
A witch's broom, or besom, is traditionally made from a wooden handle and birch twigs tied at the end. The pointed hat and flowing cloak help create a sense of speed when the lines follow the direction of flight.
What you need
- 2B graphite pencil
- 4B or 6B graphite pencil for the darkest shadows
- Blue col-erase pencil for the construction lines
- Kneaded eraser
- Cream or white drawing paper
The 9 steps
Light comes from the upper left in every step. Each picture shows the drawing as it should look when that step is done.

Step 1: Main axis and torso
Use the blue col-erase pencil to draw a long diagonal line and two overlapping ovals for the head and torso.
Common mistake: Avoid making the broom line too short or the witch will look cramped on the page.

Step 2: Hat and limb guides
Add a large triangle on the head and draw bent lines for the arms and legs with the blue pencil.
Common mistake: Do not draw the legs straight down; bend them at the knees to show she is sitting.

Step 3: Hat and face outline
Switch to the 2B pencil to draw the hat's curved brim and the nose and chin over the blue lines.
Common mistake: Beginners often forget the hat brim; make it wide enough to wrap around the head.

Step 4: Cloak and arms
Use the 2B pencil to outline the sleeves and the back of the cloak blowing in the wind.
Common mistake: Keep the cloak lines wavy rather than straight to suggest movement through the air.

Step 5: Broom and legs
Outline the broom handle and the large bundle of bristles, then draw the boots using the 2B pencil.
Common mistake: Avoid making the broom bristles a solid block; use jagged lines at the end for a twig look.

Step 6: Features and textures
Add small details like the eye, long strands of hair, and lines on the broom bristles with the 2B pencil.
Common mistake: Do not over-detail the face; a simple eye and mouth keep the focus on the silhouette.

Step 7: Shadow block-in
Switch to the 4B pencil and lightly shade the right side of the witch, hat, and broom bristles.
Common mistake: Don't shade the whole drawing; leave the upper-left areas white to show where the light hits.

Step 8: Darkest darks
Use the 6B pencil to darken the deepest shadows and add a cast shadow from the witch onto the broom.
Common mistake: Avoid smudging the 6B lead with your hand; place a clean piece of paper under your palm.

Step 9: Final highlights
Use the kneaded eraser to tap and lift graphite from the top edges to create bright highlights.
Common mistake: Don't rub hard with the eraser or you might tear the paper; just press and lift.
What makes it look right
- Keep your construction lines very light so they disappear under the 2B pencil.
- Draw the broom bristles with long, flicking motions to make them look like real wood.
- Place the darkest shadows where the witch overlaps the broom to create depth.
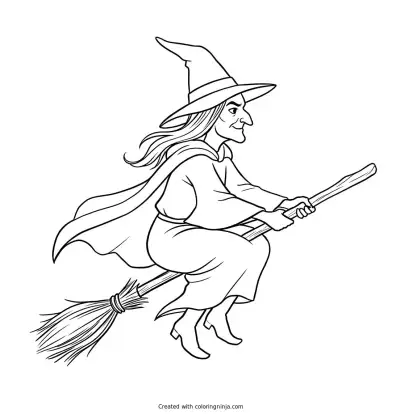
Get the finished coloring page
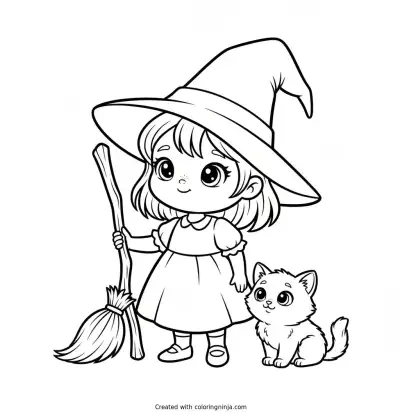
The clean outline from step 6, ready to print and colour.
View the coloring pageThe whole lesson on one sheet
All 9 steps with their captions on one page. Print it and keep it next to your paper.

The witch is now balanced and shaded on her broom. Draw a small crescent moon in the background to complete the night scene.