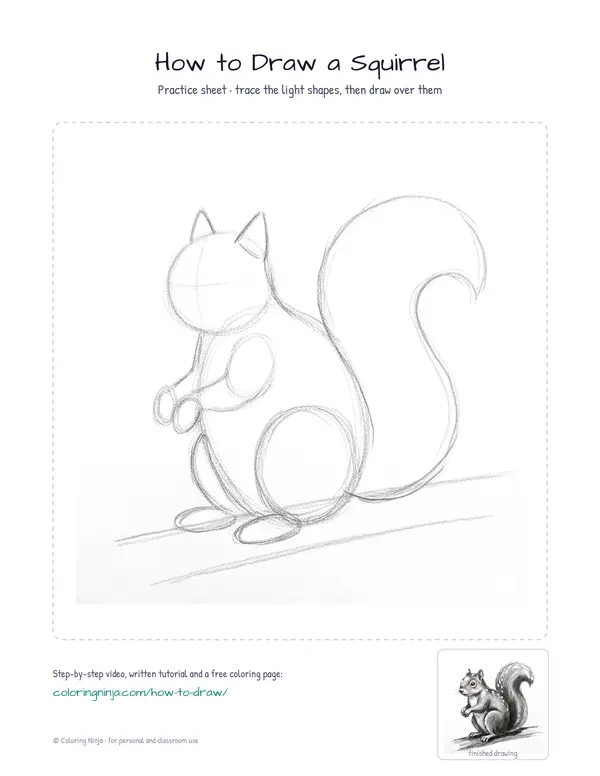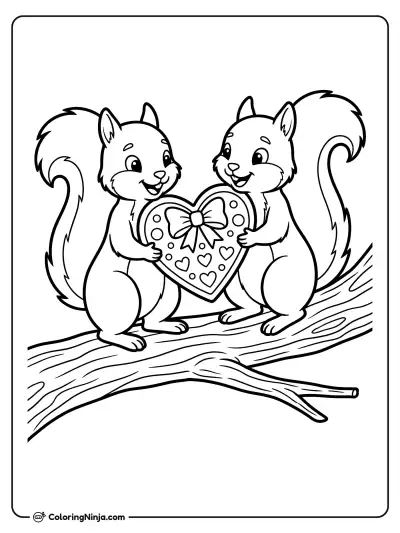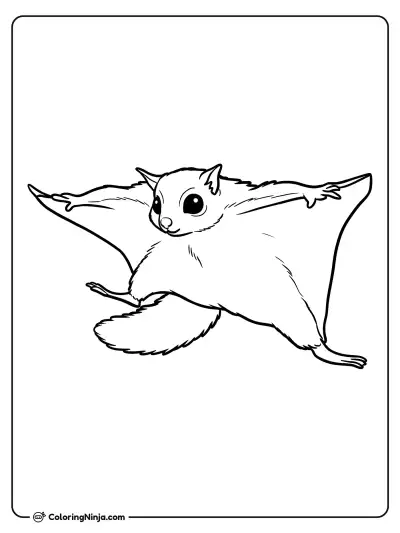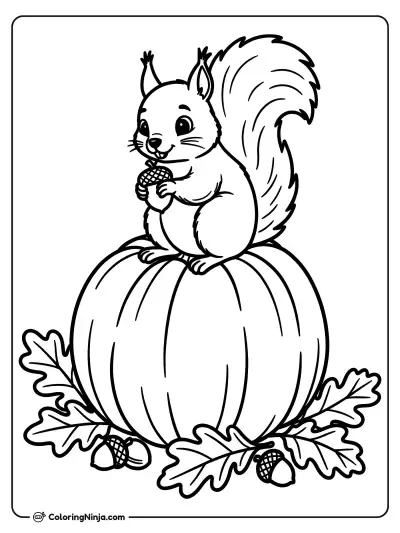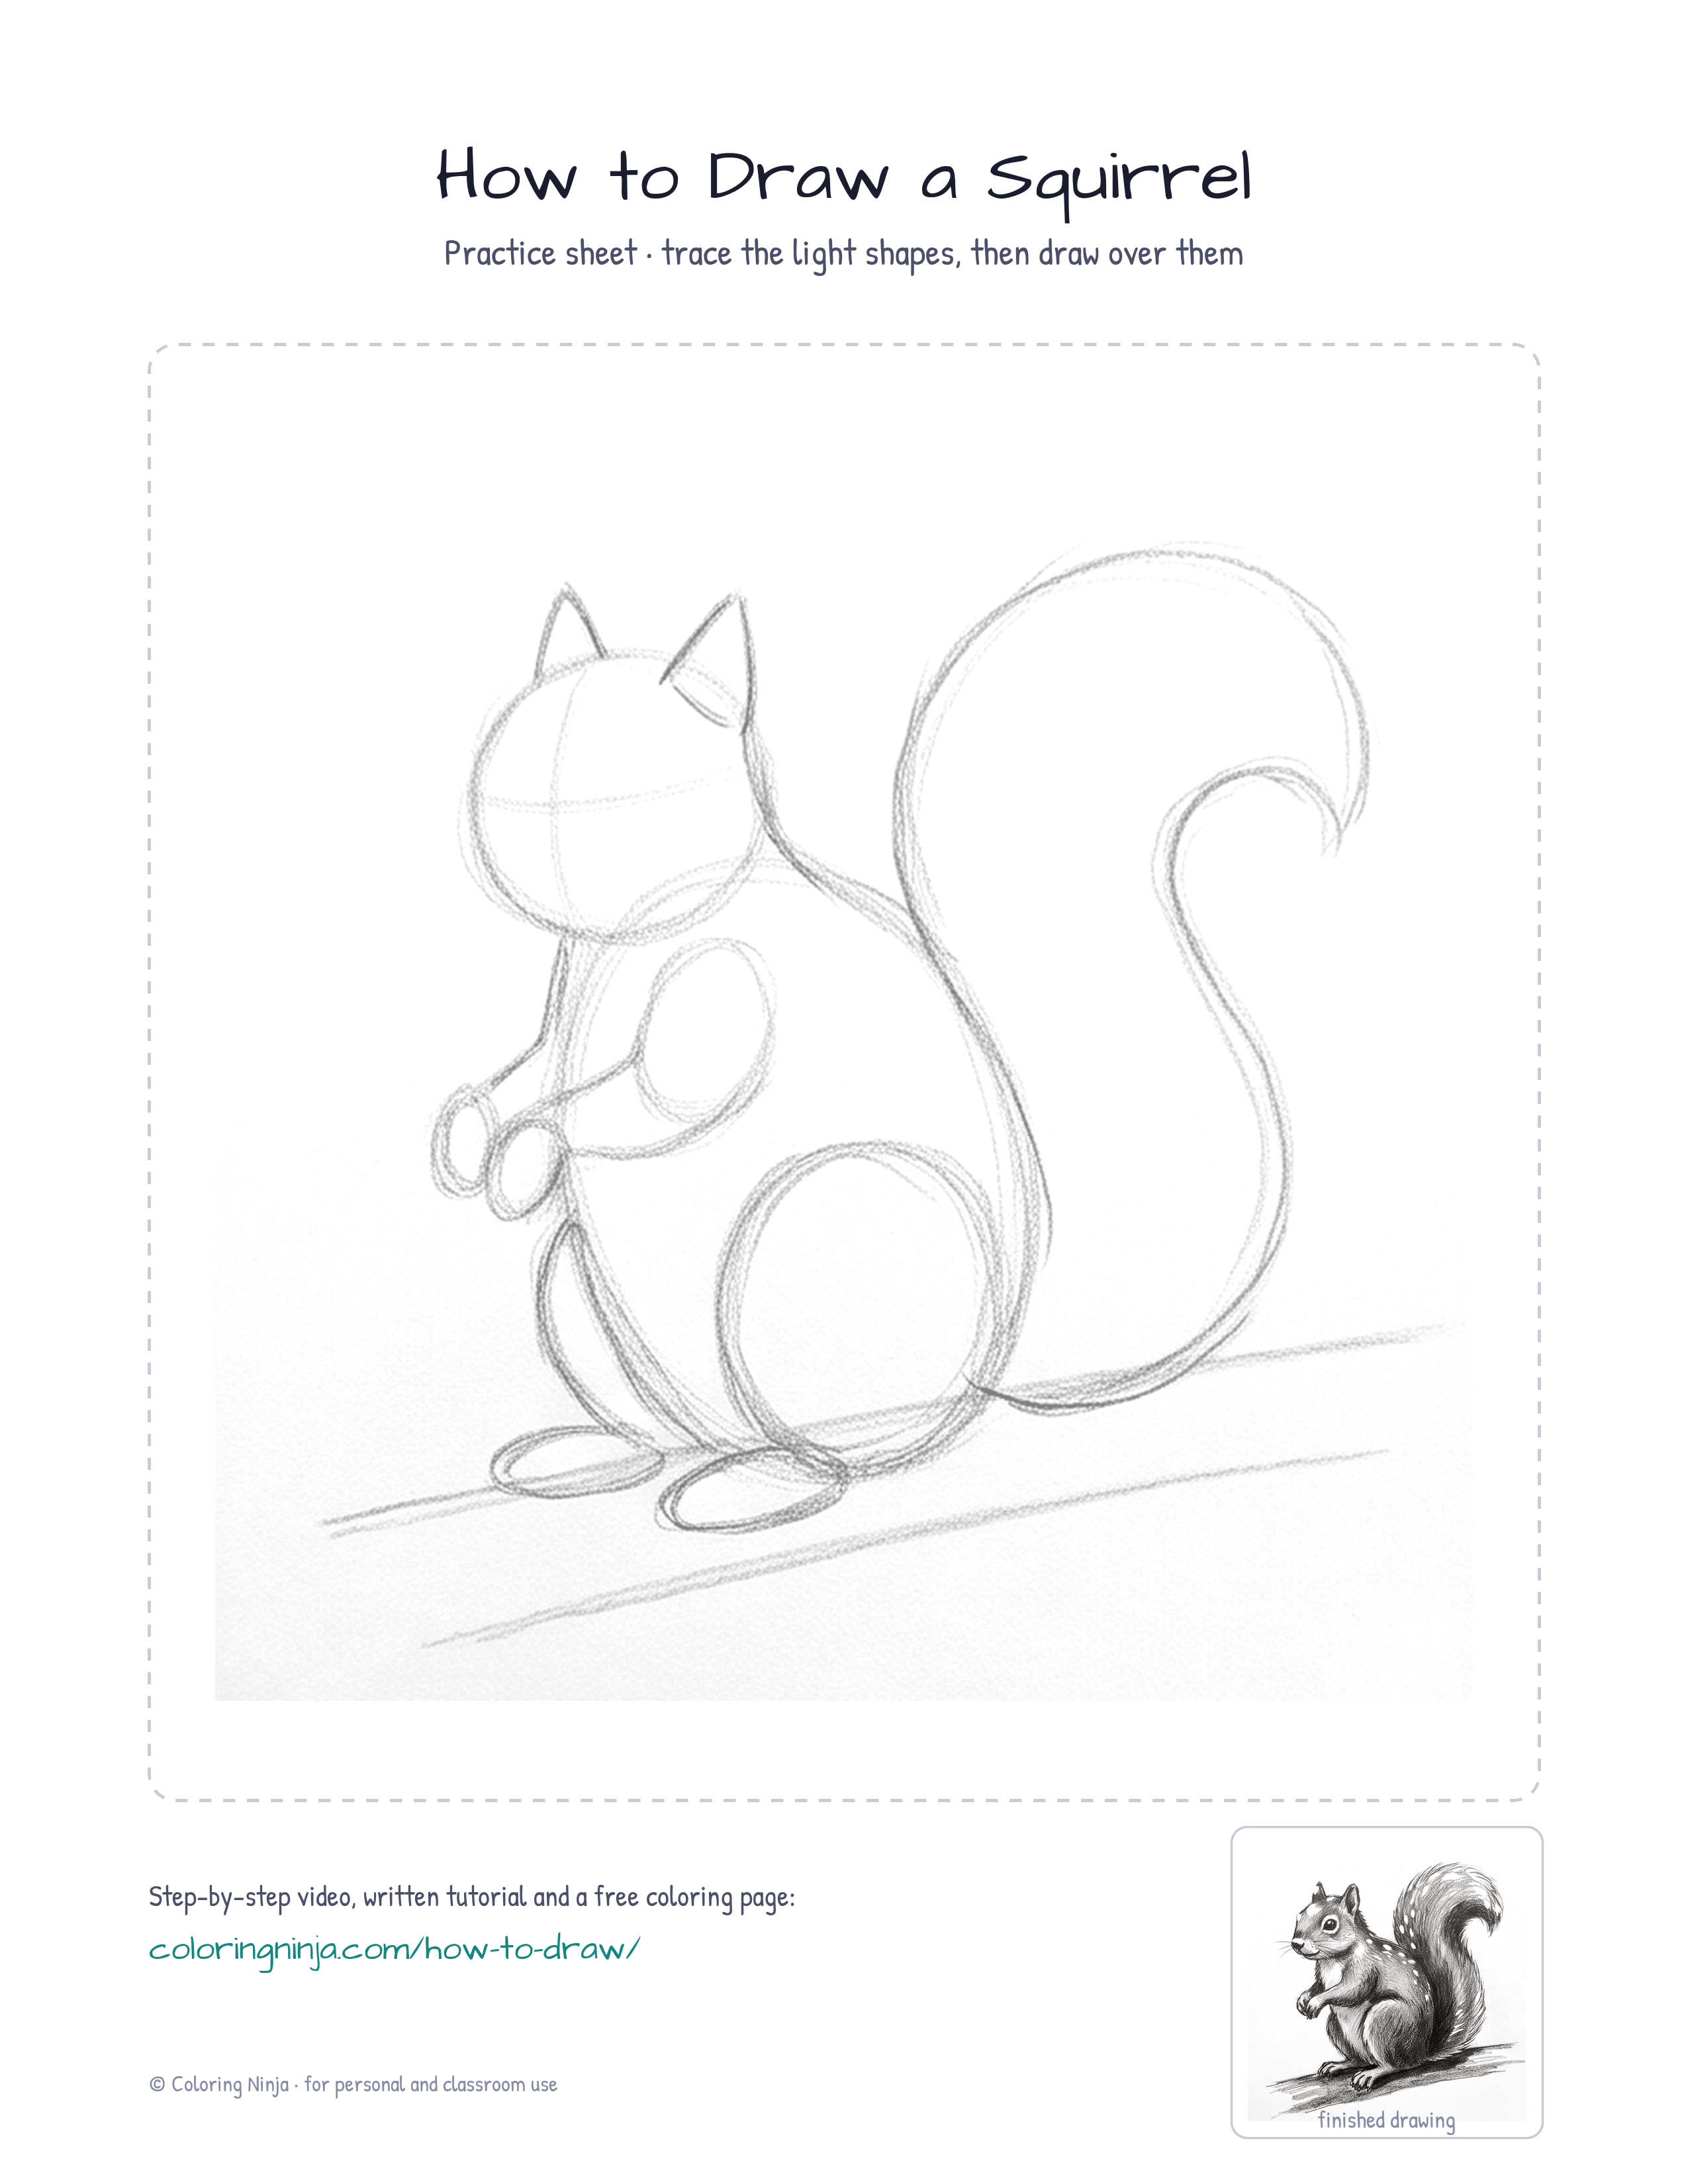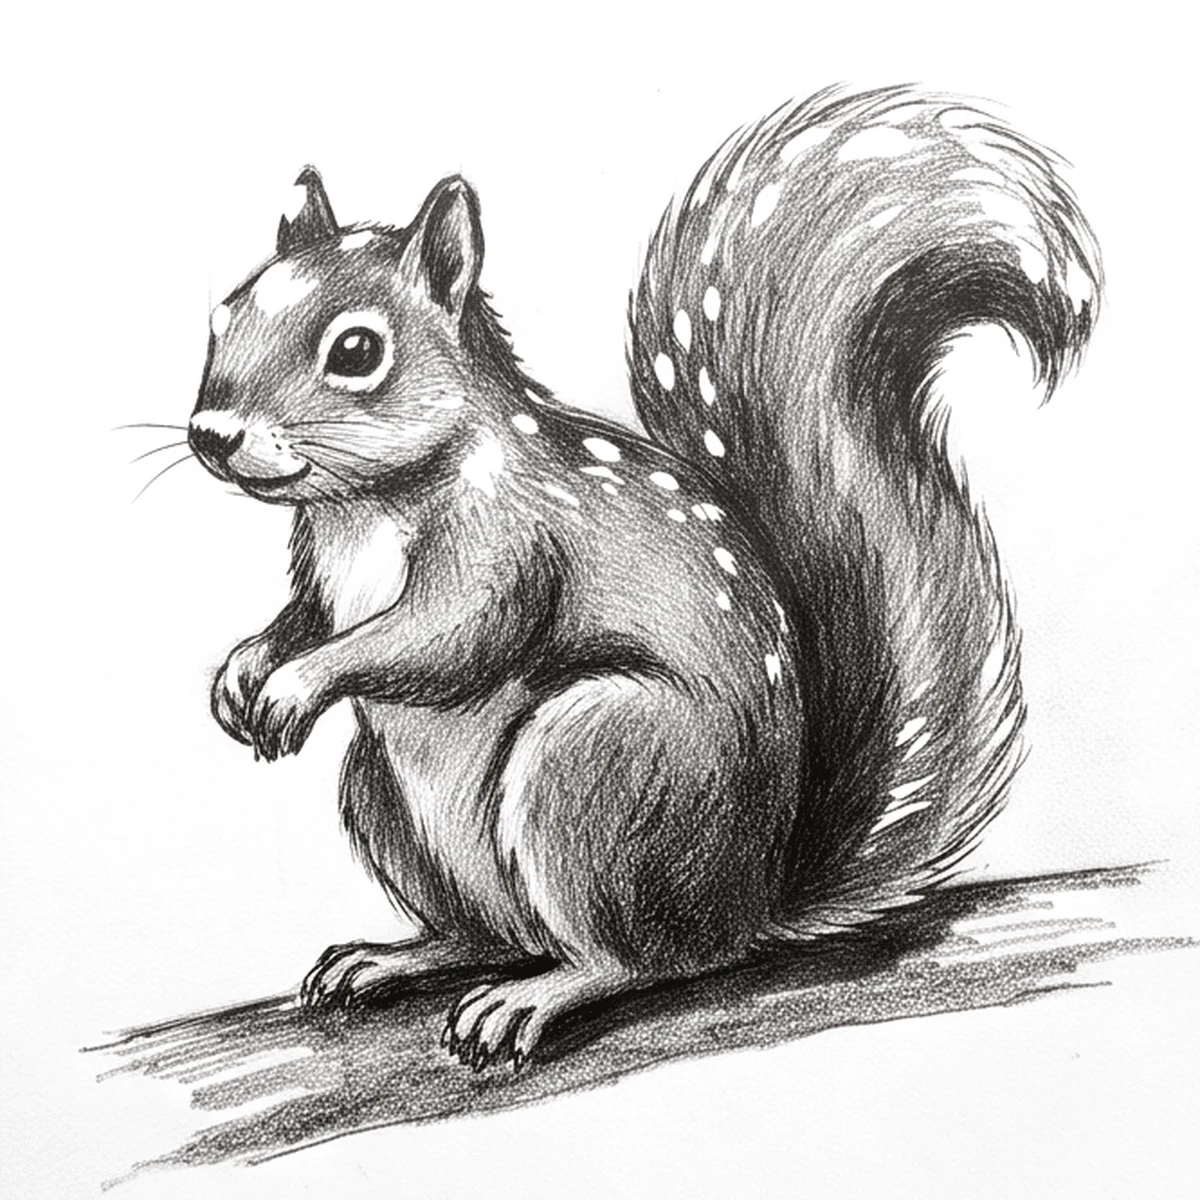
Squirrels are defined by their arched backs and large tails. This lesson starts with simple ovals to get the posture right before adding the texture of the fur. You will end up with a detailed squirrel sitting on a branch.
The balancing act of a bushy tail
A squirrel's tail is often as long as its entire body and helps it balance while climbing. Its large back legs are built for jumping, while the front paws act like small hands to hold food.
What you need
- 2B graphite pencil
- 4B or 6B graphite pencil for the darkest shadows
- Blue col-erase pencil for the construction lines
- Kneaded eraser
- Cream or white drawing paper
The 9 steps
Light comes from the upper left in every step. Each picture shows the drawing as it should look when that step is done.
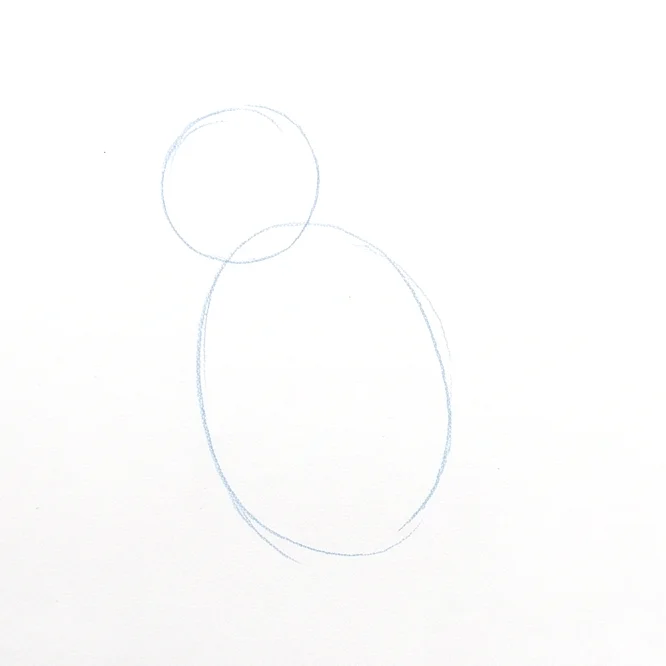
Step 1: Basic body shapes
Lightly draw a large oval and a small circle using the blue col-erase pencil.
Common mistake: Do not press hard or the blue lines will be difficult to hide later.
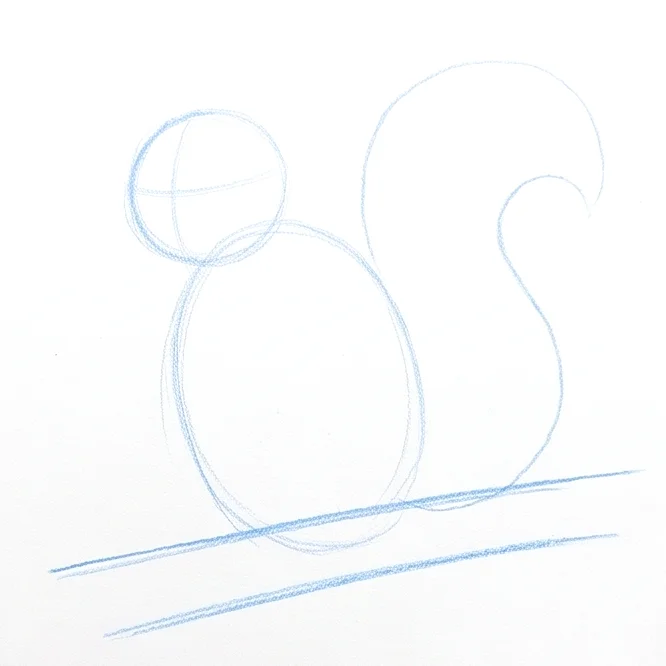
Step 2: Tail and branch
Use the blue pencil to draw a long S-curve for the tail and a straight branch under the body.
Common mistake: Beginners often make the tail too small, so ensure it is as tall as the body.
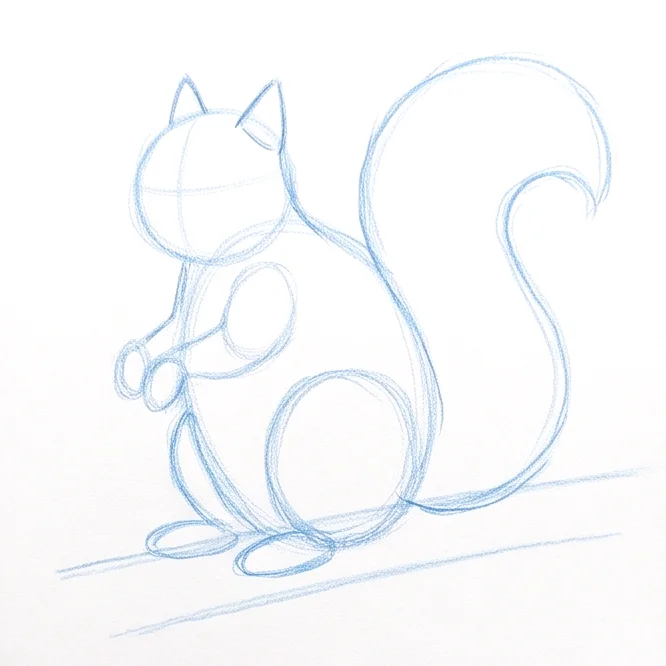
Step 3: Legs and ears
Add small ovals for the limbs and two pointed triangles for the ears with the blue pencil.
Common mistake: Place the back thigh low on the body to show the squirrel is crouching.
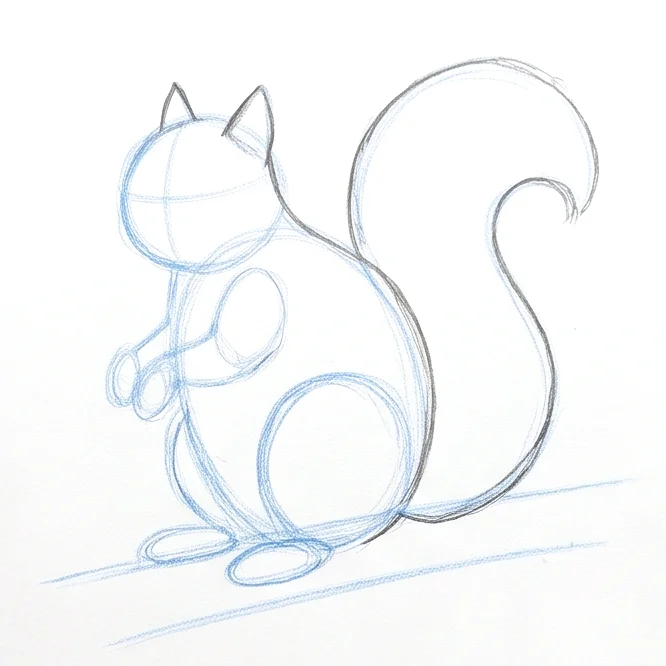
Step 4: The main outline
Switch to the 2B pencil and draw a firm outline over your blue construction shapes.
Common mistake: Avoid drawing a perfectly smooth line for the tail because it needs to look fluffy.

Step 5: Face and paws
Use the 2B pencil to add a dark eye, a small nose, and claw details on the paws.
Common mistake: Keep the eye high on the head to leave room for the cheeks and mouth.

Step 6: Fur texture
Draw many short, flicking lines with the 2B pencil to create the appearance of fur texture.
Common mistake: Do not draw long, straight lines or the squirrel will look like it has needles instead of fur.

Step 7: Shadow block-in
Switch to the 4B pencil and lightly shade the right side of the squirrel to create volume.
Common mistake: Do not shade the entire squirrel or it will lose the effect of the light source.

Step 8: Darkest darks
Use the 6B pencil for the darkest areas and draw a cast shadow on the branch.
Common mistake: Avoid making the darks too small, as deep shadows help the squirrel look solid.

Step 9: Final highlights
Use the kneaded eraser to lift away graphite from the upper left edges to create highlights.
Common mistake: Do not erase too much or you will lose the fur texture you drew earlier.
What makes it look right
- Keep your pencil sharp to make the fur strokes look crisp.
- Follow the curve of the body with your shading to make the squirrel look round.
- Leave a tiny white dot in the eye to make the squirrel look alive.
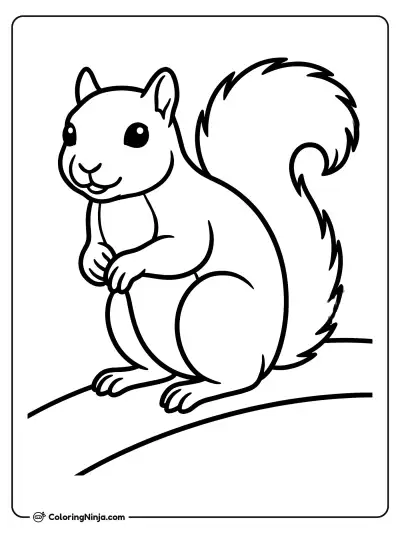
Get the finished coloring page
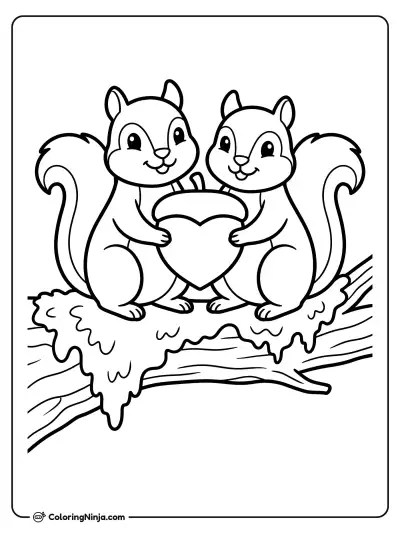
The clean outline from step 6, ready to print and colour.
View the coloring pageThe whole lesson on one sheet
All 9 steps with their captions on one page. Print it and keep it next to your paper.

Your squirrel now has a sense of weight and texture. Practice drawing different tail positions to show different moods.