Drawing a snowman involves stacking spheres of different sizes. Beginners often draw flat circles, but shading helps them look like heavy balls of snow. You will build a three-tiered figure with a carrot nose and stick arms.
The physics of stacking snowballs
Snowmen are usually built with the largest ball at the bottom to support the weight. The middle ball is for the torso, and the smallest ball on top forms the head.
What you need
- 2B graphite pencil
- 4B or 6B graphite pencil for the darkest shadows
- Blue col-erase pencil for the construction lines
- Kneaded eraser
- Cream or white drawing paper
The 8 steps
Light comes from the upper left in every step. Each picture shows the drawing as it should look when that step is done.

Step 1: Stack three circles
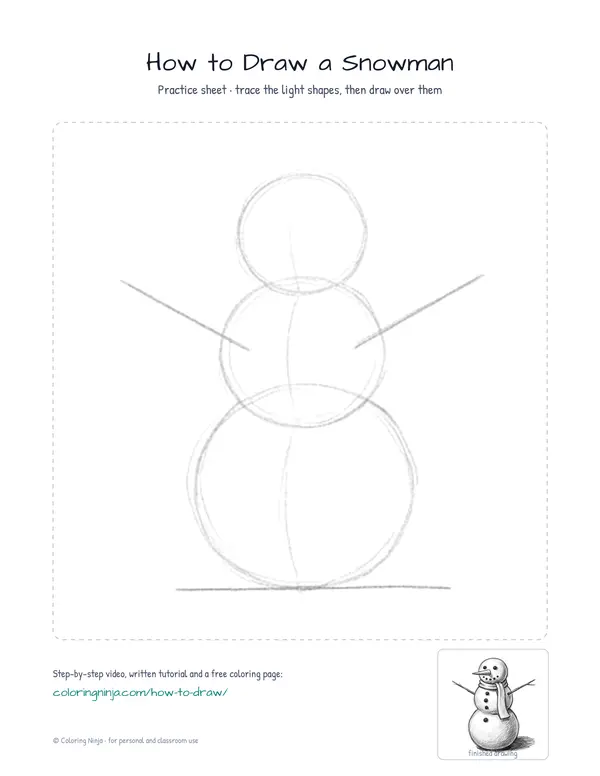
Use the blue col-erase pencil to draw three circles on top of each other, making each one smaller than the last.
Common mistake: Avoid making all three circles the same size or the snowman will look unstable.

Step 2: Ground and arm lines
Draw a ground line with the blue pencil and add two straight lines for the arms pointing outward and upward.
Common mistake: Do not place the arms on the bottom circle; they should come out from the middle section.

Step 3: Define the outer contour
Switch to the 2B pencil and draw a firm outline around the snowman, letting the circles merge where they touch.
Common mistake: Do not draw the full circles inside the body or the snowman will look transparent.

Step 4: Add facial features
Use the 2B pencil to draw a carrot nose pointing to the right and small coal dots for the face.
Common mistake: Avoid placing the eyes too high; they should be near the middle of the top circle.

Step 5: Buttons and scarf
Draw the scarf and three coal buttons with the 2B pencil to give the snowman more detail.
Common mistake: Do not forget to wrap the scarf around the neck area where the top and middle circles meet.

Step 6: Block in shadows
Switch to the 4B pencil and lightly shade the right side of the snowman to show the light is coming from the left.
Common mistake: Avoid shading the entire snowman; leave the left side white to represent the bright snow.

Step 7: Darken details and cast shadow
Use the 6B pencil for the darkest spots like the coal and draw a shadow on the ground extending to the right.
Common mistake: Do not make the cast shadow on the ground go toward the light source on the left.

Step 8: Lift the highlights
Use the kneaded eraser to dab the top-left of each snowball, removing pencil marks to create a bright highlight.
Common mistake: Do not rub hard with the eraser; just press and lift to keep the edges of the highlight soft.
What makes it look right
- Keep the construction lines very light so they do not show through the final shading.
- Use the side of the 4B pencil lead for the shadows to avoid leaving sharp scratchy lines.
- Clean your kneaded eraser by stretching and folding it before you try to lift the highlights.
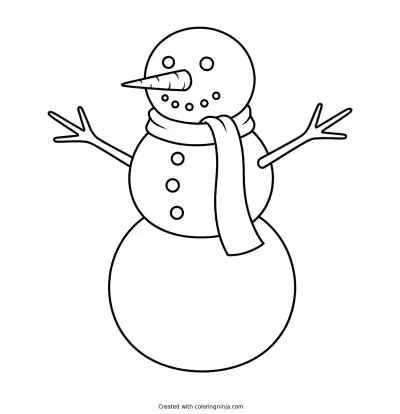
Get the finished coloring page
The clean outline from step 5, ready to print and colour.
View the coloring pageThe whole lesson on one sheet
All 8 steps with their captions on one page. Print it and keep it next to your paper.

The snowman now has a three-dimensional look because of the contrast between the white paper and the dark shadows. Draw a winter background with small snowflakes around the figure.