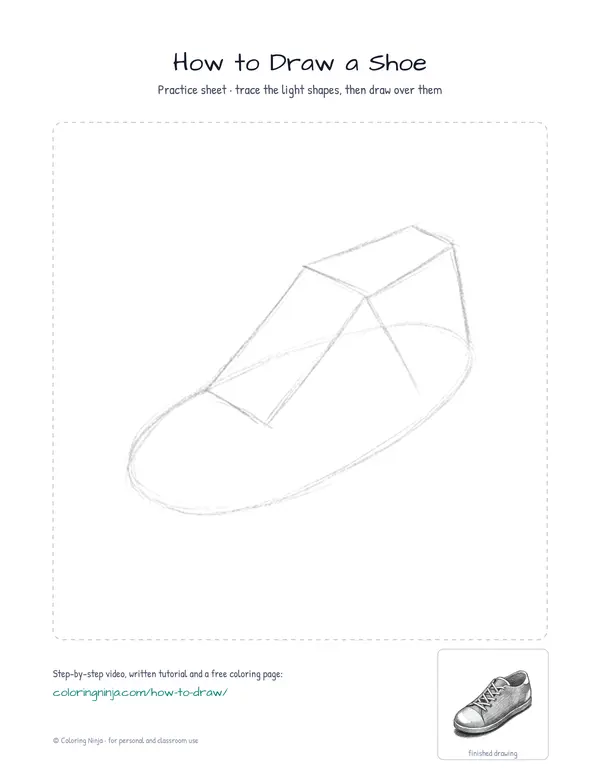
Shoes can look flat if the opening for the foot is not drawn as an oval. This lesson uses basic shapes to build a sturdy sneaker. You will finish with a three-dimensional shoe showing light and shadow.
How a foot fits inside a sneaker
A shoe is built around the shape of a human foot, which is wider at the front and narrower at the heel. The sole is usually the thickest part and provides a flat base on the ground.
What you need
- 2B graphite pencil
- 4B or 6B graphite pencil for the darkest shadows
- Blue col-erase pencil for the construction lines
- Kneaded eraser
- Cream or white drawing paper
The 8 steps
Light comes from the upper left in every step. Each picture shows the drawing as it should look when that step is done.

Step 1: Basic construction shapes
Use the blue col-erase pencil to draw a long horizontal oval and a smaller tilted rectangle above its right side.
Common mistake: Do not make the oval too short or the shoe will look like a boot.

Step 2: Connect the shapes
Use the blue col-erase to connect the two shapes, creating the slope of the heel and the top of the shoe.
Common mistake: Avoid making the top curve too flat; a foot needs space to fit inside the shoe.
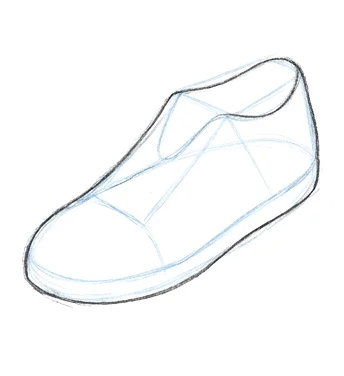
Step 3: Draw the outer contour
Switch to the 2B pencil and draw the outer contour of the shoe by following the blue construction lines.
Common mistake: Beginners often draw jagged lines; try to make the 2B outline in long, smooth strokes.
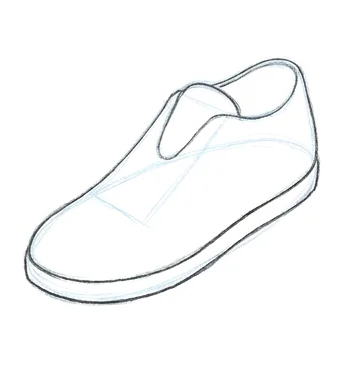
Step 4: Sole and foot opening
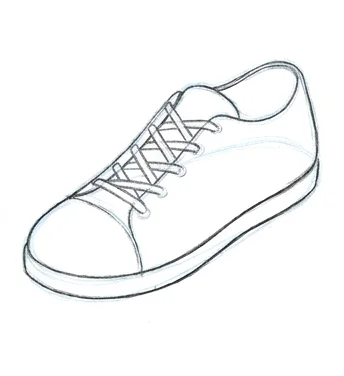
With the 2B pencil, draw the thickness of the sole and the oval opening where the foot goes in.
Common mistake: Do not draw the sole as a straight line; it should follow the curve of the shoe bottom.
Step 5: Laces and tongue
Use the 2B pencil to draw the tongue and the zigzag pattern of the laces across the middle section.
Common mistake: Avoid drawing the laces as simple straight lines; give them a slight curve to show they have volume.

Step 6: Block in shadows
Switch to the 4B pencil and block in a layer of grey on the right side of the sneaker.
Common mistake: Do not shade the whole shoe; keep the left side white to show where the light hits.

Step 7: Darkest darks and cast shadow
Switch to the 6B pencil to add the darkest darks inside the shoe and a cast shadow on the ground.
Common mistake: Avoid making the cast shadow the same grey as the shoe; the 6B should be much darker.

Step 8: Lift the highlights
Dab the kneaded eraser onto the toe and the top edges to lift the graphite and create bright highlights.
Common mistake: Avoid rubbing the eraser back and forth; press and lift to keep the highlight clean.
What makes it look right
- Keep your blue construction lines light so they are easy to hide under the 2B pencil.
- When shading with the 4B, follow the curve of the shoe to help it look rounded.
- Sharpen your 6B pencil frequently to keep the darkest details crisp.
Get the finished coloring page
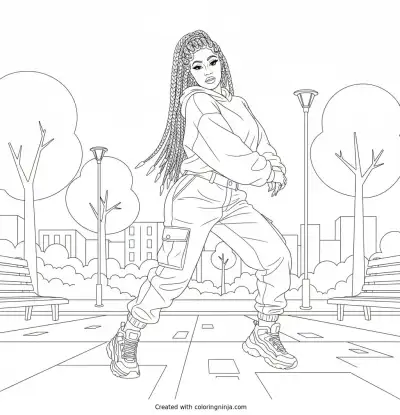
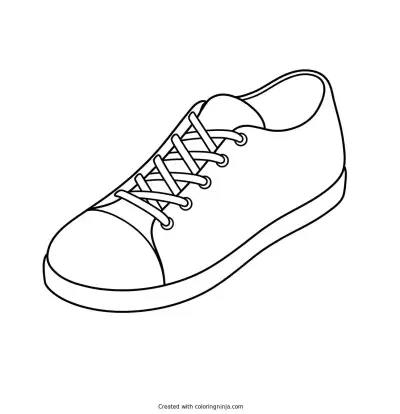
The clean outline from step 5, ready to print and colour.
View the coloring pageThe whole lesson on one sheet
All 8 steps with their captions on one page. Print it and keep it next to your paper.

The shoe now has a solid form with clear light and shadow. Try drawing a second shoe facing the opposite direction to make a pair.