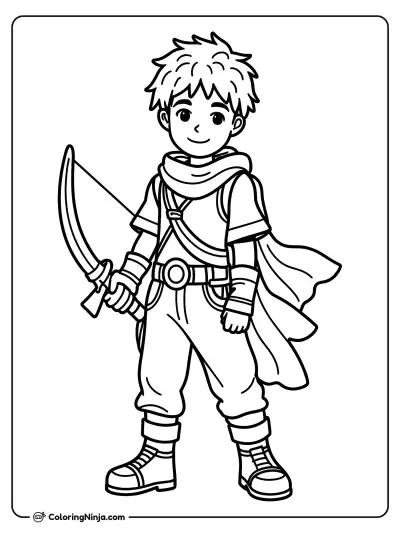
Drawing a ranger starts with a sturdy stance and a large hooded cloak. You will learn how to layer gear over a simple body frame. This lesson results in a hooded figure equipped for the wilderness.
Gear for the long trail
Rangers are often depicted with long cloaks for camouflage and leather armor for quiet movement. Their equipment usually includes a bow or a staff for traveling long distances.
What you need
- HB pencil for the construction lines
- 0.3 mm black fineliner
- 0.8 mm black fineliner
- Black brush pen for the darkest accents
- Eraser
- Smooth white paper
The 9 steps
Light comes from the upper left in every step. Each picture shows the drawing as it should look when that step is done.
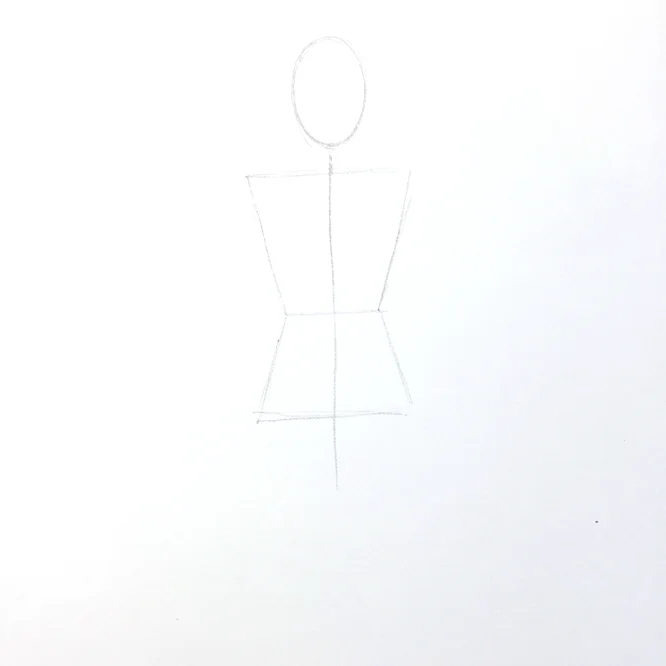
Step 1: Set the frame
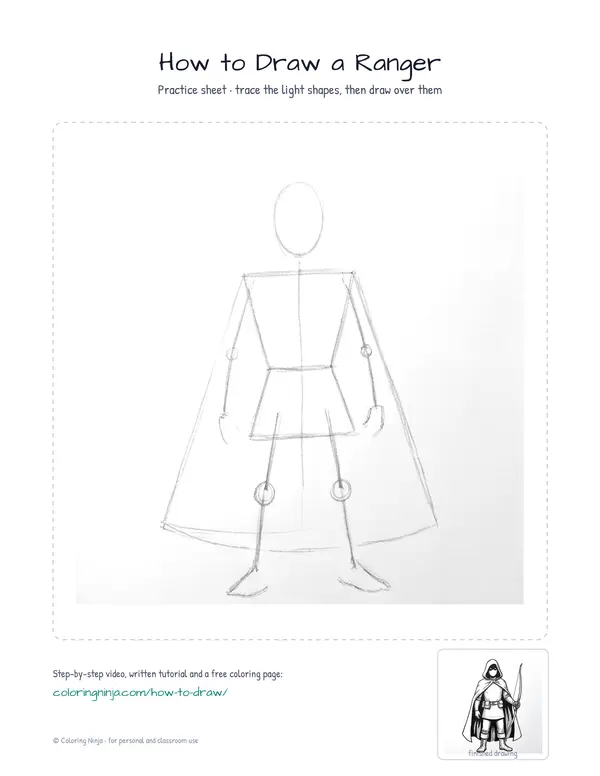
Use the HB pencil to draw an oval for the head and a trapezoid for the chest with a center line.
Common mistake: Avoid making the head oval too large or the torso will look too small for a grown character.
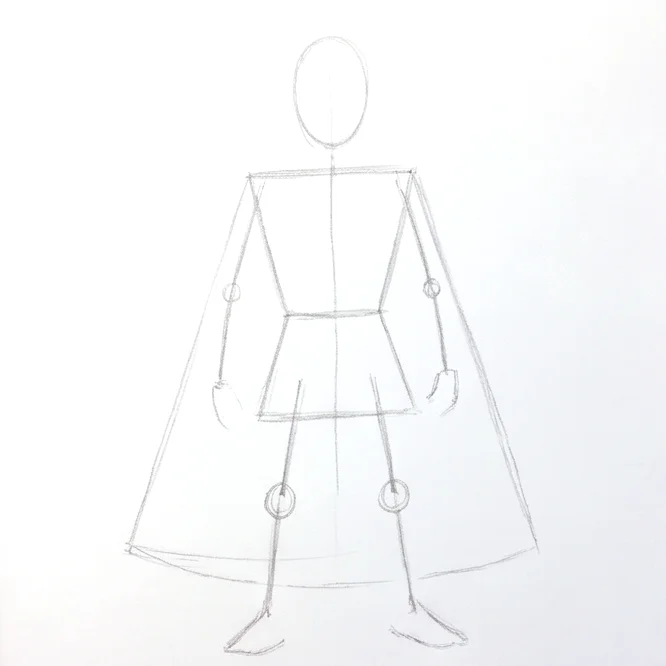
Step 2: Add cloak and limbs
Sketch a large triangle for the cloak and simple lines for the arms and legs with the HB pencil.
Common mistake: Do not draw the leg lines too short; the legs should be about the same length as the torso and head combined.
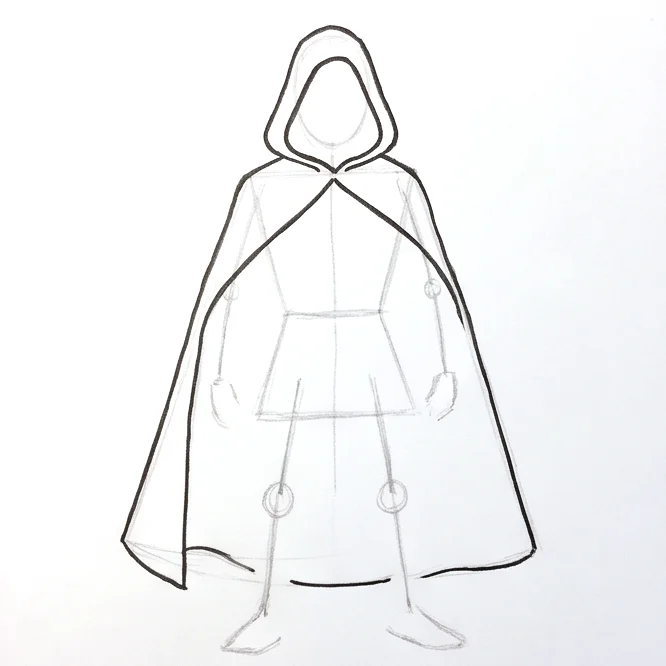
Step 3: Outline the hood
Switch to the 0.8 fineliner to draw the outer edges of the hood and the long cloak.
Common mistake: Beginners often draw the hood too tight to the head; leave space to show the fabric has volume.
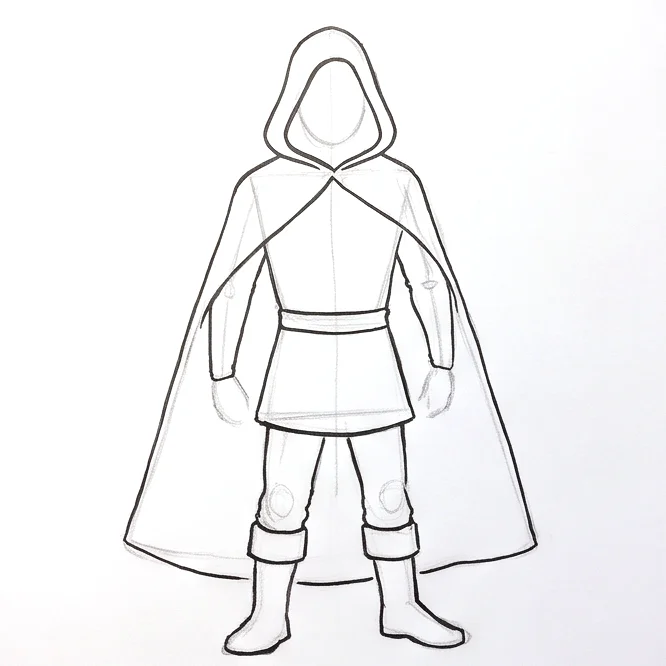
Step 4: Outline the body
Use the 0.8 fineliner to outline the tunic, the arms, and the boots.
Common mistake: Avoid making the boots too thin; they should look heavy and wide enough to support the figure.

Step 5: Draw the belt and pouches
Use the 0.3 fineliner to add the belt, pouches, and laces on the boots.
Common mistake: Do not place the belt too high; it should sit right at the waistline where the torso meets the legs.

Step 6: Add the gear
Draw the bow and the eyes using the 0.3 fineliner.
Common mistake: Avoid drawing the bow as a straight line; it should have a slight curve even when not being pulled.

Step 7: Hatch the shadows
Use the 0.3 fineliner to add hatching lines for shadows on the right side of the figure.
Common mistake: Do not cross the lines into a grid; keep them parallel and evenly spaced for a clean look.

Step 8: Apply solid blacks
Fill in the darkest areas inside the hood and cloak folds using the brush pen.
Common mistake: Avoid filling the entire cloak with black; only use it for the deepest shadows to keep the shape clear.

Step 9: Clean the drawing
Gently erase all HB pencil construction lines once the ink is completely dry.
Common mistake: Do not erase too early or the ink might smear across the paper.
What makes it look right
- Keep your hatching lines consistent in angle to make the lighting look realistic.
- Use the thick 0.8 pen only for the outside edges to make the character stand out from the background.
- Hold the brush pen vertically to get into the small corners of the hood shadows.
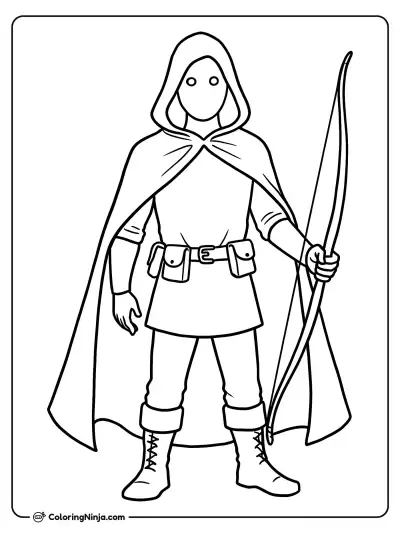
Get the finished coloring page
The clean outline from step 6, ready to print and colour.
View the coloring pageThe whole lesson on one sheet
All 9 steps with their captions on one page. Print it and keep it next to your paper.

The ranger is now ready for the trail. Try adding a simple horizon line or a few tall grass shapes to give the figure a place to stand.