Drawing a rabbit starts with understanding how its weight sits low to the ground. Many beginners draw the ears too small or the body too stiff. This lesson uses construction shapes and shading to create a realistic rabbit on paper.
The crouched shape of a sitting rabbit
Rabbits have powerful hind legs folded against their bodies and large ears that help them detect sound from any direction. Their eyes are located on the sides of their heads, providing a wide field of vision to spot predators.
What you need
- 2B graphite pencil
- 4B or 6B graphite pencil for the darkest shadows
- Blue col-erase pencil for the construction lines
- Kneaded eraser
- Cream or white drawing paper
The 9 steps
Light comes from the upper left in every step. Each picture shows the drawing as it should look when that step is done.

Step 1: Basic body shapes
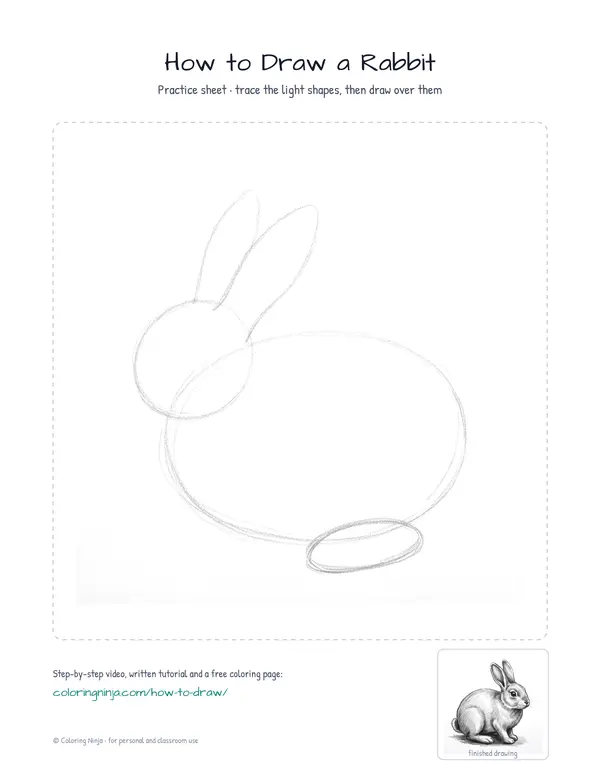
Use the blue col-erase pencil to lightly draw a large horizontal oval and a smaller circle for the head.
Common mistake: Do not press hard on the paper; these blue lines are just a guide and should be very light.

Step 2: Ears and legs
Still with the blue pencil, add two long leaf shapes for ears and a small oval for the hind foot.
Common mistake: Avoid making the ears too short; rabbit ears are often as long as their heads.

Step 3: Head and ear outline
Switch to the 2B pencil and draw a clean line around the head and the outer edges of the ears.
Common mistake: Do not trace the blue lines perfectly; use them as a guide to find a more natural, slightly fuzzy edge.

Step 4: Body and tail outline
Use the 2B pencil to outline the back, the curve of the chest, the hind leg, and the tail.
Common mistake: Avoid drawing a perfectly smooth circle for the tail; use short, jagged lines to suggest fur.

Step 5: Facial features
With the 2B pencil, draw the eye, the nose, and the inner line of the ear to show depth.
Common mistake: Do not place the eye in the center of the face; move it toward the side of the head.

Step 6: Fur texture
Add short, flicking strokes with the 2B pencil to show the direction the fur grows.
Common mistake: Do not draw long, straight lines; keep the strokes short and varied to look like soft fur.

Step 7: Block in shadows
Switch to the 4B pencil and lightly shade the right side of the rabbit, away from the light.
Common mistake: Avoid shading the entire rabbit; leave the left side white to show where the light hits.

Step 8: Deep shadows
Use the 6B pencil for the darkest spots like the eye and add a cast shadow on the ground.
Common mistake: Do not forget the cast shadow on the ground, or the rabbit will look like it is floating.

Step 9: Highlights and cleanup
Use the kneaded eraser to dab away small spots of graphite for highlights on the eye and the back.
Common mistake: Do not rub with the eraser; press and lift to keep the highlights crisp and clean.
What makes it look right
- Keep your pencil sharp to make the fur texture look realistic and fine.
- Group your shading strokes together to create smooth transitions between light and dark.
- Use the blue pencil very lightly so it does not show through the final graphite layers.
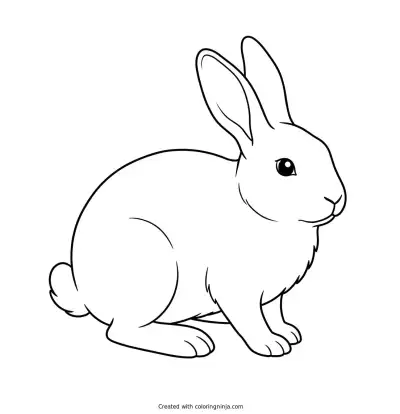
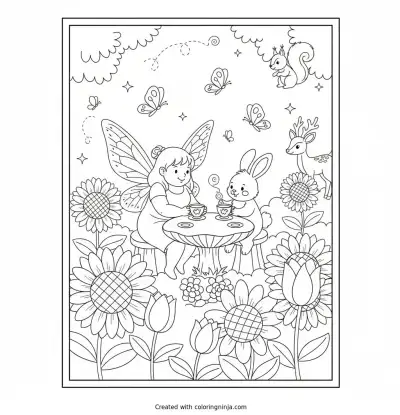
Get the finished coloring page
The clean outline from step 6, ready to print and colour.
View the coloring pageThe whole lesson on one sheet
All 9 steps with their captions on one page. Print it and keep it next to your paper.

The rabbit is now complete with form and texture. Try drawing another rabbit in a different pose, such as standing on its hind legs.