Drawing a penguin starts with balancing a large body on short legs. This lesson focuses on the rounded shape and the contrast between light and dark feathers. You will end with a shaded penguin standing on the ice.
The upright balance of a tuxedo bird
Penguins have a thick layer of blubber and feathers that create a smooth, teardrop-shaped profile. Their wings are stiff flippers used for swimming, and their feet are set far back on the body for upright balance.
What you need
- 2B graphite pencil
- 4B or 6B graphite pencil for the darkest shadows
- Blue col-erase pencil for the construction lines
- Kneaded eraser
- Cream or white drawing paper
The 8 steps
Light comes from the upper left in every step. Each picture shows the drawing as it should look when that step is done.

Step 1: Basic body volumes
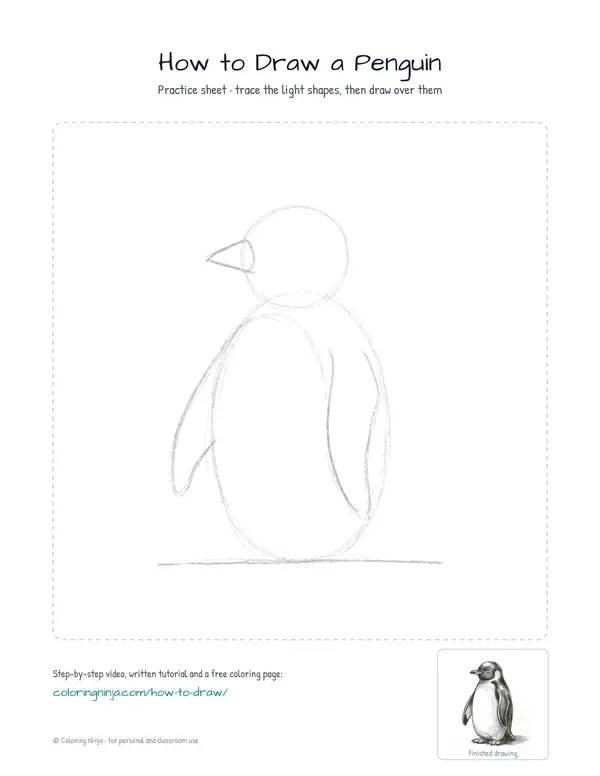
Use the blue col-erase pencil to draw a large vertical oval and a smaller circle on top for the head.
Common mistake: Beginners often make the head too small, so ensure it is about one-third the size of the body oval.

Step 2: Placement and flippers
With the blue pencil, add a ground line, a beak triangle, and two curved flipper shapes on the sides.
Common mistake: Do not draw the flippers sticking straight out; let them hang down close to the body sides.

Step 3: Main body outline
Switch to the 2B pencil to draw a smooth outline around the head and body, following your blue guides.
Common mistake: Avoid making sharp corners at the neck where the circle and oval meet.

Step 4: Face and belly markings
Using the 2B pencil, draw the eye and beak line, then add a large curve to mark the white belly area.
Common mistake: If the belly curve is too straight, the penguin will look flat instead of round.

Step 5: Feet and flipper edges
Add the feet and the inner lines of the flippers with the 2B pencil.
Common mistake: Draw the feet wide and flat on the ground line to give the penguin stability.

Step 6: Shadow block-in
Switch to the 4B pencil and lightly shade the entire right side of the penguin to define the shadow.
Common mistake: Do not press too hard yet; keep this first layer of shadow even and light.

Step 7: Dark tones and cast shadow
Use the 6B pencil for the darkest feathers on the back and head, and add a cast shadow on the ground.
Common mistake: Leaving the back too light will make the penguin look like it is only one color.

Step 8: Final highlights
Use the kneaded eraser to dab and lift graphite from the top of the head and the left shoulder.
Common mistake: Avoid rubbing the eraser, which can smudge; just press and lift to keep the white areas clean.
What makes it look right
- Keep your construction lines very light so they disappear under the darker graphite later.
- Follow the curve of the body when shading to help the penguin look three-dimensional.
- Leave the belly area completely white to create a strong contrast with the dark back.
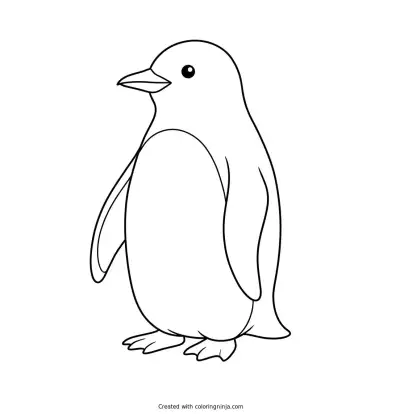
Get the finished coloring page
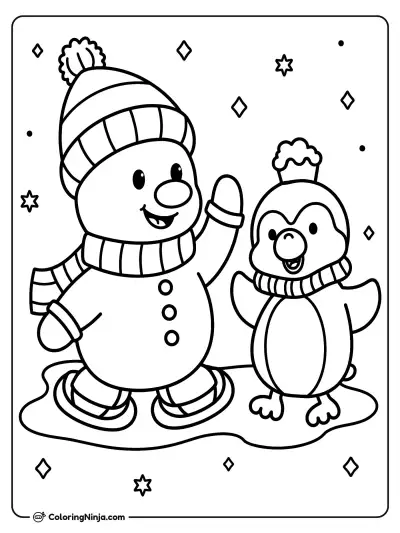
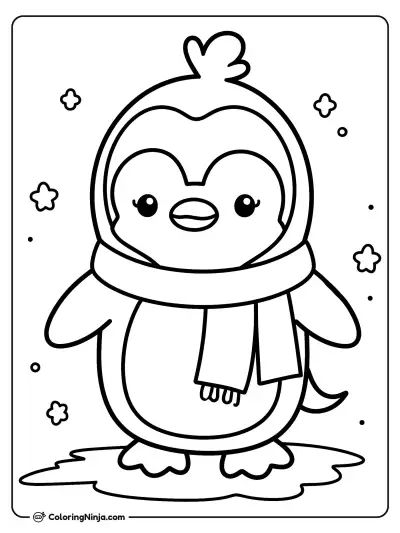
The clean outline from step 5, ready to print and colour.
View the coloring pageThe whole lesson on one sheet
All 8 steps with their captions on one page. Print it and keep it next to your paper.

The penguin is now complete with its characteristic tuxedo markings and rounded form. Try drawing a smaller chick next to it using the same oval steps.