Mermaids combine human anatomy with a long, muscular fish tail. Getting the curve of the spine right ensures the pose looks fluid rather than stiff. You will end up with a shaded mermaid sitting on a rock.
The long curve of a swimming tail
The human portion of a mermaid usually follows standard proportions from the head to the waist. The tail is often twice as long as the torso to provide enough power for swimming.
What you need
- 2B graphite pencil
- 4B or 6B graphite pencil for the darkest shadows
- Blue col-erase pencil for the construction lines
- Kneaded eraser
- Cream or white drawing paper
The 9 steps
Light comes from the upper left in every step. Each picture shows the drawing as it should look when that step is done.
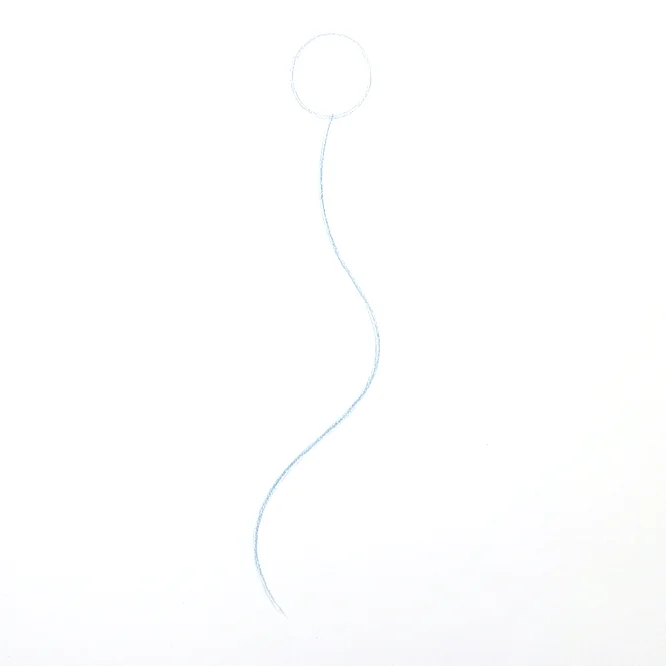
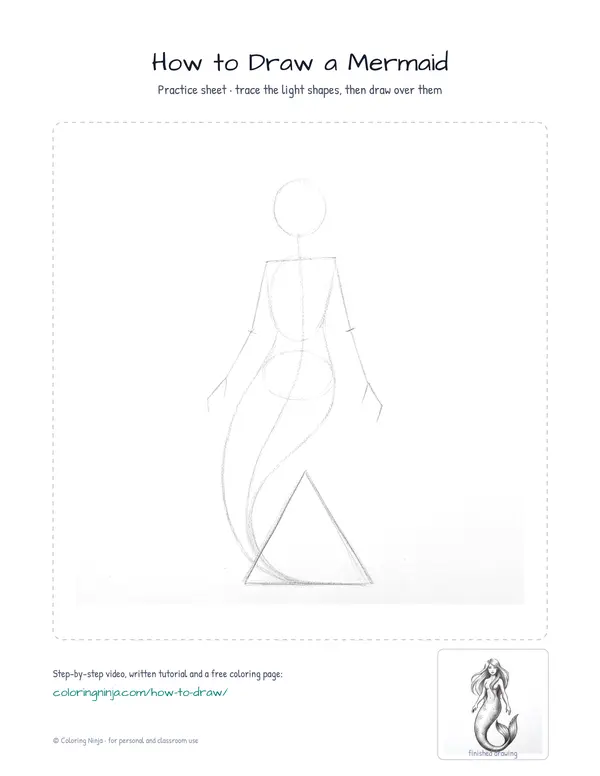
Step 1: Head and spine
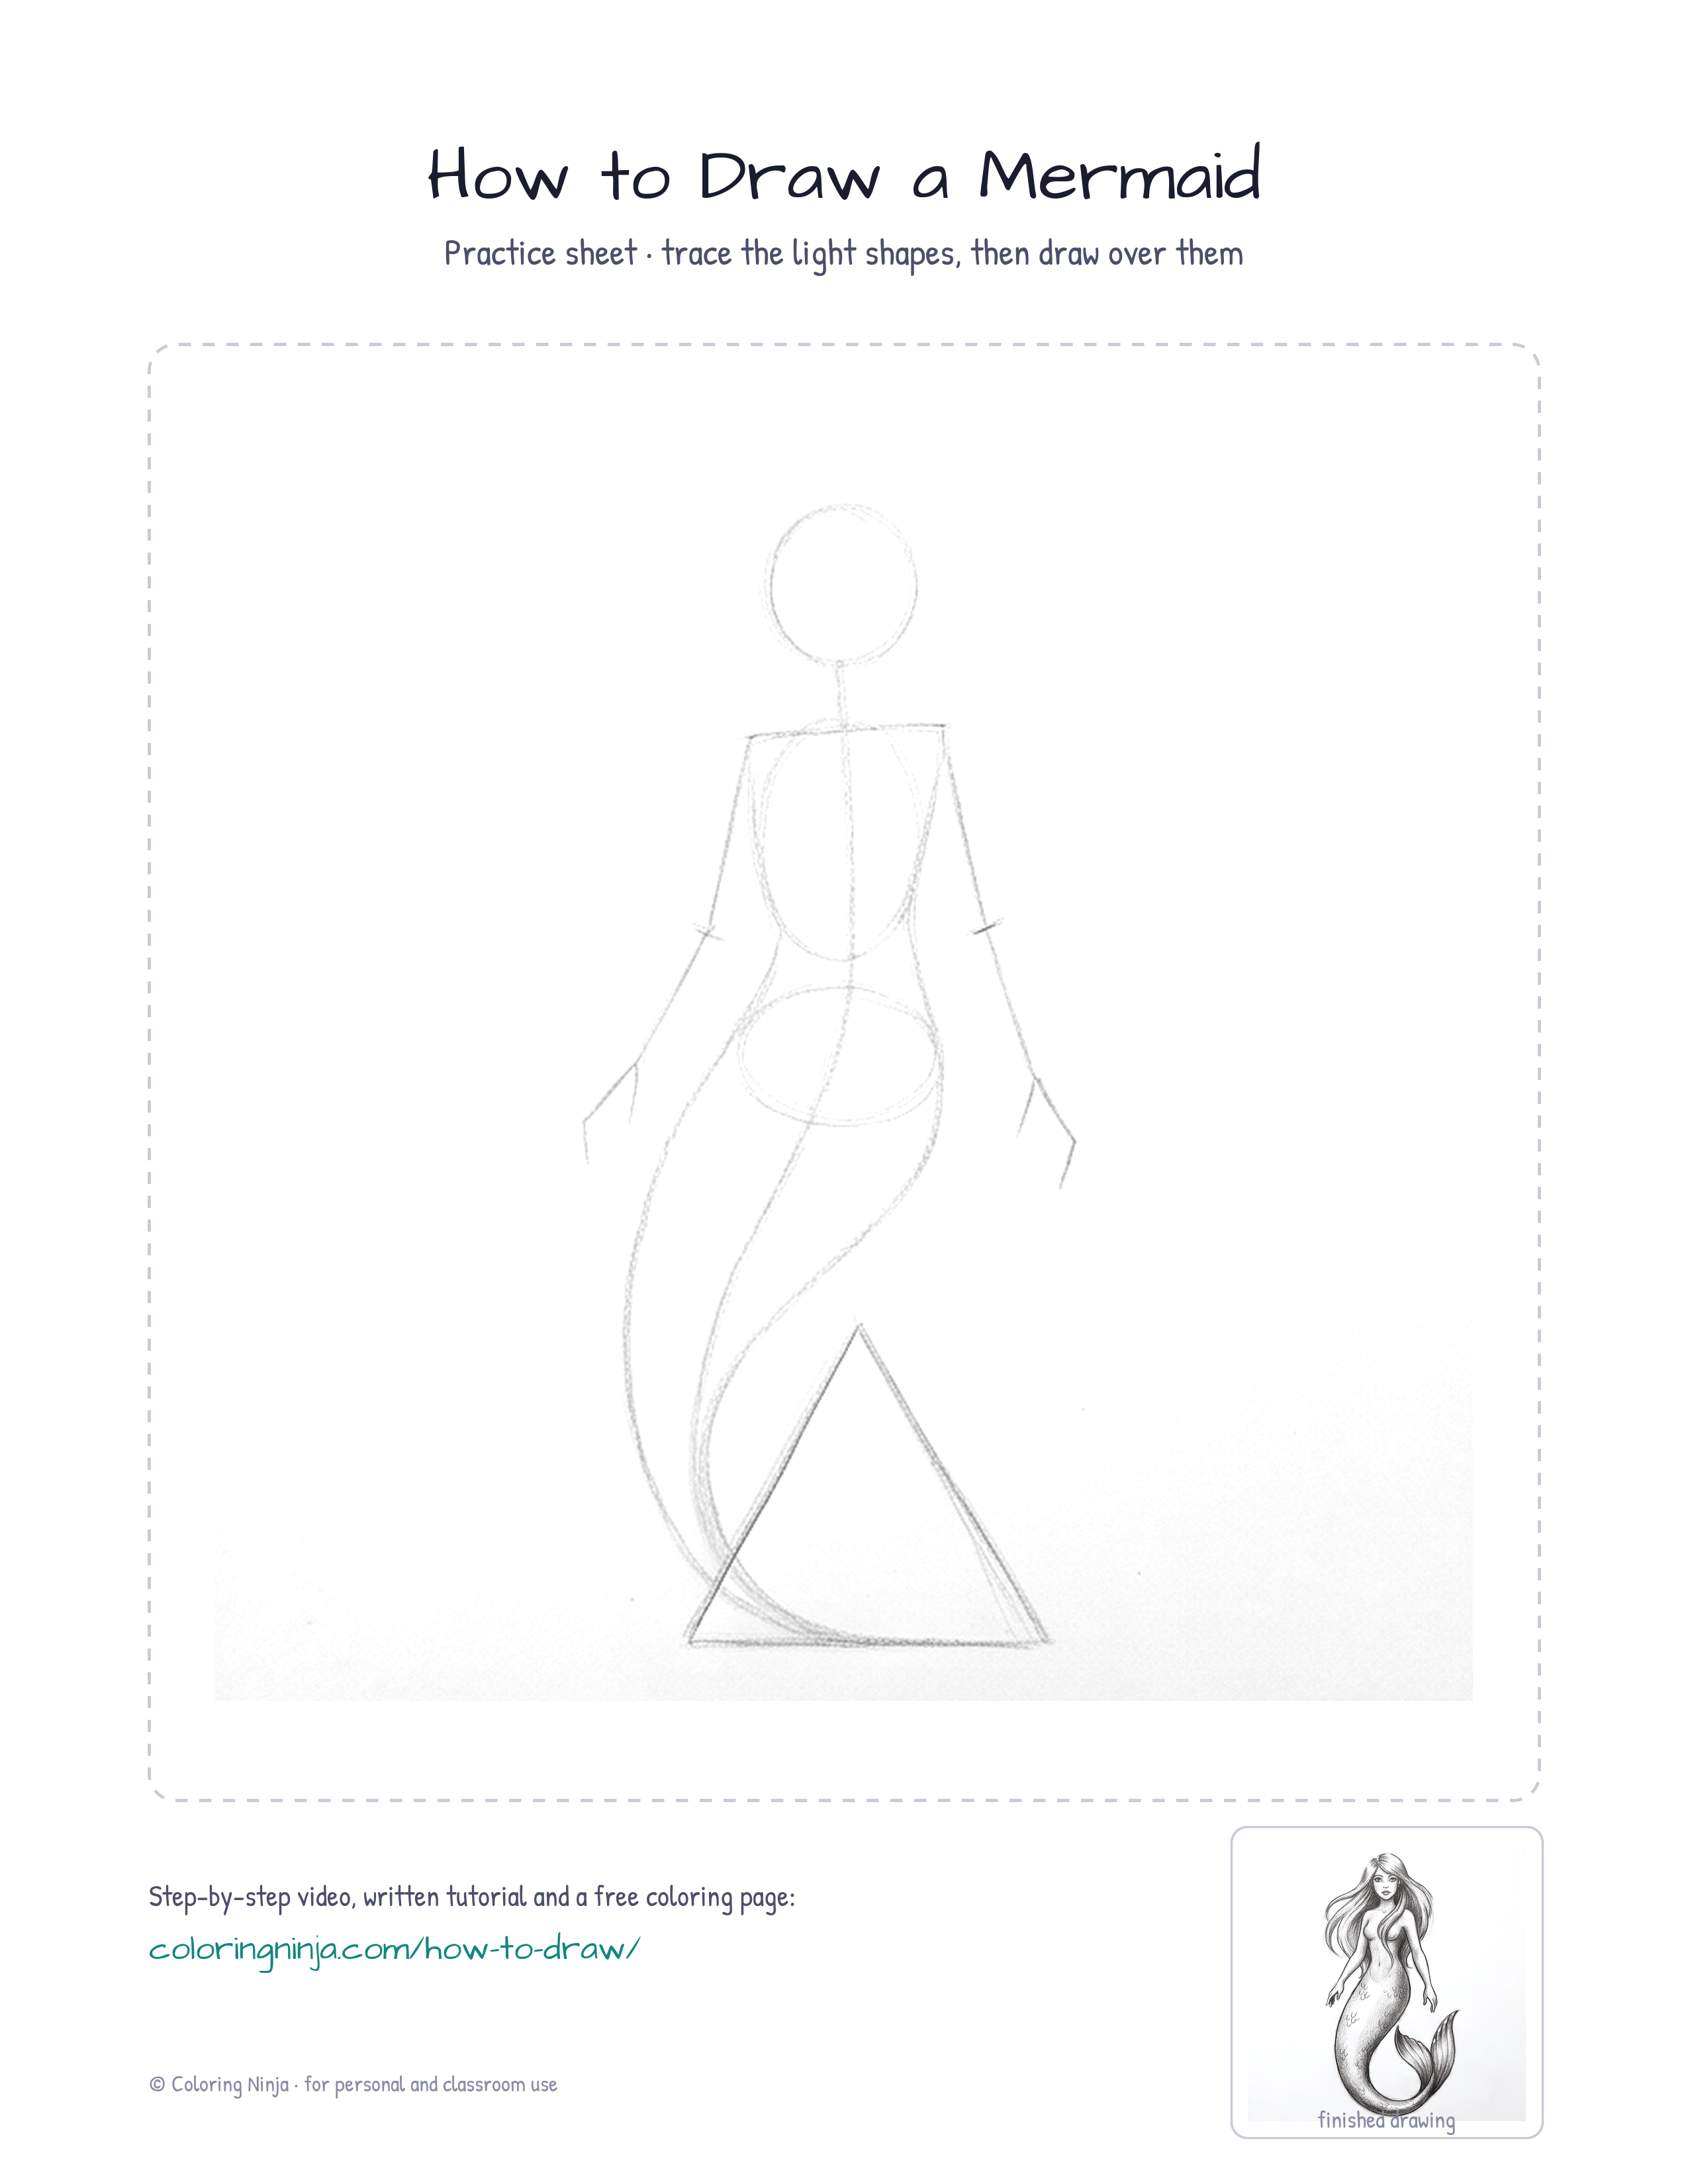
Use the blue col-erase pencil to draw a small circle for the head and a long S-shaped line for the spine.
Common mistake: Avoid making the spine line too short or the mermaid will look cramped on the page.
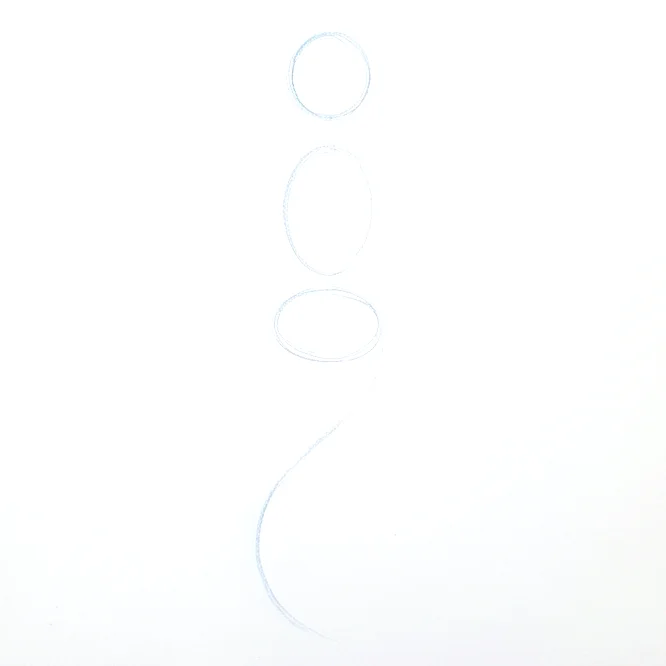
Step 2: Torso and hips
Sketch a vertical oval for the chest and a smaller one below it for the hips, following the spine line.
Common mistake: Do not space the ovals too far apart or the waist will look unnaturally long.
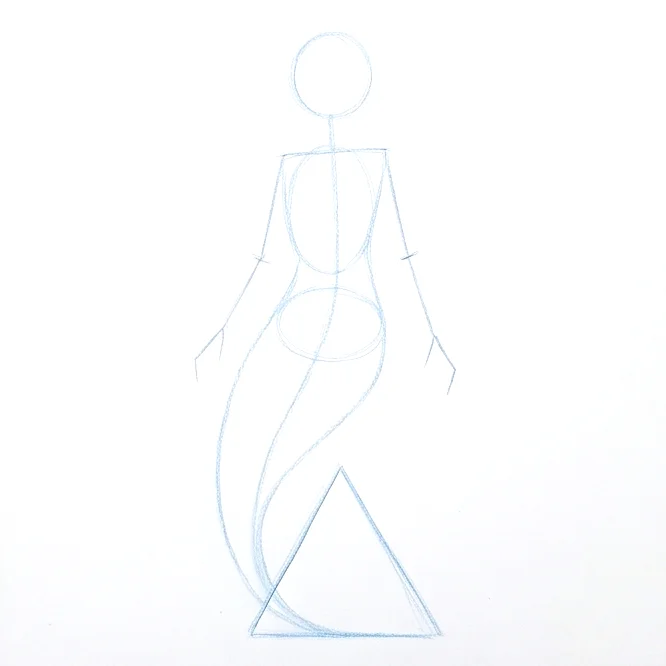
Step 3: Arms and fin
Draw lines for the arms and a wide triangle at the end of the tail for the fin.
Common mistake: Making the tail fin too small makes the mermaid look unbalanced and weak.

Step 4: Human upper body
Switch to the 2B pencil to outline the face, neck, and shoulders over the blue construction lines.
Common mistake: Pressing too hard now makes it difficult to fix the face shape later if you change your mind.

Step 5: Arms and tail contour
Use the 2B pencil to draw the thickness of the arms and the smooth, tapering curve of the fish tail.
Common mistake: Avoid making the tail look like a straight tube; keep it tapering gradually toward the end.

Step 6: Hair and scales
Add the facial features, long flowing hair, and small U-shaped scales along the tail with the 2B pencil.
Common mistake: Drawing every single scale can look messy; just add enough to suggest the texture of the skin.

Step 7: Shadow block-in
Switch to the 4B pencil and lightly shade the right side of the hair, torso, and tail away from the light.
Common mistake: Shading the whole body evenly will make the mermaid look flat rather than rounded.

Step 8: Darkest darks
Use the 6B pencil to add dark shadows under the hair, where the arms meet the body, and the tail fin.
Common mistake: Forgetting the cast shadow where the hair touches the shoulders makes the hair look like it is floating.

Step 9: Highlights
Use the kneaded eraser to lift highlights on the top of the head, shoulders, and the curve of the tail.
Common mistake: Rubbing too hard with the eraser can smudge the graphite instead of lifting it cleanly.
What makes it look right
- Keep the hair lines long and wavy to suggest movement in the water.
- Overlap the scales slightly to make the tail look more like a real fish.
- Use very light pressure with the blue pencil so it disappears under the graphite shading.
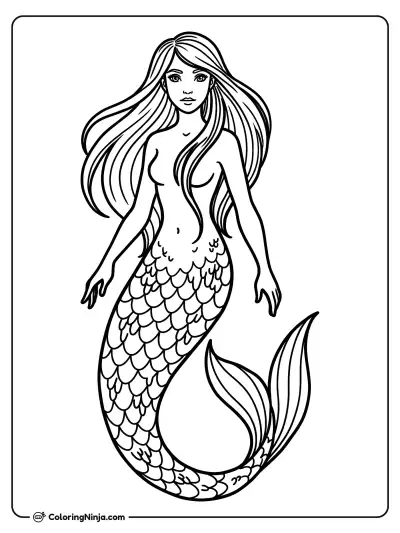
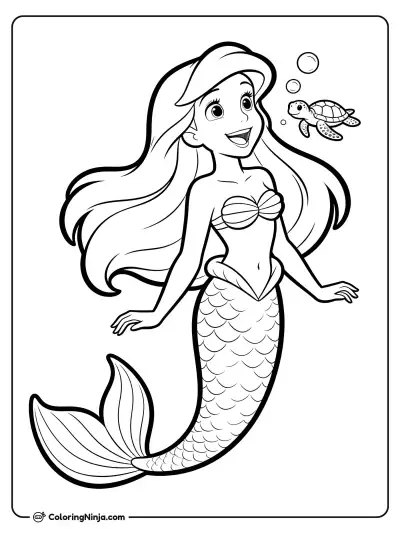
Get the finished coloring page
The clean outline from step 6, ready to print and colour.
View the coloring pageThe whole lesson on one sheet
All 9 steps with their captions on one page. Print it and keep it next to your paper.

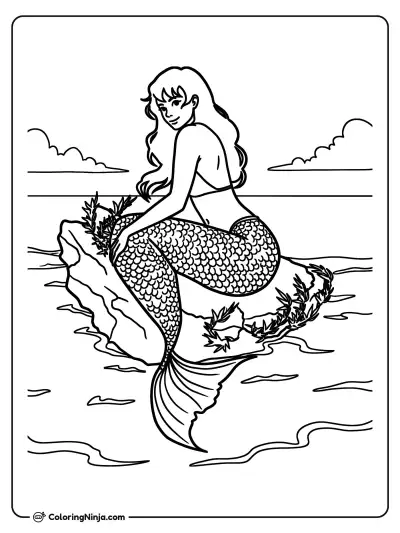
The mermaid is now complete with realistic form and texture. Try drawing a rock or some seaweed behind her to give her a place to sit.