Lions are built from heavy, powerful shapes that connect at the shoulders and hips. Starting with simple circles prevents the body from looking too long or thin. This lesson builds a standing lion from construction shapes to a finished shaded drawing.
The heavy mane and powerful shoulders
A lion's mane starts behind the ears and covers the neck and chest, hiding the transition between the head and shoulders. The tail is long with a distinct tuft of dark hair at the very end.
What you need
- 2B graphite pencil
- 4B or 6B graphite pencil for the darkest shadows
- Blue col-erase pencil for the construction lines
- Kneaded eraser
- Cream or white drawing paper
The 9 steps
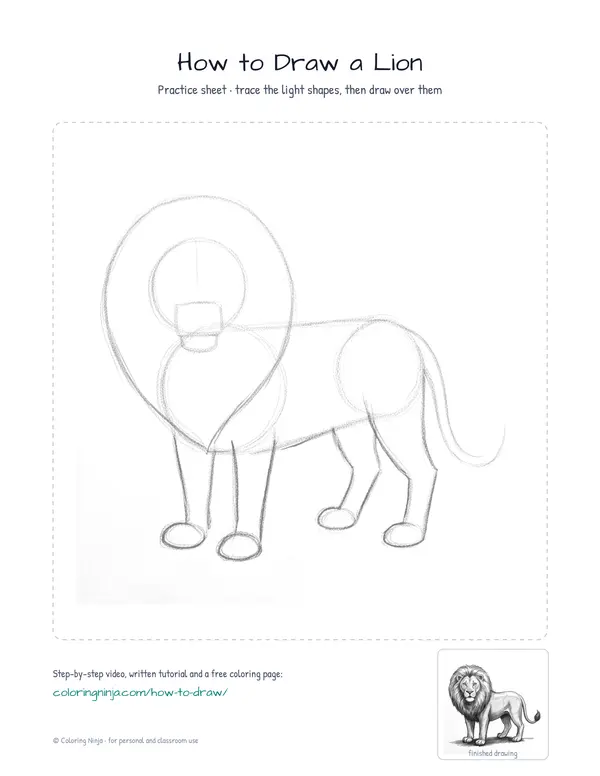
Light comes from the upper left in every step. Each picture shows the drawing as it should look when that step is done.

Step 1: Basic body shapes
Use the blue col-erase pencil to draw two large circles for the body and a smaller circle for the head.
Common mistake: Beginners often put the head too high; keep the head circle close to the chest circle to show a thick neck.

Step 2: Muzzle and legs
Add a small square for the snout and draw straight lines down from the body for the legs with ovals for paws.
Common mistake: Avoid making the legs too thin; lions have thick, heavy legs to support their weight.

Step 3: Mane and tail outline
Sketch a large teardrop shape starting from the top of the head down to the chest for the mane.
Common mistake: Do not make the mane perfectly round; let it taper down toward the chest.

Step 4: Refine the body outline
Switch to the 2B pencil and draw the final outline of the back, legs, and belly over your blue lines.
Common mistake: Do not follow the blue circles exactly; smooth out the transitions between the circles to create a flat back.

Step 5: Face and mane details
Use the 2B pencil to add the eyes, a triangular nose, and short jagged strokes for the fur texture in the mane.
Common mistake: Avoid drawing every single hair; use small groups of jagged lines to suggest the texture instead.

Step 6: Paws and tail tuft
Draw small curved lines for the toes on each paw and add a fuzzy shape to the end of the tail.
Common mistake: Do not forget the tail tuft, as it is a key feature of a lion's silhouette.

Step 7: Block in shadows
Switch to the 4B pencil and lightly shade the right side of the body and the underside of the belly.
Common mistake: Beginners often shade the entire drawing; keep the left side white to show where the light hits.

Step 8: Darkest darks
Use the 6B pencil to darken the deepest parts of the mane and the shadows under the lion's body.
Common mistake: Pressing too hard can smudge the paper; use short, controlled strokes to build up the dark areas.

Step 9: Highlights and cast shadow
Draw a flat shadow on the ground with the 6B and use the kneaded eraser to lift highlights on the back.
Common mistake: A floating lion looks unfinished; make sure the cast shadow touches the bottom of the paws.
What makes it look right
- Keep the blue construction lines very light so they are easy to hide later.
- Use the side of the graphite pencil for broader shading in the mane.
- Make the tail tuft darker than the rest of the body fur.
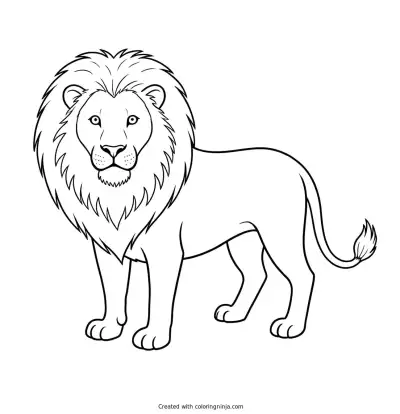
Get the finished coloring page
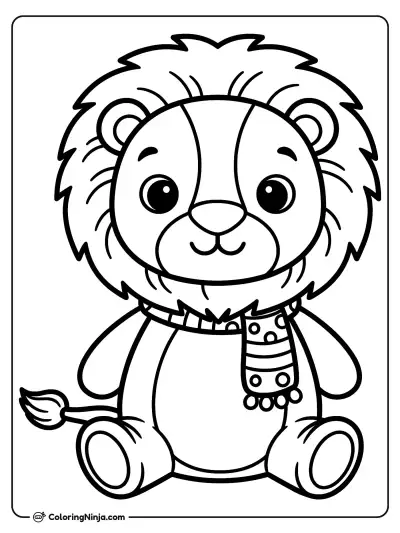
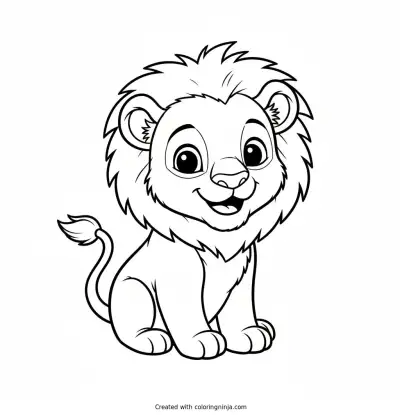
The clean outline from step 6, ready to print and colour.
View the coloring pageThe whole lesson on one sheet
All 9 steps with their captions on one page. Print it and keep it next to your paper.

The lion is now complete with form and texture. Practice drawing the lion from a side view to understand its full length.