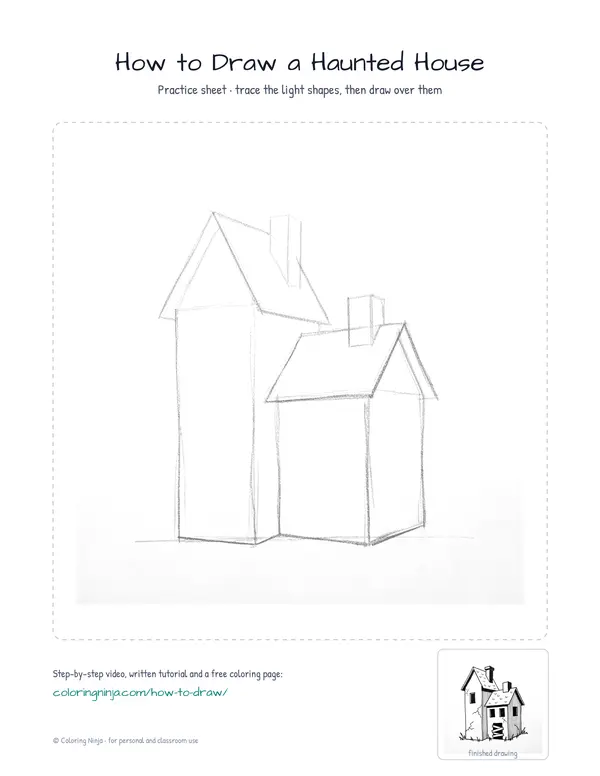
Haunted houses often look like they are leaning or falling over. Drawing them starts with straight lines that you slowly make crooked. You will end up with a spooky building full of shadows and cracks.
The sharp angles of spooky houses
Haunted houses often feature Victorian architecture with steep gables, tall windows, and narrow towers. These high vertical shapes create deep shadows that make a building look mysterious.
What you need
- HB pencil for the construction lines
- 0.3 mm black fineliner
- 0.8 mm black fineliner
- Black brush pen for the darkest accents
- Eraser
- Smooth white paper
The 9 steps
Light comes from the upper left in every step. Each picture shows the drawing as it should look when that step is done.

Step 1: Basic building blocks
Draw a horizontal ground line and two tall, narrow rectangles using the HB pencil.
Common mistake: Drawing the rectangles perfectly straight; tilting them slightly makes the house look like it is sinking into the ground.

Step 2: Roofs and chimney
Add triangles for the roofs and a small box for the chimney with the HB pencil.
Common mistake: Making the roofs too flat; steep, pointed roofs look more like traditional haunted houses.

Step 3: Main house contour
Trace the outer edges with the 0.8 fineliner, making some lines slightly crooked or slanted.
Common mistake: Making the lines too smooth; a haunted house looks better with slightly wobbly or jagged lines.

Step 4: Windows and door
Switch to the 0.3 fineliner to add rectangular windows and a door with wooden planks across them.
Common mistake: Making windows all the same size; vary the sizes to make the house look old and repaired.

Step 5: Wood and roof texture
Draw small 'u' shapes for shingles and jagged lines for cracks using the 0.3 fineliner.
Common mistake: Overcrowding the cracks; leave some empty space so the texture does not look messy.

Step 6: Shadow hatching
Use the 0.3 fineliner to draw thin vertical lines on the right side of the house for shadows.
Common mistake: Hatching in different directions; keep all shadow lines vertical for a consistent look.

Step 7: Cast shadows
Add more vertical lines on the ground to the right of the house for the cast shadow.
Common mistake: Forgetting the ground shadow; a cast shadow makes the house look like it is sitting on the ground.

Step 8: Deepest blacks
Fill in the window glass and the chimney opening with solid black using the brush pen.
Common mistake: Filling in the whole house with the brush pen; only use it for the darkest holes like windows.

Step 9: Clean up and grass
Erase the pencil lines and add a few tufts of grass at the base with the 0.3 fineliner.
Common mistake: Erasing while the ink is still wet; wait a full minute to avoid smudging the black ink.
What makes it look right
- Keep your hatching lines evenly spaced to make the shadows look smooth.
- Draw the cracks with a very light hand so they look like thin breaks in the wood.
- Use the thick brush pen only for the largest dark areas to avoid losing small details.
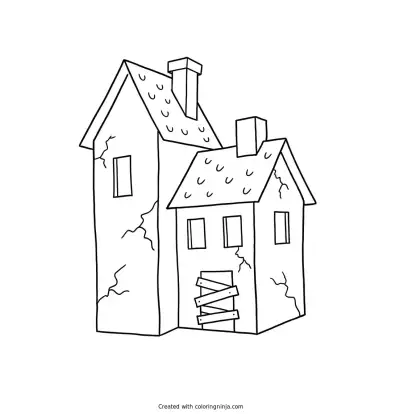
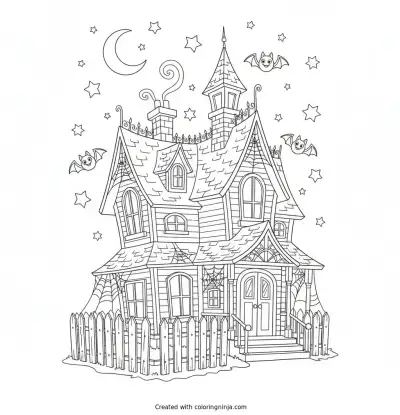
Get the finished coloring page
The clean outline from step 5, ready to print and colour.
View the coloring pageThe whole lesson on one sheet
All 9 steps with their captions on one page. Print it and keep it next to your paper.

Add a small yellow moon in the sky if you want to use colored pencils later. Place your drawing in a dark frame to match the mood.