Flowers start with a center point and radial lines to keep the petals even. This lesson uses a lily to show how petals curve away from the middle. You will end up with a shaded flower on a stem.
The six curving petals of a lily
Lilies have six petals that often curve backward at the tips. The long stalks in the middle are called stamens and they always grow from the very center of the flower.
What you need
- 2B graphite pencil
- 4B or 6B graphite pencil for the darkest shadows
- Blue col-erase pencil for the construction lines
- Kneaded eraser
- Cream or white drawing paper
The 8 steps
Light comes from the upper left in every step. Each picture shows the drawing as it should look when that step is done.

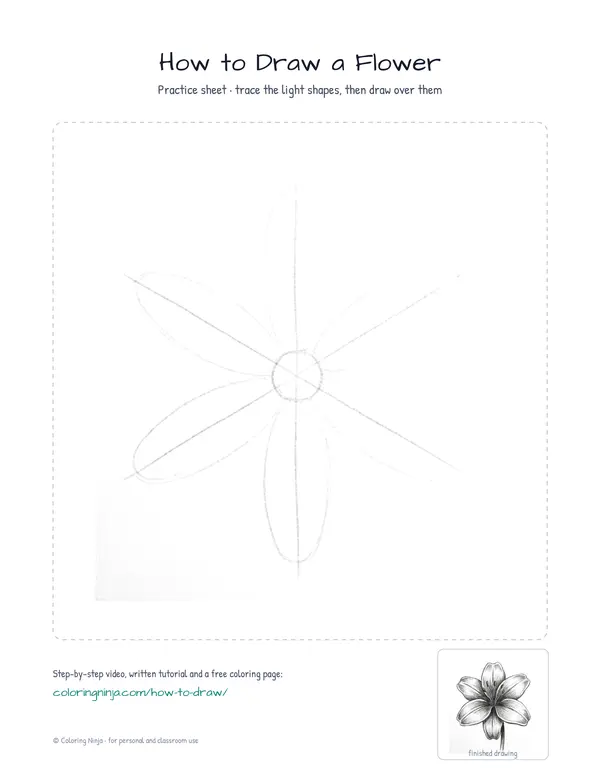
Step 1: Center and guides
Use the blue col-erase to draw a small circle and six lines of equal length pointing out.
Common mistake: Making lines different lengths will result in a lopsided flower.

Step 2: Petal widths
Still with the blue pencil, draw thin ovals around each line to mark how wide the petals will be.
Common mistake: Drawing ovals too wide makes the flower look crowded.

Step 3: Front petals
Switch to the 2B pencil and draw the edges of three petals, making the tips slightly pointed and curvy.
Common mistake: Following the blue ovals too perfectly makes the petals look like balloons.

Step 4: Back petals
Use the 2B pencil to draw the remaining three petals so they appear to sit behind the first set.
Common mistake: Forgetting to stop the lines where they hit the front petals ruins the overlapping effect.

Step 5: Stem and stamens
Draw a thick stem with the 2B pencil and add six thin lines with small pods at the tips.
Common mistake: Making the stamens too short or thick makes the center look crowded and messy.

Step 6: Shadow block-in
Switch to the 4B pencil and lightly shade the right side of every petal to show the light direction.
Common mistake: Shading the whole petal makes the flower look flat and dark.

Step 7: Darkest darks
Use the 6B pencil to darken the very center of the flower and the areas where petals overlap.
Common mistake: Using the 6B everywhere will smudge the whole drawing into a grey mess.

Step 8: Final highlights
Use the kneaded eraser to tap and lift the graphite from the top left edges of the petals for highlights.
Common mistake: Rubbing too hard with the eraser can tear the paper or smudge the darks.
What makes it look right
- Keep your blue construction lines very light so they do not show through the final shading.
- Sharpen your 2B pencil frequently to keep the petal edges crisp and clean.
- When shading with the 4B, follow the curve of the petal to make it look three-dimensional.
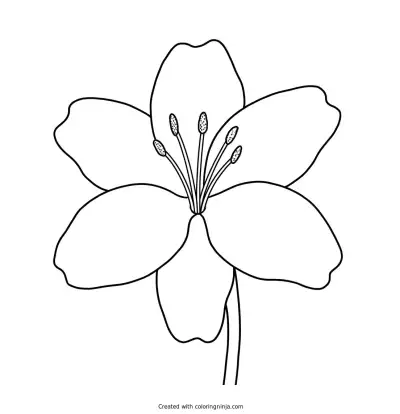
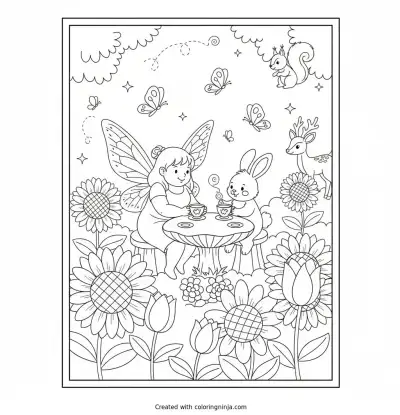
Get the finished coloring page
The clean outline from step 5, ready to print and colour.
View the coloring pageThe whole lesson on one sheet
All 8 steps with their captions on one page. Print it and keep it next to your paper.

Practice drawing flowers from different angles to see how the petal shapes change. Try drawing a bunch of lilies together in a vase next.