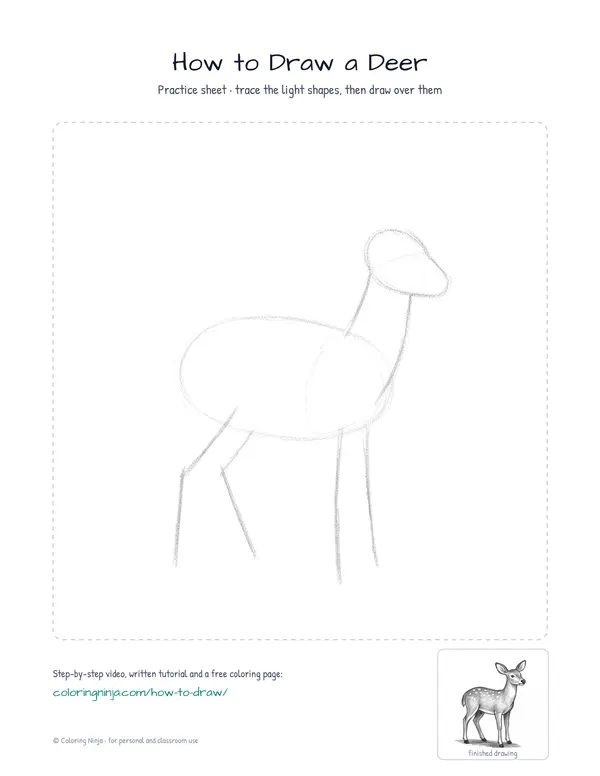
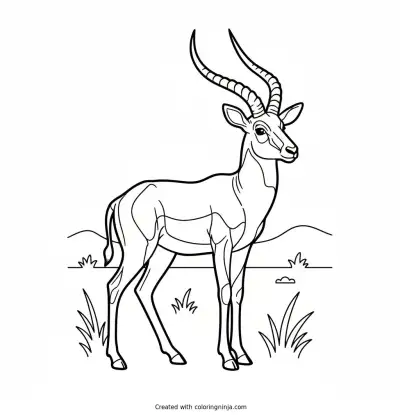
Drawing a deer starts with the balance of the long neck and the sturdy body. This lesson uses simple shapes to build the proportions before adding the details of the face and fur. You will end up with a standing deer in a natural pose.
Why deer legs look so thin
A deer's legs are thin but strong, with the joints of the back legs bending visibly. The ears are large and pivot to catch sounds, often appearing as teardrop shapes on the head.
What you need
- 2B graphite pencil
- 4B or 6B graphite pencil for the darkest shadows
- Blue col-erase pencil for the construction lines
- Kneaded eraser
- Cream or white drawing paper
The 9 steps
Light comes from the upper left in every step. Each picture shows the drawing as it should look when that step is done.

Step 1: Body and head ovals
Use the blue col-erase pencil to draw a large oval for the body and a smaller oval above it for the head.
Common mistake: Placing the head too close to the body; leave enough space for a long neck.

Step 2: Neck and leg lines
Connect the ovals with two neck lines and draw four straight lines down for the legs using the blue col-erase pencil.
Common mistake: Making the legs too short; a deer's legs are often as long as its body height.

Step 3: Body and neck contour
Switch to the 2B pencil and draw a smooth line over the blue shapes to define the back, neck, and chest.
Common mistake: Following the ovals exactly; the neck should blend smoothly into the shoulders.

Step 4: Legs and hooves
Use the 2B pencil to draw the thickness of the legs around the blue lines, adding small blocks at the bottom for hooves.
Common mistake: Drawing the legs like straight tubes; remember to add a slight bulge for the joints.

Step 5: Face and ears
Add two large teardrop shapes for ears and a small circle for the eye with the 2B pencil.
Common mistake: Making the ears too small; deer have very large, alert ears.

Step 6: Tail and facial features
Draw a short, flicked tail and refine the nose and mouth using the 2B pencil.
Common mistake: Drawing a long tail; deer tails are short and usually point down or slightly out.

Step 7: Shadow block-in
Switch to the 4B pencil and lightly shade the right side of the deer, away from the upper left light.
Common mistake: Shading the whole body; keep the left side white to show where the light hits.

Step 8: Darkest darks
Use the 6B pencil to darken the inner ears, the bottom of the belly, and the hooves.
Common mistake: Using the same pressure everywhere; press harder with the 6B for the deepest shadows.

Step 9: Cast shadow and highlights
Draw a cast shadow on the ground with the 6B and lift small spots on the back with the kneaded eraser.
Common mistake: Forgetting the ground shadow; without it, the deer looks like it is floating.
What makes it look right
- Keep the blue construction lines light so they do not show through the final shading.
- Use short, flicking strokes with the 2B pencil to suggest the texture of fur.
- Keep the eye small and dark to maintain a realistic look.
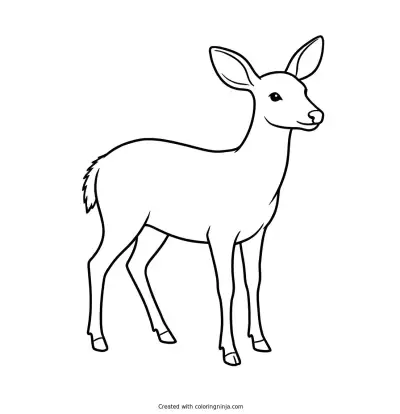
Get the finished coloring page
The clean outline from step 6, ready to print and colour.
View the coloring pageThe whole lesson on one sheet
All 9 steps with their captions on one page. Print it and keep it next to your paper.

The deer is now complete with form and shadow. Try drawing a smaller fawn next to it using the same steps.