Drawing a crab starts with a wide, flat body and symmetrical limbs. Many beginners make the legs too straight, but they actually have distinct joints. This lesson builds a realistic crab with a hard shell and sharp claws.
The sideways walker with ten legs
Crabs have a hard exoskeleton called a carapace and ten legs in total, including the two front claws. Their eyes are on stalks, allowing them to see in many directions while hiding in the sand.
What you need
- 2B graphite pencil
- 4B or 6B graphite pencil for the darkest shadows
- Blue col-erase pencil for the construction lines
- Kneaded eraser
- Cream or white drawing paper
The 8 steps
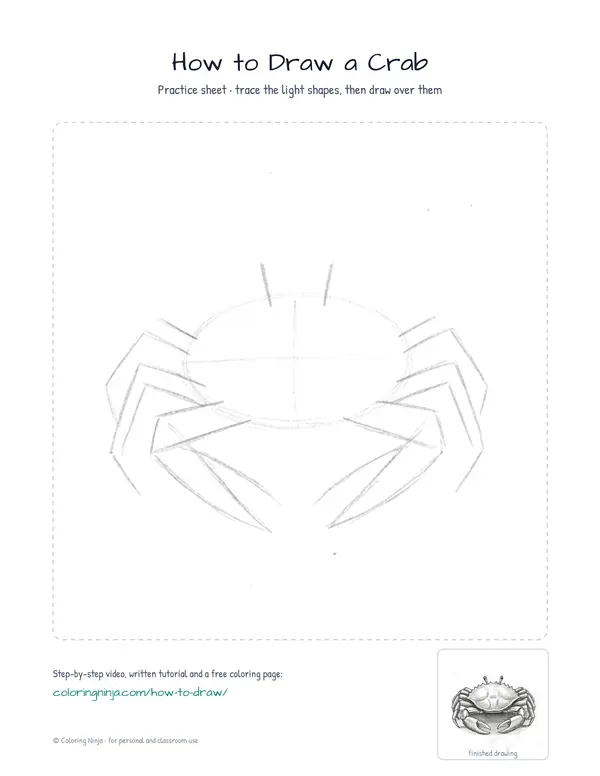
Light comes from the upper left in every step. Each picture shows the drawing as it should look when that step is done.

Step 1: Body and eye stalks
Use the blue col-erase pencil to draw a wide oval and two small stalks for the eyes.
Common mistake: Do not make the oval a perfect circle; crabs are wider than they are long.

Step 2: Leg and claw guides
Draw four bent lines on each side for the walking legs and two larger guides for the claws with the blue pencil.
Common mistake: Avoid crowding the legs; space them evenly along the sides of the oval.

Step 3: The main shell
Switch to the 2B pencil to draw the sharp, pointed outer edge of the shell over the blue oval.
Common mistake: Do not draw a smooth line; a crab's shell often has small points or bumps at the sides.

Step 4: Claws and walking legs
Use the 2B pencil to draw thick segments for the legs and two large, hooked pincers on the front guides.
Common mistake: Do not make all legs the same size; the front claws should be much larger and thicker than the others.

Step 5: Eyes and shell patterns
Add small round eyes on the stalks and draw curved lines on the back of the shell with the 2B pencil.
Common mistake: Avoid placing the eyes directly on the body; they must sit at the top of the stalks.

Step 6: Shadow block-in
Switch to the 4B pencil and lightly shade the right side of every part to show the light is from the left.
Common mistake: Do not shade the whole crab; leave the left side white to represent the light source.

Step 7: Darks and cast shadow
Use the 6B pencil for the darkest spots under the shell and draw a flat shadow on the ground.
Common mistake: Do not forget the cast shadow on the ground, or the crab will look like it is floating in the air.

Step 8: Lifting highlights
Use the kneaded eraser to dab away small spots of graphite on the upper left edges for highlights.
Common mistake: Do not rub the eraser across the paper; dab it gently to keep the highlights crisp and clean.
What makes it look right
- Keep the leg joints angled sharply to make the crab look alert.
- Vary the pressure on the 2B pencil to make the shell edges look jagged.
- Ensure the cast shadow on the ground is flat and touches the bottom of the legs.
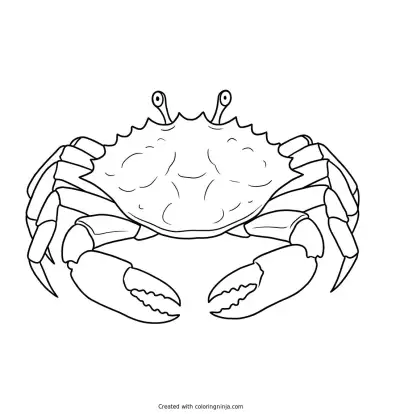
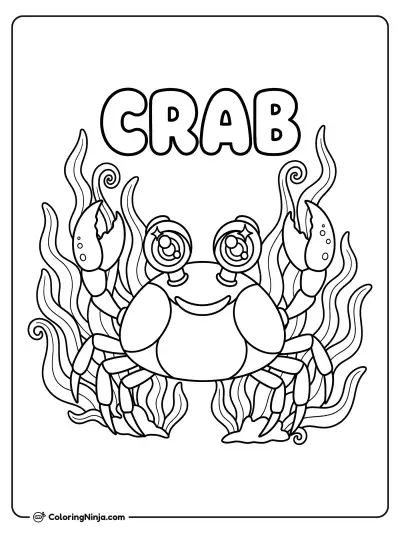
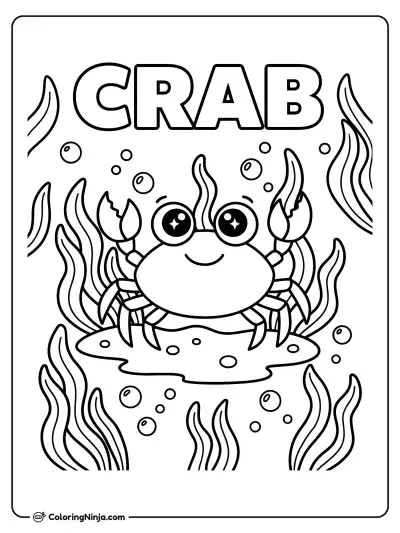
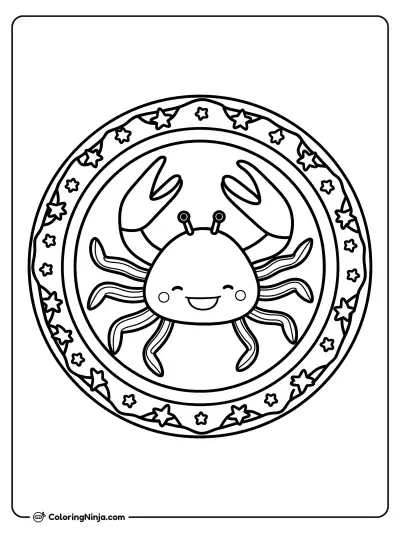
Get the finished coloring page
The clean outline from step 5, ready to print and colour.
View the coloring pageThe whole lesson on one sheet
All 8 steps with their captions on one page. Print it and keep it next to your paper.

The crab is now complete with form and shadow. Try drawing a few small rocks or some sand around the legs to finish the scene.