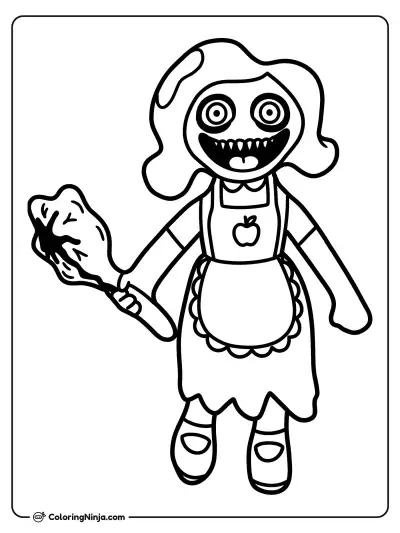
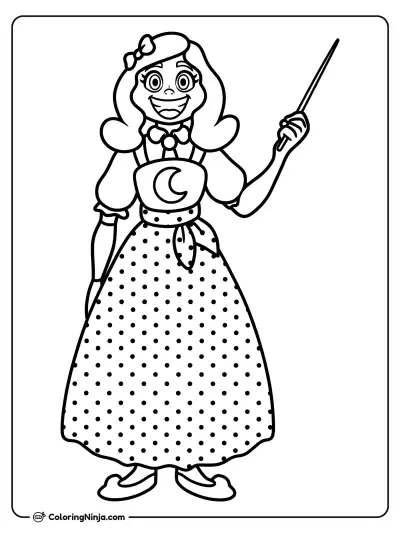
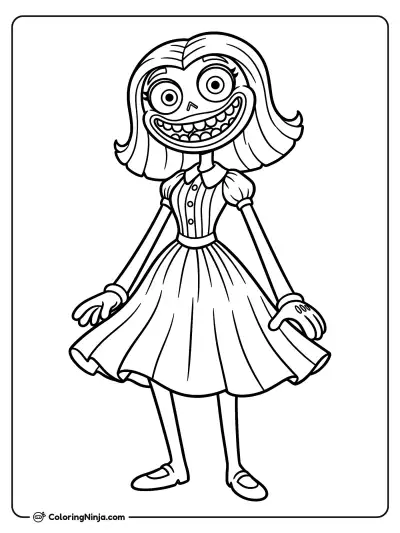
Drawing Miss Delight requires balancing her human-like proportions with the jagged edges of her broken face. Start with light construction lines to keep the large hair from overwhelming the body. You will finish with a shaded figure that looks like a worn-out doll.
The cracked porcelain of a tall teacher
Miss Delight is a tall, slender figure with a face made of cracked porcelain and very large, frizzy hair. She carries a ruler wrapped in barbed wire and wears a traditional schoolteacher's outfit.
What you need
- 2B graphite pencil
- 4B or 6B graphite pencil for the darkest shadows
- Blue col-erase pencil for the construction lines
- Kneaded eraser
- Cream or white drawing paper
The 9 steps
Light comes from the upper left in every step. Each picture shows the drawing as it should look when that step is done.

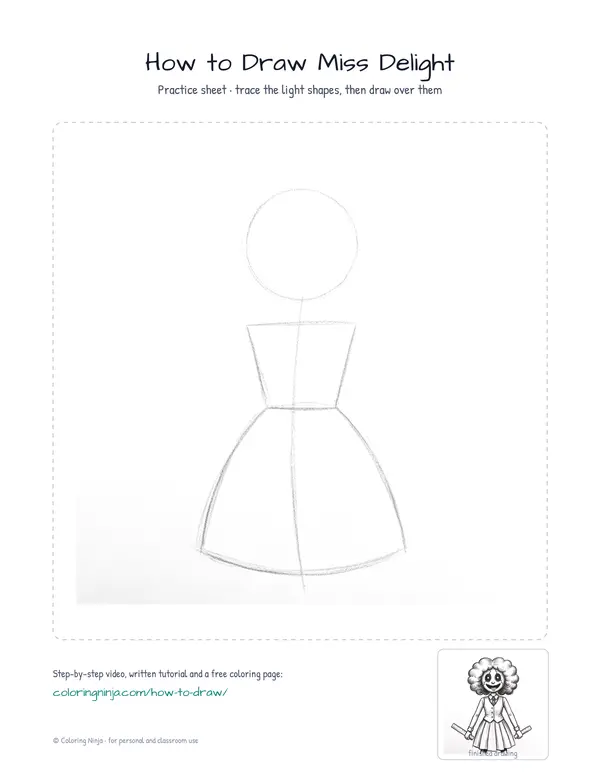
Step 1: Head and spine
Use the blue col-erase pencil to draw a circle for the head and a vertical line for the spine.
Common mistake: Beginners often draw the head too large, leaving no room for the body; keep the circle small enough to fit the torso below it.

Step 2: Torso and skirt
Still using the blue pencil, draw a trapezoid for the upper body and a wider bell shape for the skirt.
Common mistake: Do not make the torso too wide; Miss Delight has a very slender, doll-like frame.

Step 3: Hair and neck
Switch to the 2B pencil to draw the large, puffy outline of the hair and the thin neck.
Common mistake: Avoid making the hair outline too smooth; use irregular, wavy lines to show the messy texture.

Step 4: Arms and legs
Use the 2B pencil to draw the slender limbs, making the arms reach down toward the hips.
Common mistake: Avoid drawing thick limbs; keep them thin to match her toy-like appearance.

Step 5: Face and weapon
Draw the facial features and the long ruler in her hand using the 2B pencil.
Common mistake: Beginners often forget the cracks; draw these as thin, sharp zigzag lines across the cheeks and forehead.
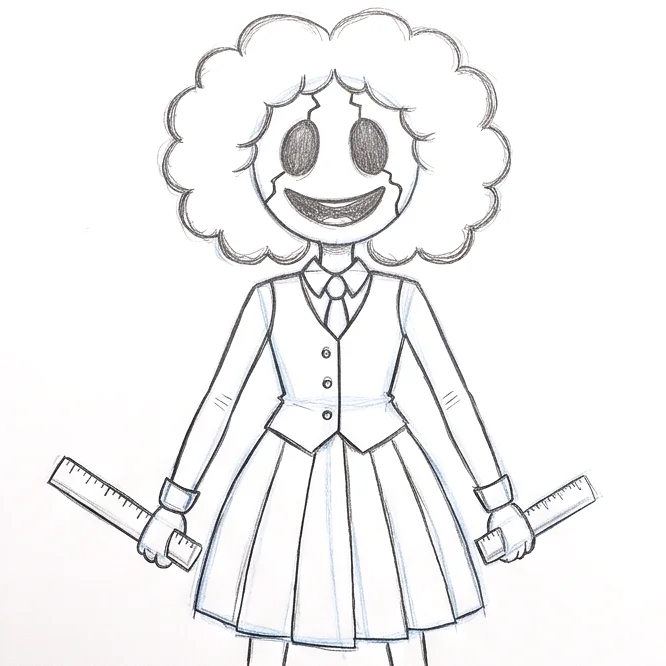
Step 6: Clothing details
Add the collar, buttons, and skirt pleats with the 2B pencil to complete the outfit.
Common mistake: Do not space the skirt pleats too far apart; keep them close together to show the fabric folds.

Step 7: Shadow block-in
Switch to the 4B pencil and lightly shade the right side of the entire figure.
Common mistake: Pressing too hard at this stage makes it difficult to blend; keep the pressure light and even.

Step 8: Darkest darks
Use the 6B pencil to fill in the darkest areas and add a cast shadow on the ground to the right.
Common mistake: Avoid making the face too dark; keep the shadows concentrated in the eyes and cracks for a spooky effect.

Step 9: Highlights
Use the kneaded eraser to lift graphite from the left side of the drawing where the light hits.
Common mistake: Do not erase too much; only lift small spots to create the look of shiny porcelain.
What makes it look right
- Keep the blue construction lines very light so they disappear under the 2B pencil.
- Draw the cracks in the face with a very sharp 2B pencil for a realistic broken effect.
- Use the side of the 4B pencil lead to create smooth shading in the large hair areas.
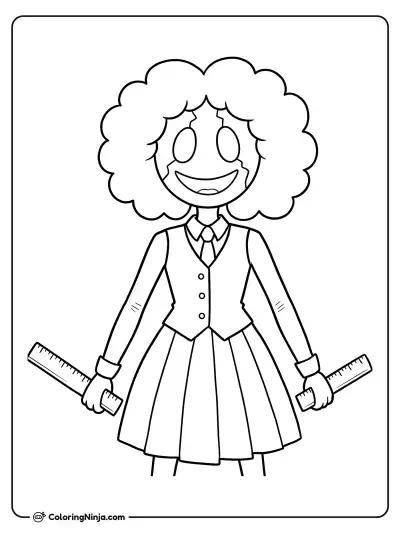
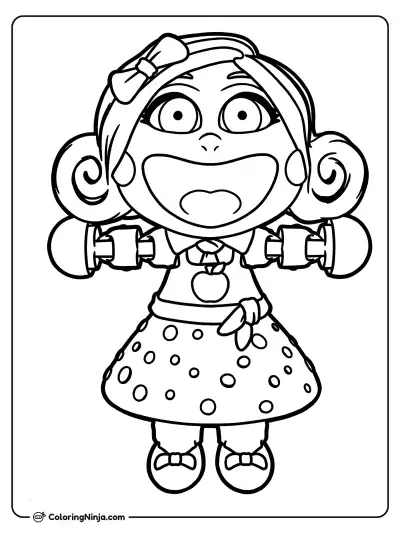
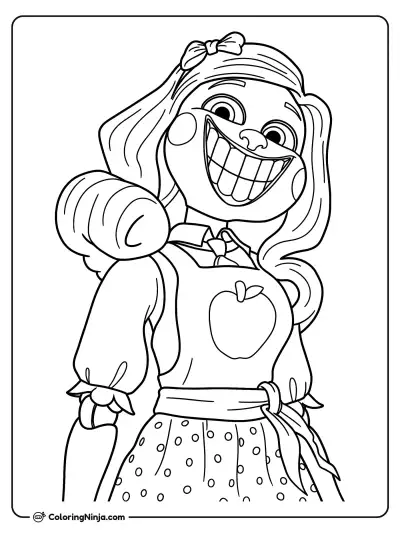
Get the finished coloring page
The clean outline from step 6, ready to print and colour.
View the coloring pageThe whole lesson on one sheet
All 9 steps with their captions on one page. Print it and keep it next to your paper.

The drawing now shows Miss Delight with her signature messy hair and cracked face. To continue, practice drawing her in different poses holding her ruler.