Drawing Elphaba begins with balancing the large, heavy shape of her hat against the sharp features of her face. Beginners often make the hat too small, so starting with a large construction triangle is key. You will end up with a shaded graphite portrait of the character.
The sharp angles of a pointed hat
Elphaba's silhouette is defined by her tall, pointed black hat and her high-collared dress. Her face features a strong, pointed chin and a straight nose. Her hair is usually dark and straight, framing her face from beneath the wide brim of her hat.
What you need
- 2B graphite pencil
- 4B or 6B graphite pencil for the darkest shadows
- Blue col-erase pencil for the construction lines
- Kneaded eraser
- Cream or white drawing paper
The 9 steps
Light comes from the upper left in every step. Each picture shows the drawing as it should look when that step is done.
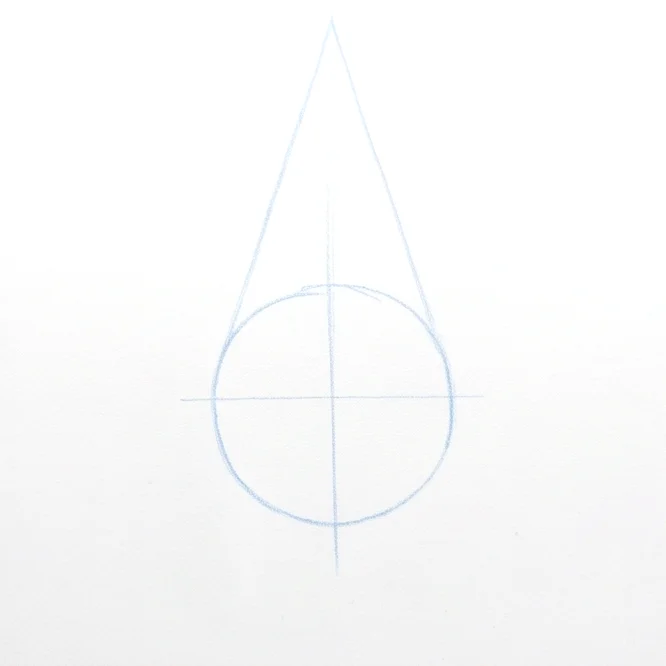
Step 1: Basic head and hat
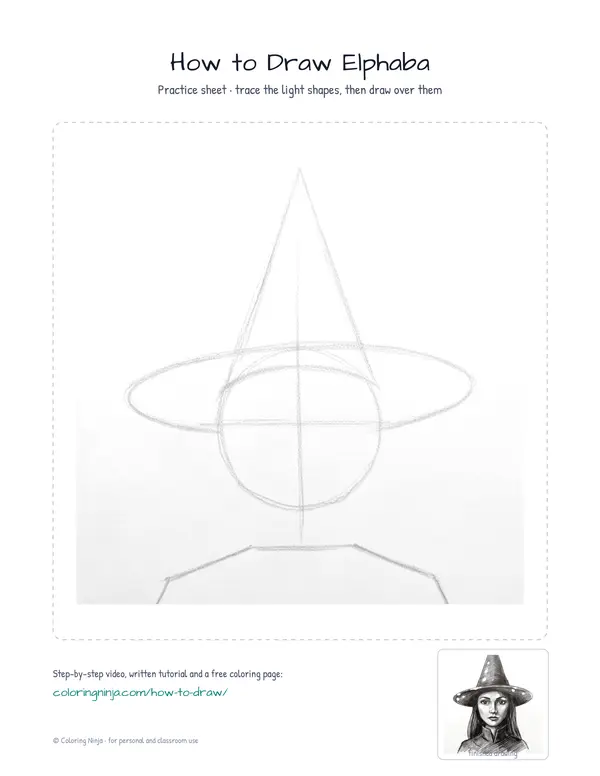
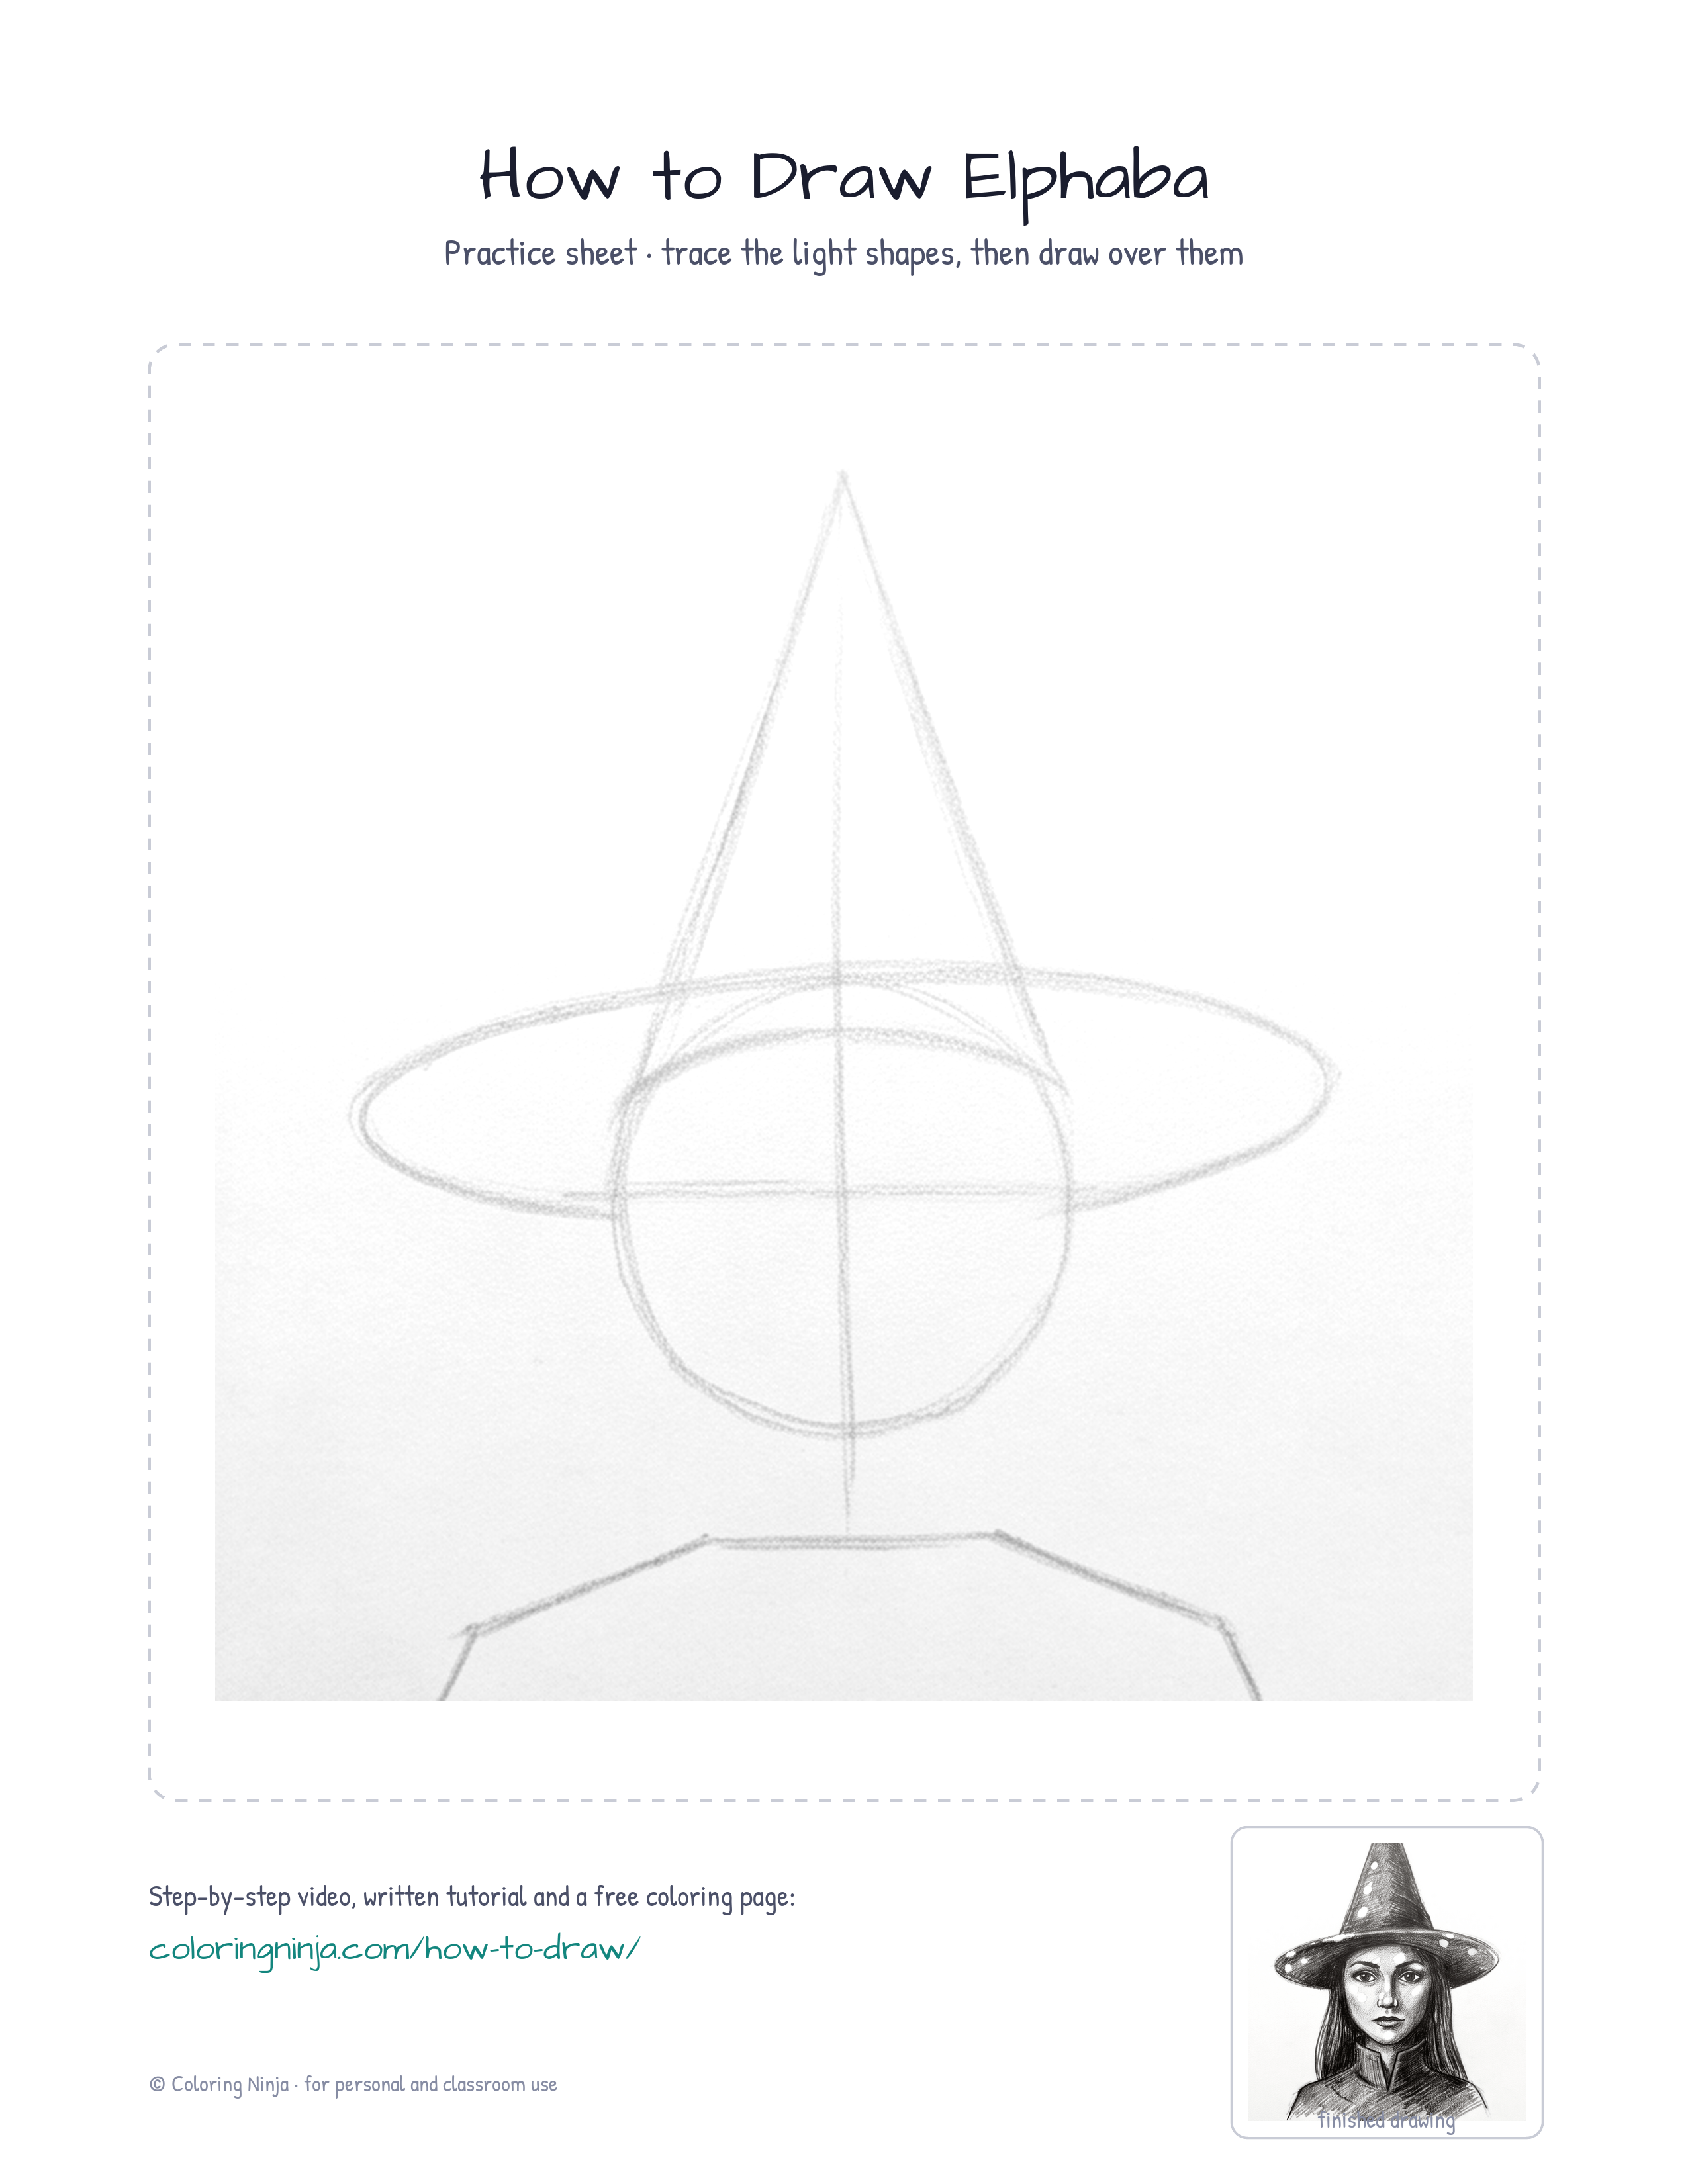
Use the blue col-erase pencil to draw a circle for the head and a tall triangle for the hat cone.
Common mistake: Avoid making the triangle too short; Elphaba's hat is very tall and should take up the top half of the page.
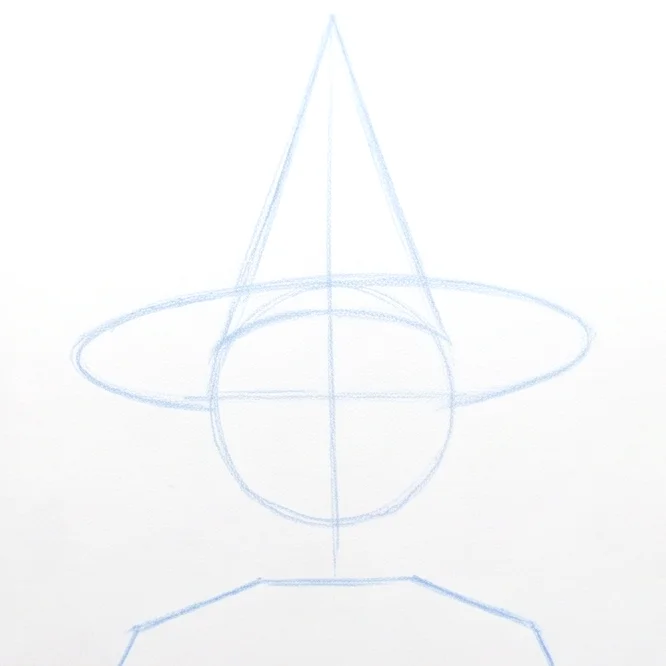
Step 2: Brim and shoulders
Sketch a wide oval for the brim and a trapezoid for the shoulders using the blue col-erase pencil.
Common mistake: Do not make the brim too narrow; it should extend past the width of the shoulders.

Step 3: Face and hat cone
Switch to the 2B pencil to define the pointed chin and add a small dent in the hat cone.
Common mistake: Beginners often draw a round chin, but Elphaba's chin should be quite sharp and narrow.

Step 4: Brim and collar
Use the 2B pencil to draw the wavy edge of the brim and the stiff collar of her dress.
Common mistake: Keep the collar lines straight and tall to show the stiffness of the fabric.

Step 5: Facial features
Draw the eyes, nose, and mouth with the 2B pencil, keeping the features centered on the vertical line.
Common mistake: Avoid placing the eyes too high; they should sit right in the middle of the head circle.

Step 6: Hair and eyebrows
Add long hair strands and the eyebrows with the 2B pencil.
Common mistake: Do not draw every single hair; use a few long, confident lines to show the direction of the hair.

Step 7: Block in shadows
Switch to the 4B pencil to shade the right side of the drawing, away from the light source.
Common mistake: Pressing too hard here makes it difficult to blend later; keep this first layer of shadow even.

Step 8: Darkest darks
Use the 6B pencil to fill in the hat and the darkest areas of the clothing.
Common mistake: If you forget to leave a small gap between the hat and the hair, the shapes will blend together into one blob.

Step 9: Final highlights
Use the kneaded eraser to lift graphite from the nose and the top of the brim to create highlights.
Common mistake: Do not erase too much; only small, specific spots should be bright white to show the light direction.
What makes it look right
- Keep the pencil sharp when drawing the eyes to ensure the expression is clear.
- Overlap the hat brim slightly over the forehead to create a sense of depth.
- Use long, sweeping strokes for the hair to make it look smooth and straight.
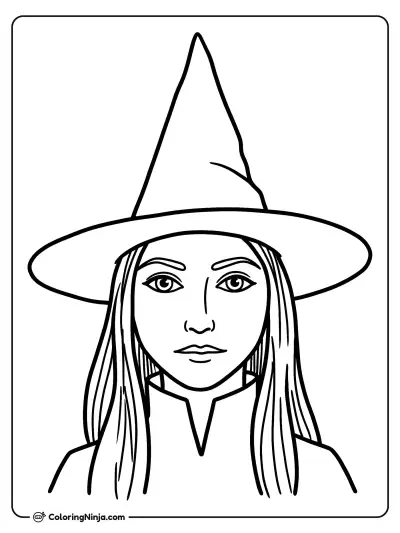
Get the finished coloring page
The clean outline from step 6, ready to print and colour.
View the coloring pageThe whole lesson on one sheet
All 9 steps with their captions on one page. Print it and keep it next to your paper.

The drawing is now complete with its full range of graphite tones. Place your paper in a folder to prevent the 6B graphite from smudging.