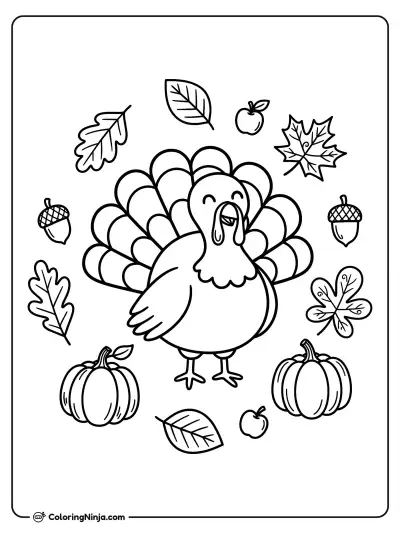
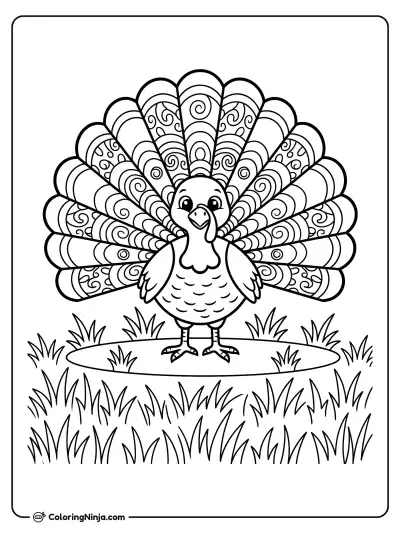
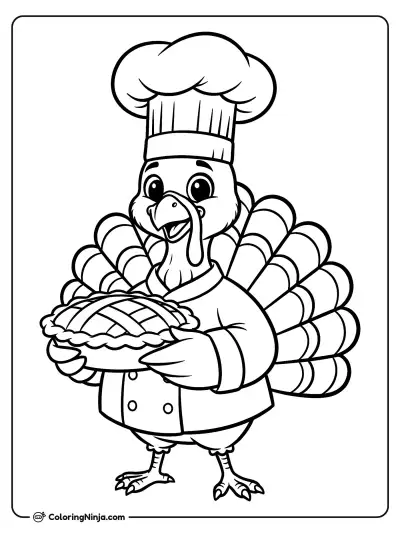
Drawing a turkey starts with balancing a heavy body on thin legs. You will use a large oval for the body and a wide fan for the tail. This lesson results in a realistic standing turkey with shaded feathers.
The fan tail and fleshy wattle
Turkeys have a fleshy growth over the beak called a snood and a wattle under the chin. Their tail feathers form a perfect semicircle when displayed for balance and signaling.
What you need
- 2B graphite pencil
- 4B or 6B graphite pencil for the darkest shadows
- Blue col-erase pencil for the construction lines
- Kneaded eraser
- Cream or white drawing paper
The 9 steps
Light comes from the upper left in every step. Each picture shows the drawing as it should look when that step is done.

Step 1: Basic body shapes
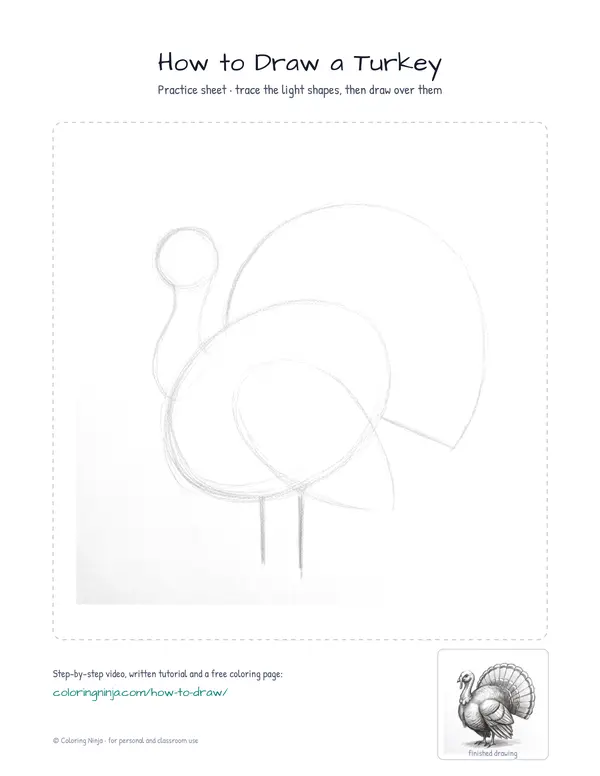
Use the blue col-erase pencil to draw a large oval and a small circle for the head, connected by two curved lines.
Common mistake: Avoid making the head too large; it should be about one-fourth the size of the body oval.

Step 2: Tail and leg placement
Draw a wide semicircle for the tail fan and two lines for legs with the blue col-erase pencil.
Common mistake: Do not place the legs too far back or the turkey will look like it is falling forward.

Step 3: Main body outline
Switch to the 2B pencil and draw a smooth outline around the head, neck, and body.
Common mistake: Avoid using jagged lines; keep the neck curve smooth to show the bird's form.

Step 4: Face and beak features
Use the 2B pencil to add the beak, a small eye, and the fleshy snood draped over the beak.
Common mistake: Draw the eye high on the head rather than in the center to leave room for the beak.

Step 5: Tail feather divisions
With the 2B pencil, draw radiating lines to divide the tail into individual feathers.
Common mistake: Keep the lines evenly spaced so the tail looks like a symmetrical fan.

Step 6: Wing and wattle details
Add the wing on the body and the wattle under the beak using the 2B pencil.
Common mistake: Make sure the wing follows the curve of the body oval rather than being perfectly horizontal.

Step 7: Block in shadows
Switch to the 4B pencil to shade the right side of the bird, opposite the light source.
Common mistake: Do not shade the entire bird; leave the upper left areas white to show light hitting the form.

Step 8: Darkest darks
Use the 6B pencil for the darkest areas under the body and to draw a shadow on the ground.
Common mistake: Avoid making the ground shadow a perfect circle; stretch it slightly to the right.

Step 9: Highlights and texture
Use the kneaded eraser to lift small highlights on the head and wing edges to finish the drawing.
Common mistake: Do not erase too much; only small taps are needed to create the look of light.
What makes it look right
- Keep your blue construction lines very light so they do not show through the final shading.
- Sharpen your 2B pencil frequently to keep the feather lines crisp and clear.
- Layer your shading slowly from 4B to 6B to create a smooth transition of light.
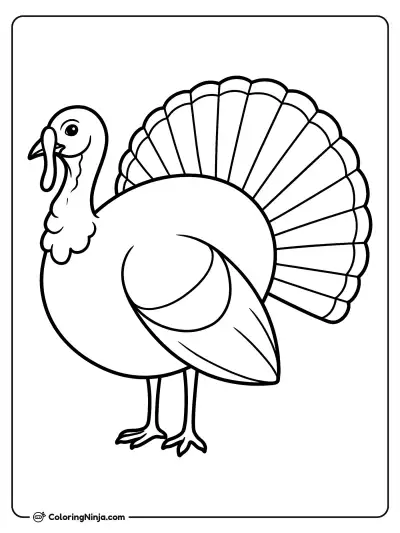
Get the finished coloring page
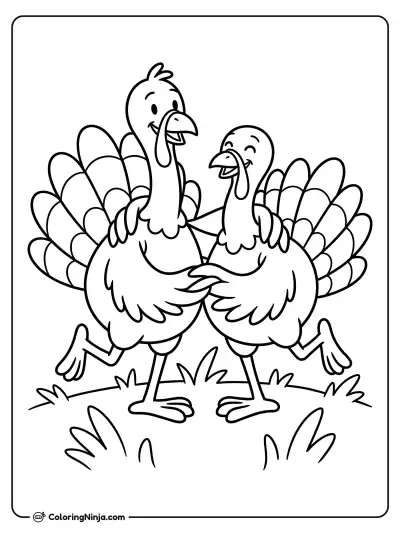
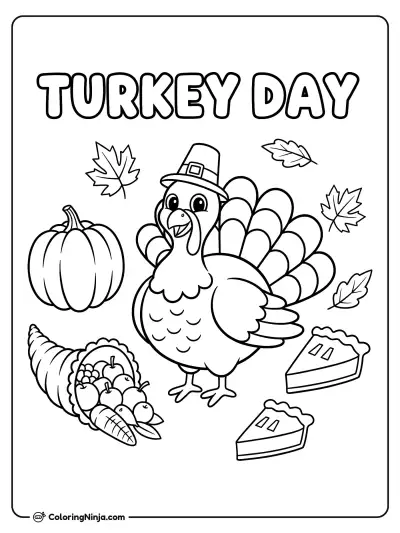
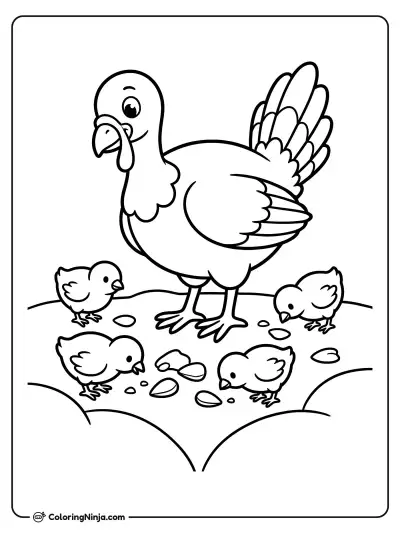
The clean outline from step 6, ready to print and colour.
View the coloring pageThe whole lesson on one sheet
All 9 steps with their captions on one page. Print it and keep it next to your paper.

The turkey is now complete with a full fan tail and shaded body. Practice drawing the tail in different positions to show the bird in motion.