Drawing a tree starts with seeing the whole shape instead of every single leaf. Beginners often get lost in small details too early. This lesson builds a solid trunk and a canopy with clear light and shadow.
The skeleton under the leaves
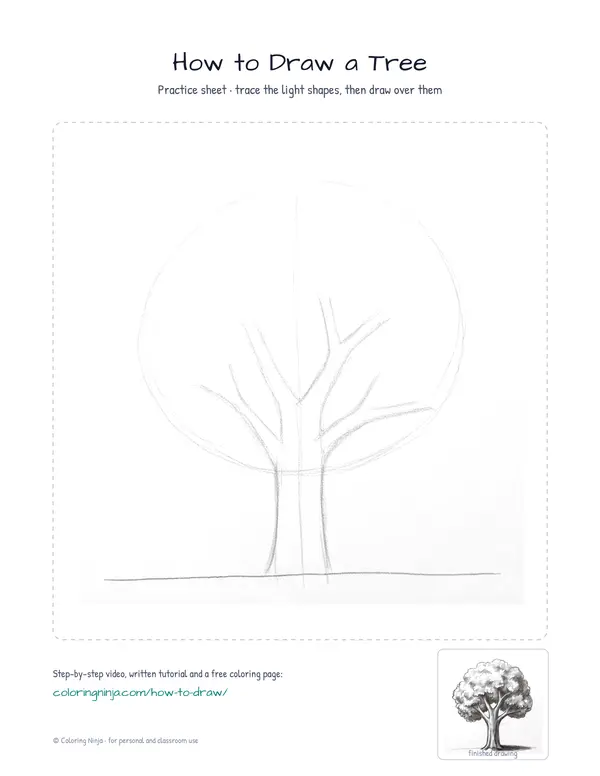
A tree trunk is thickest at the bottom to support the weight of the branches. The canopy is made of many small leaves that form large, rounded shapes together.
What you need
- 2B graphite pencil
- 4B or 6B graphite pencil for the darkest shadows
- Blue col-erase pencil for the construction lines
- Kneaded eraser
- Cream or white drawing paper
The 9 steps
Light comes from the upper left in every step. Each picture shows the drawing as it should look when that step is done.

Step 1: Canopy and ground
Use the blue col-erase pencil to draw a large oval for the canopy and a ground line below it.
Common mistake: Making the oval too small leaves no room for the trunk and branches.

Step 2: Trunk and branches
Draw a thick trunk with the blue col-erase pencil, making it wider at the bottom where it meets the ground.
Common mistake: Drawing the trunk as a straight tube makes the tree look weak at the base.

Step 3: Wobbly canopy outline
Switch to the 2B pencil and draw a shaky, uneven line around the oval to create a leafy edge.
Common mistake: A perfectly smooth circle looks like a balloon rather than a tree.

Step 4: Trunk and roots
Use the 2B pencil to trace the trunk and branches, adding slight curves to suggest natural growth.
Common mistake: Drawing perfectly straight lines makes the tree look artificial.

Step 5: Leaf clusters
Add clusters of curved marks with the 2B pencil to show where groups of leaves sit together.
Common mistake: Drawing every leaf separately takes too long and makes the drawing look flat.

Step 6: Bark texture
Use the 2B pencil to add short, vertical cracks and lines to suggest the rough texture of bark.
Common mistake: Drawing long, continuous stripes makes the trunk look like a candy cane.

Step 7: Shadow side
Switch to the 4B pencil and block in a light shadow on the side away from the light.
Common mistake: Shading the entire canopy makes the tree look like a flat silhouette.

Step 8: Deep darks
Use the 6B pencil to add the darkest shadows under the leaf clumps and a shadow on the ground.
Common mistake: Using the same pressure everywhere makes the shading look dull and grey.

Step 9: Lifted highlights
Use the kneaded eraser to dab away graphite on the upper-left areas to create bright highlights.
Common mistake: Rubbing the eraser too hard can smudge the shadows you just finished.
What makes it look right
- Keep the blue construction lines light so they do not show through the final shading.
- Hold the pencil further back for the 4B shading to get even, soft tones.
- Look at the whole tree often to make sure the light side stays lighter than the shadow side.
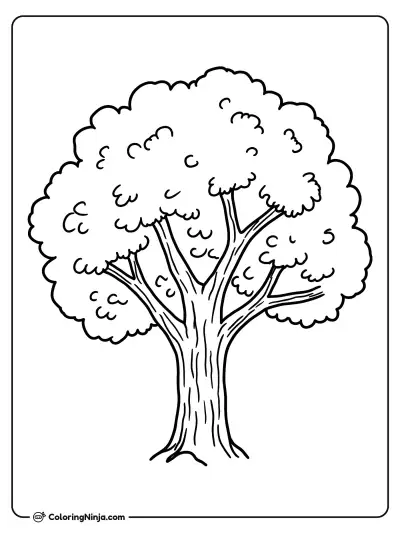
Get the finished coloring page
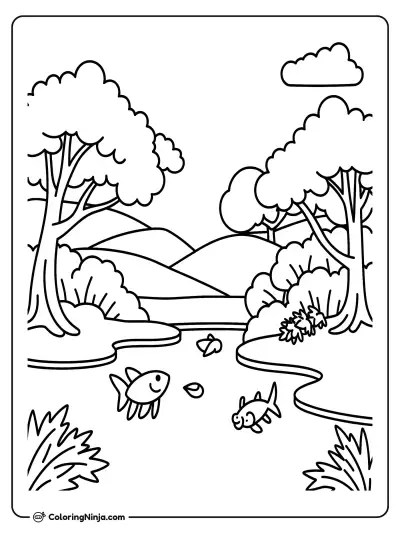
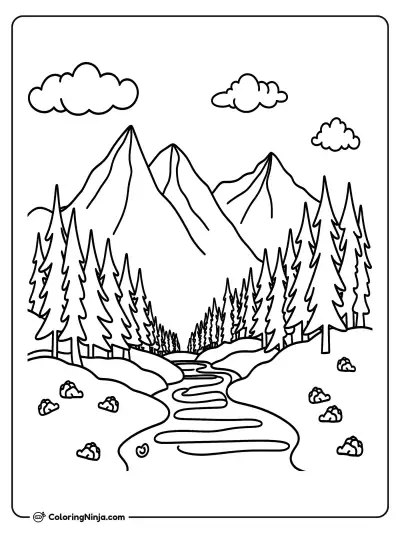
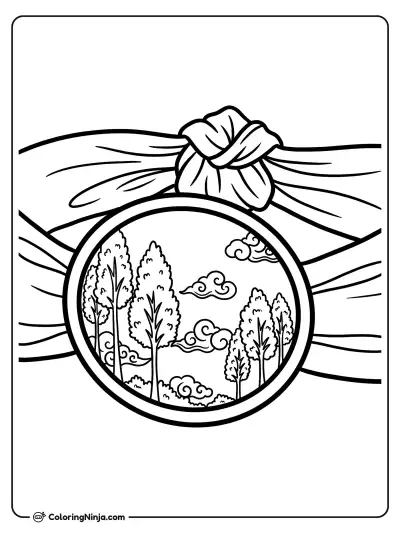
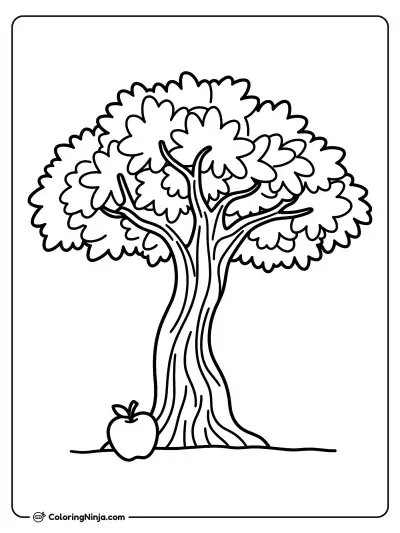
The clean outline from step 6, ready to print and colour.
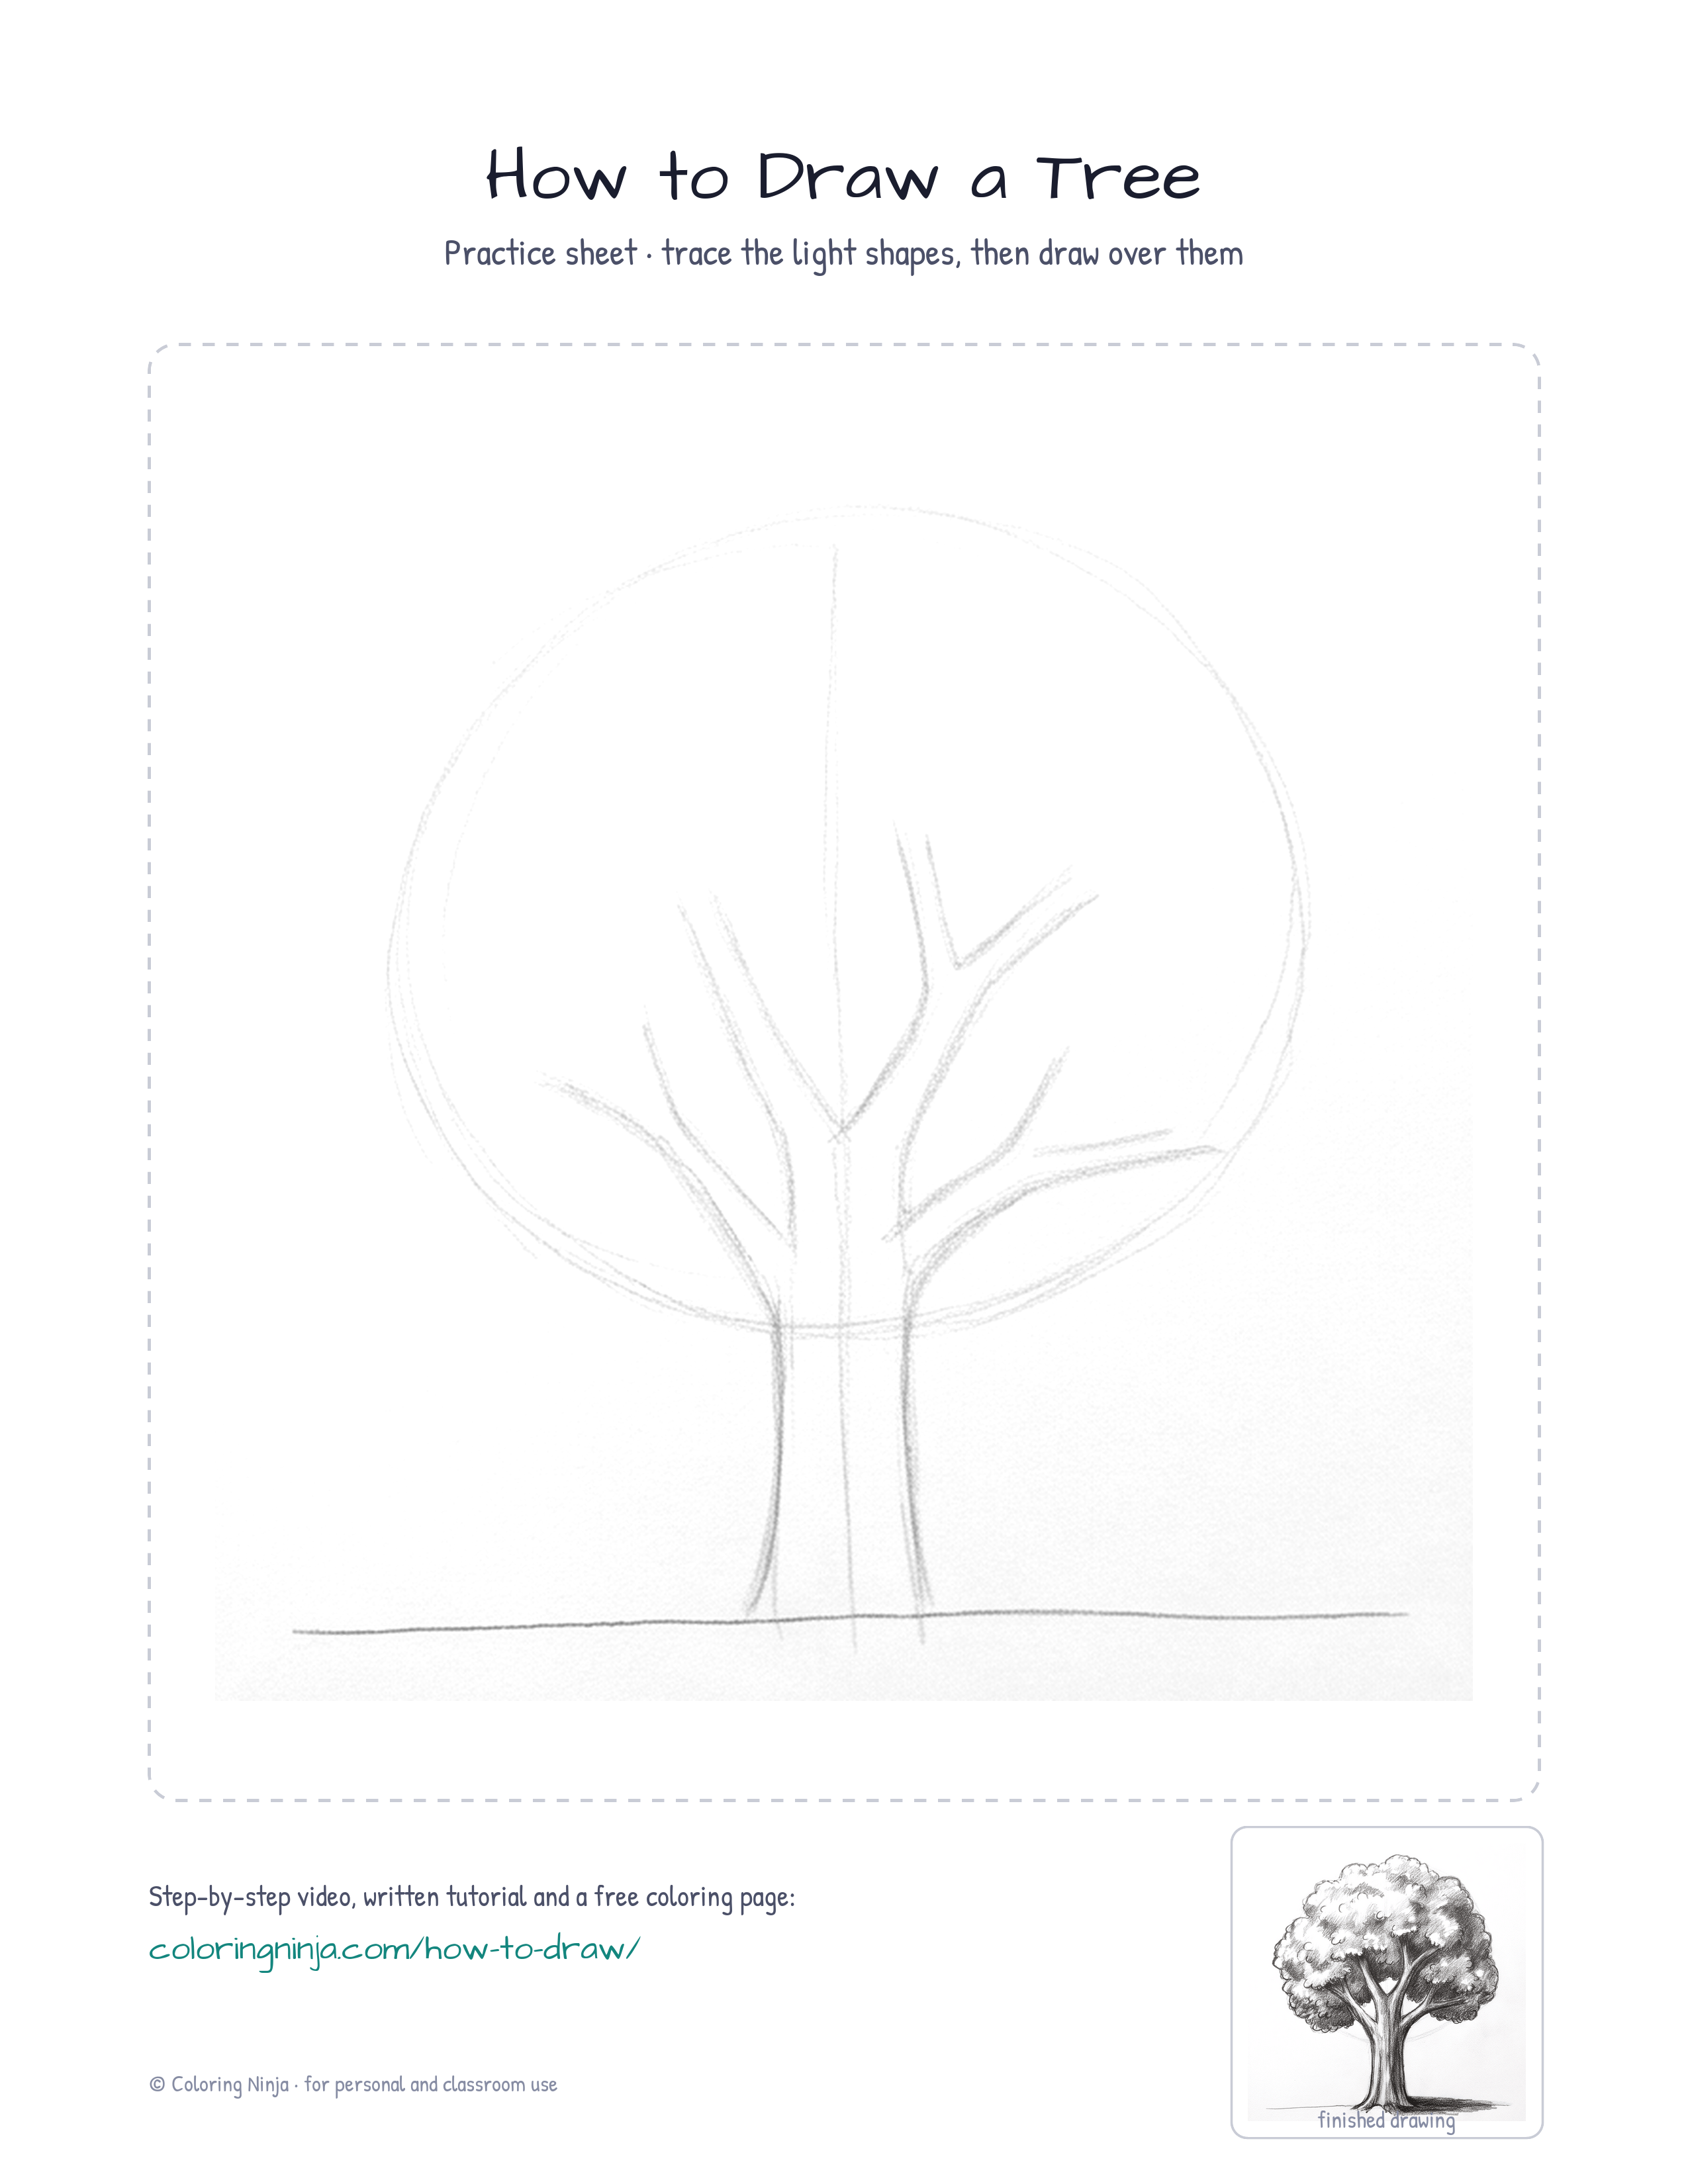
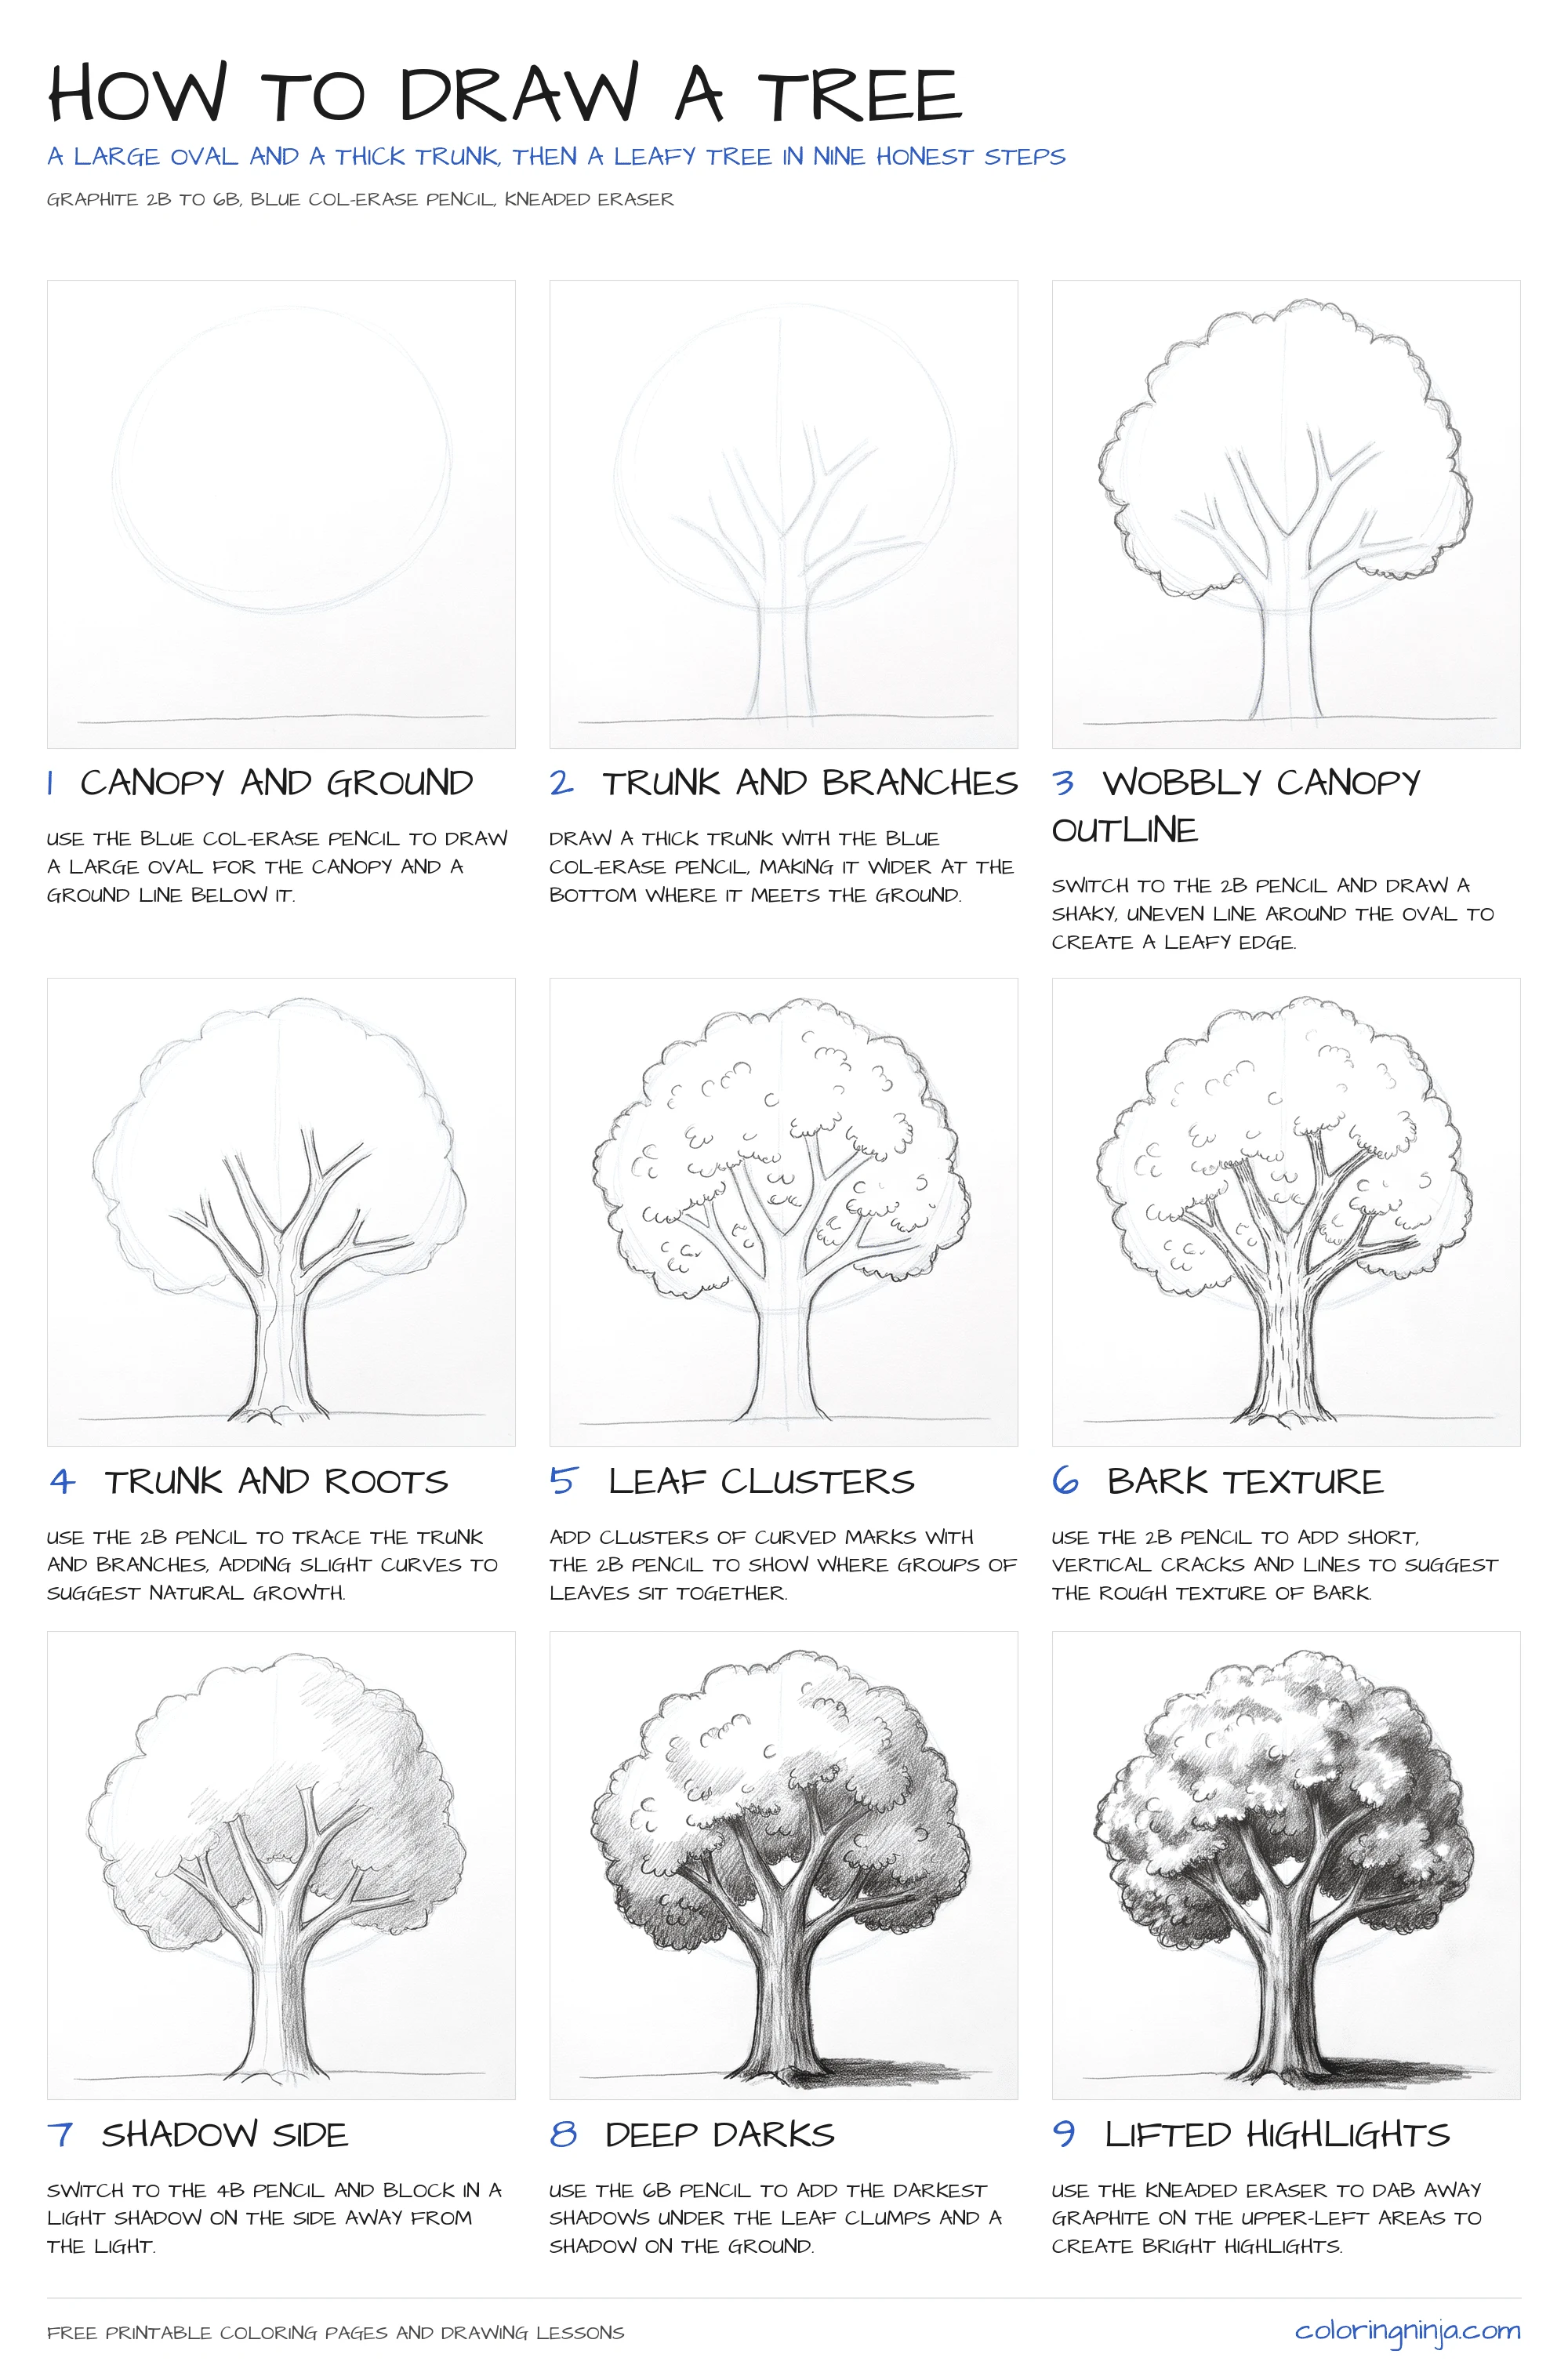
View the coloring pageThe whole lesson on one sheet
All 9 steps with their captions on one page. Print it and keep it next to your paper.
Practice drawing trees of different heights and widths using these same steps. Try adding a second tree behind this one to show depth.