Drawing a sunflower starts with a large circle for the head and a sturdy line for the stem. The challenge is keeping the petals uniform while making the center look heavy. You will finish with a shaded flower that has depth and texture.
The heavy head of the sunflower
Sunflowers are known for their large central discs filled with hundreds of tiny seeds. The petals, called ray florets, grow in a ring around this disc to attract pollinators.
What you need
- 2B graphite pencil
- 4B or 6B graphite pencil for the darkest shadows
- Blue col-erase pencil for the construction lines
- Kneaded eraser
- Cream or white drawing paper
The 9 steps
Light comes from the upper left in every step. Each picture shows the drawing as it should look when that step is done.
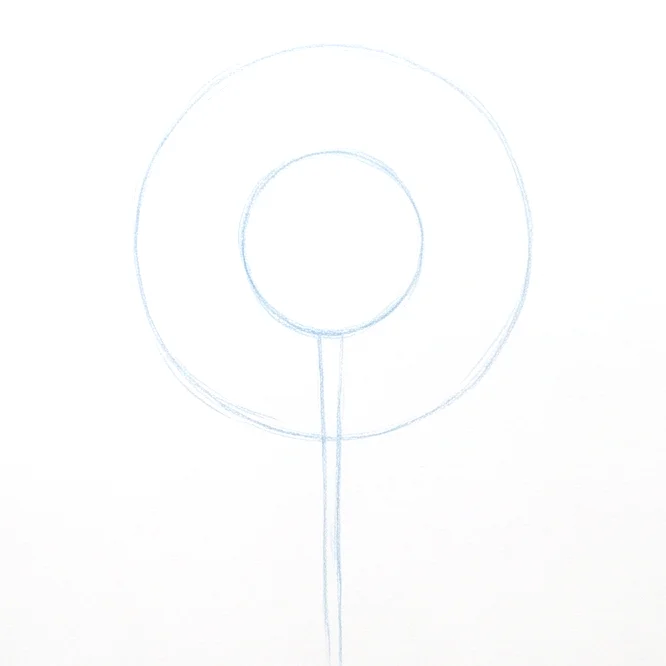
Step 1: Basic circles and stem
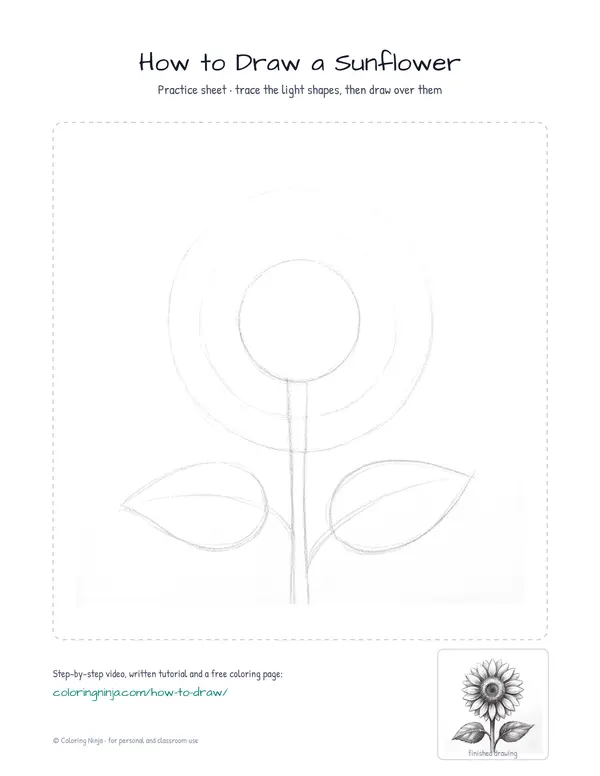
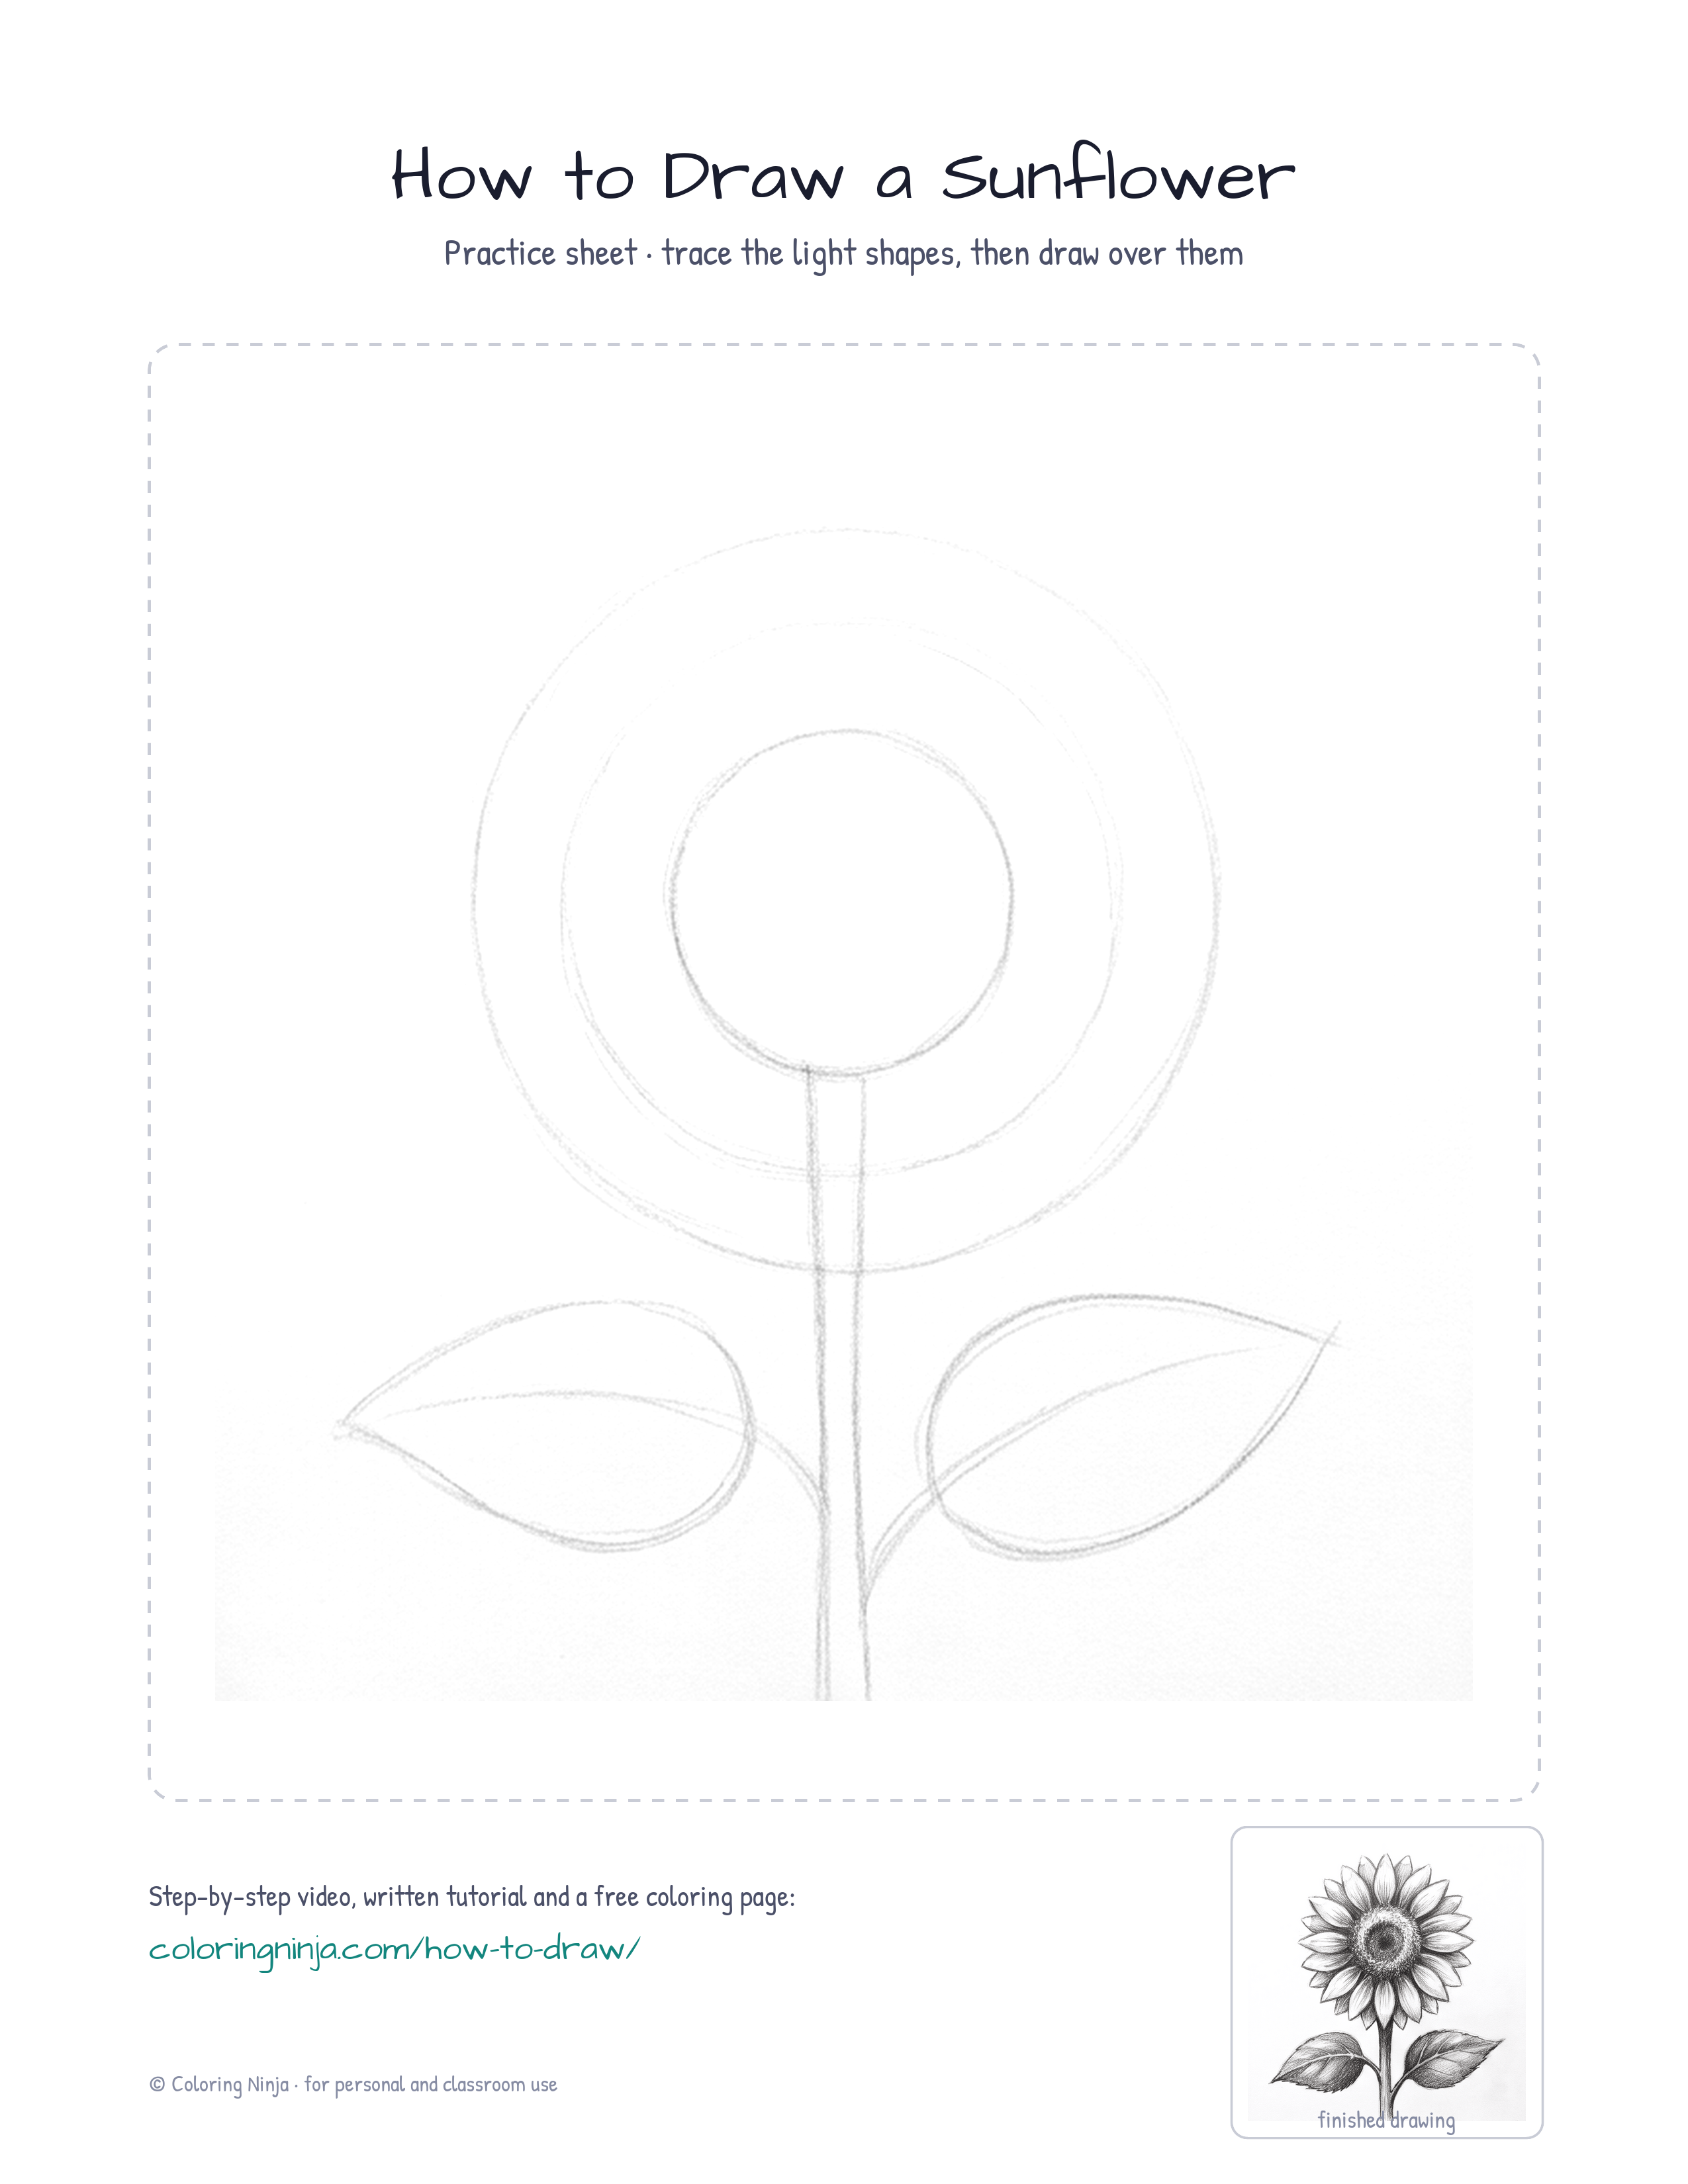
Use the blue col-erase pencil to draw a large circle, a smaller inner circle, and a long stem line.
Common mistake: Avoid pressing hard with the blue pencil because these lines are only guides for later.
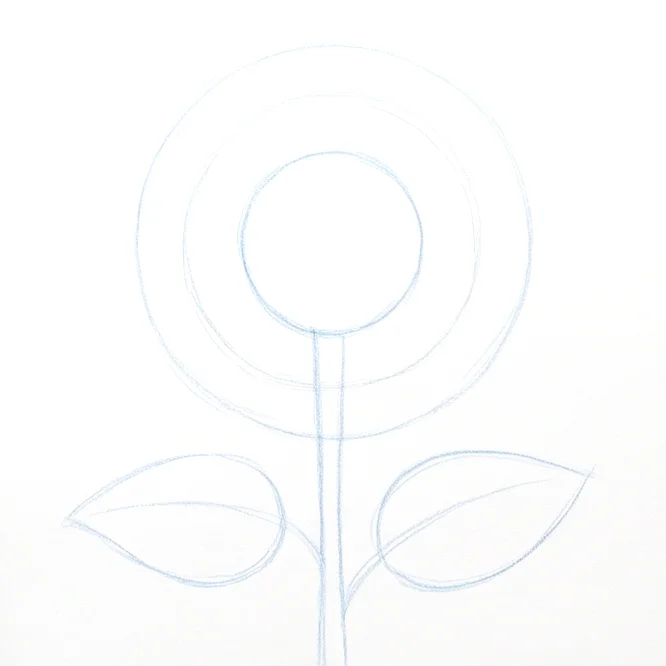
Step 2: Leaf and petal guides
Draw two large ovals for leaves and a faint middle circle using the blue col-erase pencil.
Common mistake: Do not make the leaves too small as sunflower leaves are usually quite broad and heavy.
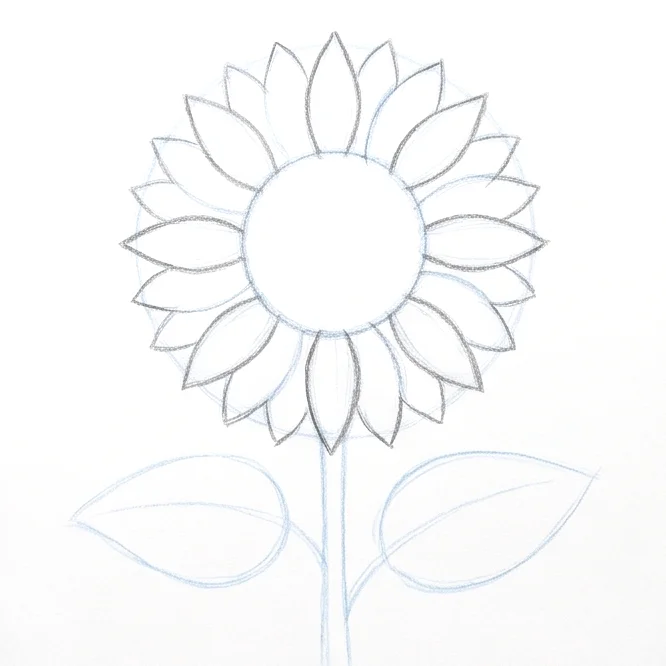
Step 3: Draw the first petals
Switch to the 2B pencil and draw pointed petals around the center circle, overlapping them slightly.
Common mistake: Avoid making the petals perfectly straight; give them a slight curve to make them look natural.
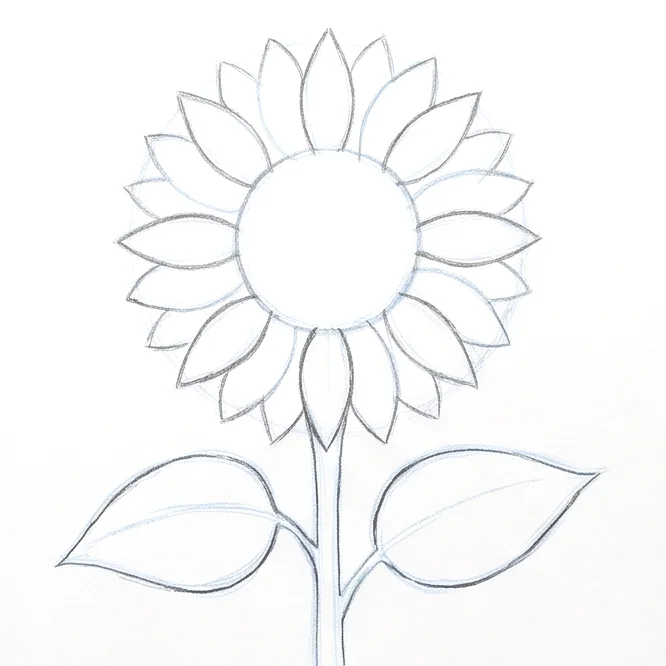
Step 4: Outline stem and leaves
Use the 2B pencil to outline the stem and leaves, giving the leaf edges a slightly jagged look.
Common mistake: Remember that the stem has thickness, so draw two parallel lines instead of just one.

Step 5: Add seed texture
Draw small, curved lines in a spiral pattern inside the center and add a middle vein to each leaf.
Common mistake: Do not try to draw every single seed; just suggest the texture with groups of small marks.

Step 6: Block in shadows
Switch to the 4B pencil and shade the right side of the stem and the lower half of the center.
Common mistake: Keep the left side of the flower light to show that the light is coming from the upper left.

Step 7: Darken the center
Use the 6B pencil to darken the core of the seed disc and the small gaps between the petals.
Common mistake: Avoid using the 6B pencil everywhere or you will lose the details of the seed texture.

Step 8: Cast shadows
Add a dark cast shadow on the stem under each leaf using the 6B pencil.
Common mistake: Make sure the cast shadows are darker than the shading on the leaves themselves.

Step 9: Lift highlights
Use the kneaded eraser to tap and lift graphite from the top left edges for bright highlights.
Common mistake: Do not rub the eraser back and forth; just press it down and lift it up to keep the paper clean.
What makes it look right
- Keep your 2B pencil sharp to make the petal tips look crisp.
- Vary the pressure on your 4B pencil to create smooth transitions between light and dark.
- Look at the spiral patterns in a real sunflower center to help place your seed marks.
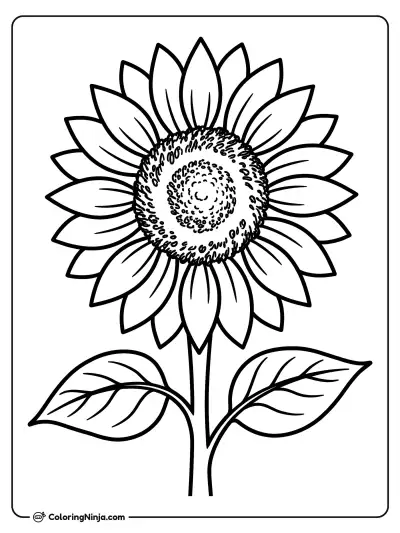
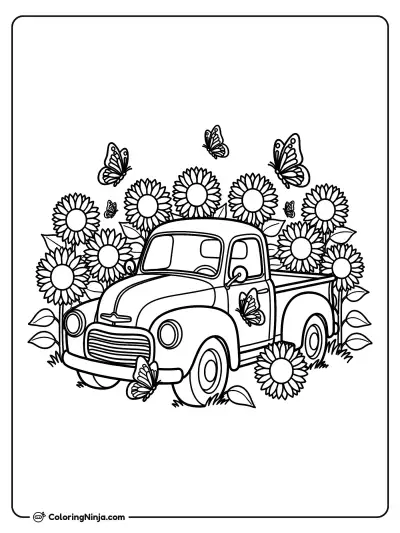
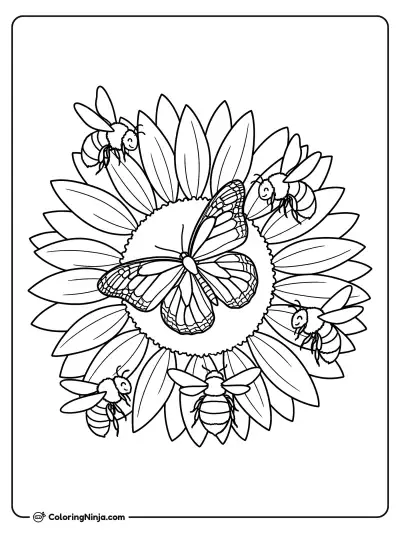
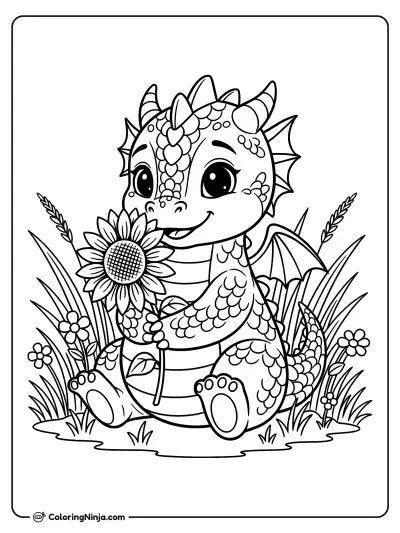
Get the finished coloring page
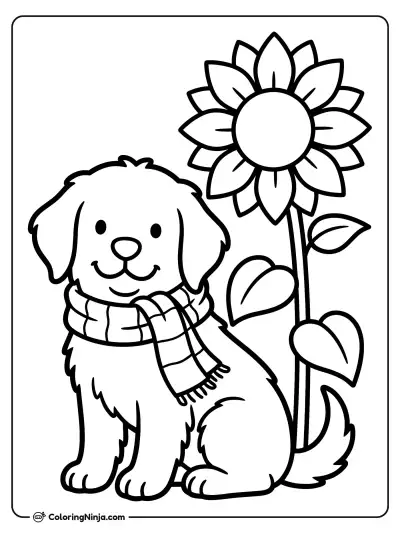
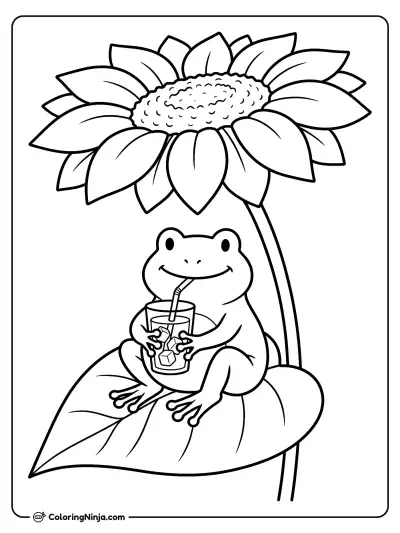
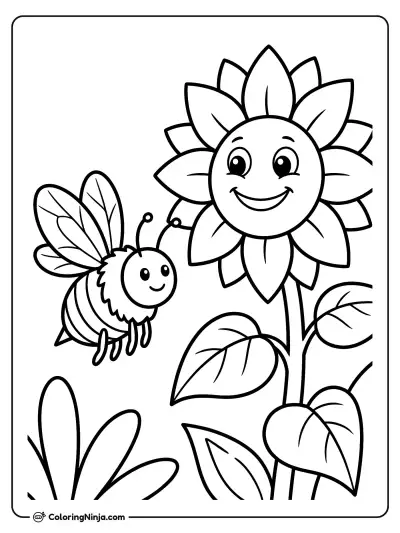
The clean outline from step 5, ready to print and colour.
View the coloring pageThe whole lesson on one sheet
All 9 steps with their captions on one page. Print it and keep it next to your paper.

You have completed a shaded sunflower with a textured center and layered petals. Try drawing a whole field of them at different heights.