Drawing a star starts with a circle to keep the points even. This method avoids the common problem of lopsided arms. You will end up with a symmetrical five-pointed star.
The secret to five even points
A standard five-pointed star is based on a pentagon. Each point is an isosceles triangle with the same angle.
What you need
- HB pencil for the construction lines
- Black chisel-tip marker for the outlines
- Fine black marker for the details
- Eraser
- White cardstock or thick paper
The 6 steps
Light comes from the upper left in every step. Each picture shows the drawing as it should look when that step is done.

Step 1: Circle and center line
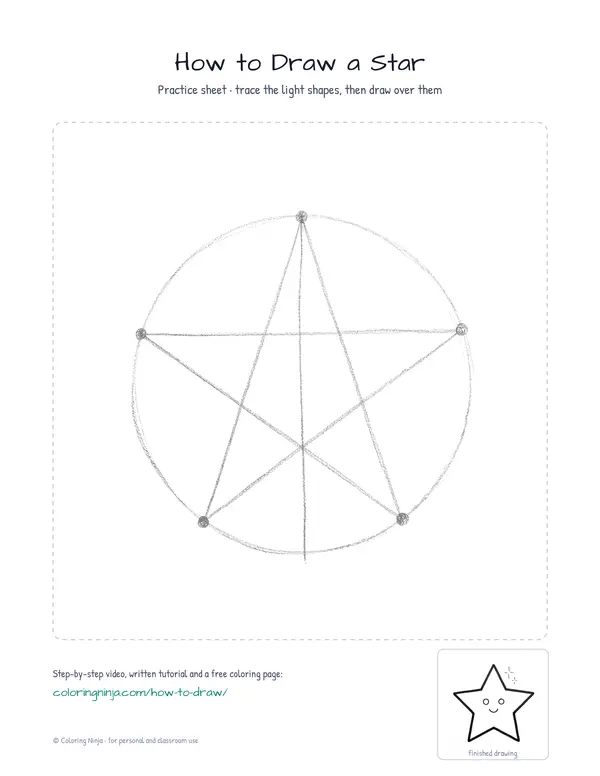
Use an HB pencil to draw a light circle and a straight vertical line through the middle.
Common mistake: Do not press hard with the pencil or the lines will be difficult to erase later.

Step 2: Five guide dots
Mark five dots on the circle edge using the HB pencil to plan where the points will go.
Common mistake: Beginners often place the bottom dots too close together, which makes the star look like it is standing on one leg.

Step 3: Connect the dots
Draw straight lines with the HB pencil to connect the dots in a star shape, crossing through the middle.
Common mistake: Drawing curved lines instead of straight ones will make the star look like a flower.

Step 4: Bold outer outline
Switch to the chisel-tip marker and trace only the outer perimeter of the star shape.
Common mistake: Tracing the lines inside the star will break the solid shape, so stay on the outside edges.

Step 5: Face details
Use the fine marker to draw two small eyes and a simple smile inside the star.
Common mistake: Making the eyes too large can leave no room for the mouth.

Step 6: Final clean up
Erase all pencil lines and use the fine marker to add two short sparkle lines near the top point.
Common mistake: Forgetting to wait for the marker ink to dry before erasing will cause the drawing to smudge.
What makes it look right
- Keep the pencil lines very light so they disappear completely when erased.
- Use a ruler if you find it hard to draw straight lines between the dots.
- Rotate the paper as you draw each side to keep your hand comfortable.
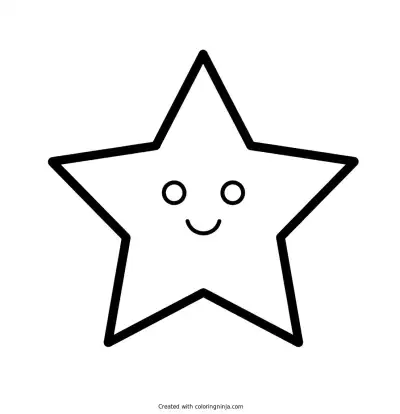
Get the finished coloring page
The clean outline from step 6, ready to print and colour.
View the coloring pageThe whole lesson on one sheet
All 6 steps with their captions on one page. Print it and keep it next to your paper.

The star is now ready for bright yellow or gold colors. Try drawing a smaller star next to it using the same steps.