Drawing a snowflake requires a steady hand and a focus on symmetry. Beginners often draw four or eight arms, but real snowflakes almost always have six. This lesson builds a classic hexagonal crystal from the center out.
The secret of the six-sided crystal
Snowflakes are hexagonal crystals formed around a tiny dust particle in the atmosphere. Their six-fold symmetry comes from the molecular structure of water as it freezes into ice.
What you need
- HB pencil for the construction lines
- 0.3 mm black fineliner
- 0.8 mm black fineliner
- Black brush pen for the darkest accents
- Eraser
- Smooth white paper
The 9 steps
Light comes from the upper left in every step. Each picture shows the drawing as it should look when that step is done.

Step 1: Center and vertical guide
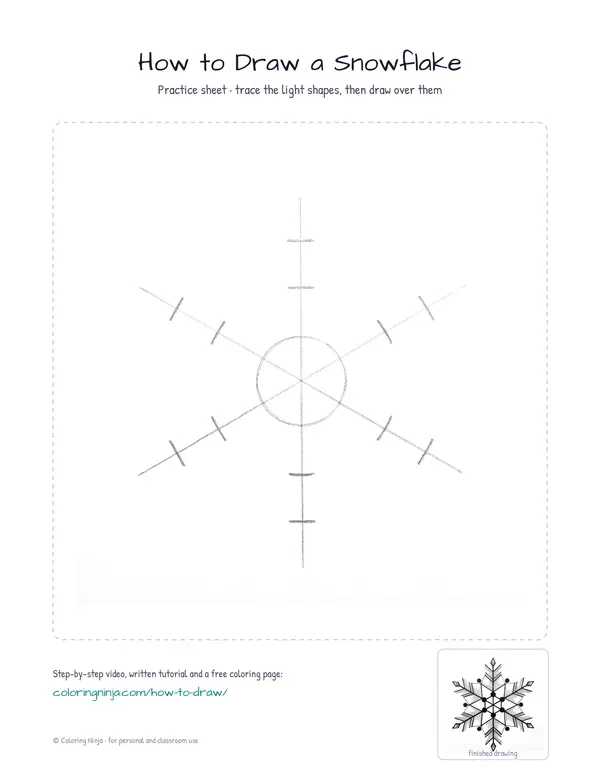
Use the HB pencil to draw a small circle and a tall vertical line through the center.
Common mistake: Avoid making the circle too large or the line tilted, as this will throw off the symmetry.

Step 2: The six spokes
With the HB pencil, draw two diagonal lines to create six equal segments like a sliced pie.
Common mistake: Ensure the angles between all six spokes are roughly the same instead of having some gaps wider than others.

Step 3: Branch markers
Mark two points on each spoke with the HB pencil to show where the branches will start.
Common mistake: Do not place the marks at random heights; use the center circle as a reference for distance.

Step 4: Main crystal frame
Switch to the 0.8 fineliner to draw the main six arms and the small central hexagon.
Common mistake: Pressing too hard can make the lines bleed, so use a light and steady stroke.

Step 5: Primary branches
Use the 0.3 fineliner to draw a V-shape on each arm at the outer mark.
Common mistake: Keep the V-shapes at the same angle on every arm to maintain the crystal pattern.

Step 6: Secondary branches
Add a smaller V-shape below the first one and a small diamond at each tip with the 0.3 fineliner.
Common mistake: Drawing these too large will make the snowflake look cluttered, so keep them small and sharp.

Step 7: Inner geometric ring
Connect the inner V-shapes with straight lines using the 0.3 fineliner to finish the outline.
Common mistake: Check that these lines are straight rather than curved to keep the frozen, icy look.

Step 8: Hatching for depth
Add light hatching with the 0.3 fineliner on the right side of every shape to suggest a shadow.
Common mistake: Do not hatch the entire snowflake; leave the left side white to show where the light hits.

Step 9: Solid accents and cleanup
Use the brush pen for small black dots at the center, then erase all HB pencil guides.
Common mistake: Wait for the ink to dry completely before erasing to avoid smearing your work.
What makes it look right
- Rotate the paper as you work so your hand is always at a comfortable angle for each spoke.
- Keep the 0.3 fineliner vertical to get the thinnest, sharpest lines for the crystal edges.
- Use a ruler for the initial construction lines if you find it difficult to keep the spokes straight.
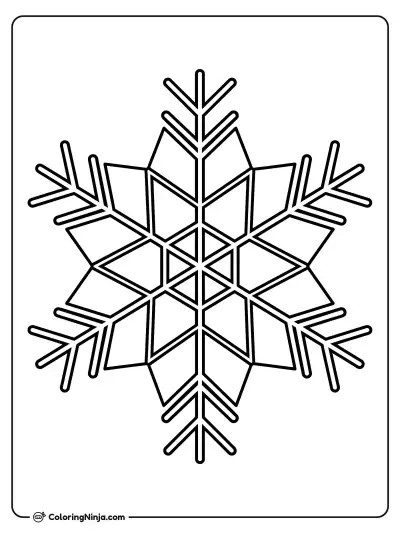
Get the finished coloring page
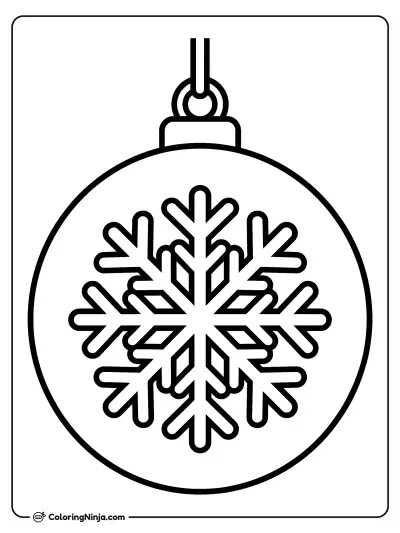
The clean outline from step 7, ready to print and colour.
View the coloring pageThe whole lesson on one sheet
All 9 steps with their captions on one page. Print it and keep it next to your paper.

The snowflake is now complete with its six-fold symmetry and crisp ink details. Try drawing several different sizes on one page to create a winter scene.