Drawing a shoe starts with understanding how the foot fits inside a wedge. Beginners often draw sneakers too flat on the bottom. You will finish with a three-dimensional ink drawing of a classic high-top sneaker.
The wedge that protects the foot
The sole of a sneaker is usually thicker at the heel than at the toe to absorb impact. The eyelets for the laces are spaced evenly along the stay, which is the reinforced strip of material.
What you need
- HB pencil for the construction lines
- 0.3 mm black fineliner
- 0.8 mm black fineliner
- Black brush pen for the darkest accents
- Eraser
- Smooth white paper
The 9 steps
Light comes from the upper left in every step. Each picture shows the drawing as it should look when that step is done.

Step 1: Basic wedge shape
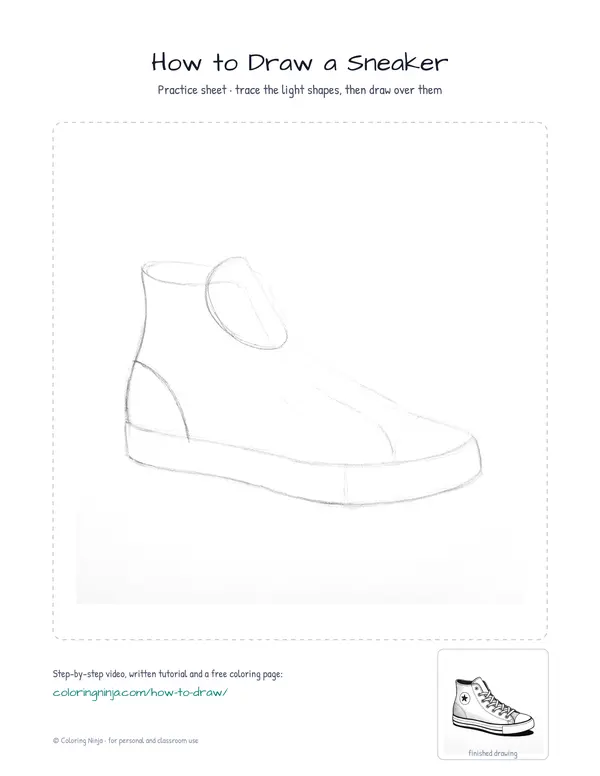
Use the HB pencil to draw a long wedge. Add a flat line near the bottom for the rubber sole.
Common mistake: Beginners often make the wedge too tall; keep it long and low like the shape of a foot.

Step 2: Heel and opening
Sketch a curve for the heel and an oval for the ankle opening using the HB pencil.
Common mistake: Avoid making the back perfectly vertical; the heel of a shoe should curve inward slightly.

Step 3: Outer contour
Switch to the 0.8 fineliner to draw the permanent outer edge of the shoe and the ankle opening.
Common mistake: Do not ink the construction lines inside the shoe yet; focus only on the outer silhouette.

Step 4: Sole and toe cap
Use the 0.3 fineliner to draw the sole line, the toe cap, and the tongue sticking up.
Common mistake: Drawing the sole too thin makes the shoe look like a sock; ensure the rubber base has visible height.

Step 5: Eyelets and laces
Draw two rows of small circles with the 0.3 fineliner, then add the zigzag lines for the laces.
Common mistake: Avoid drawing laces as simple straight lines; they should overlap and look like they are tucked into the holes.

Step 6: Stitching and logo
Add double-dashed lines for stitching and a circle for the logo using the 0.3 fineliner.
Common mistake: Keep the stitching dashes small and evenly spaced to avoid making the shoe look messy.

Step 7: First layer of tone
Use the 0.3 fineliner to add hatching on the right side, away from the light.
Common mistake: Do not scribble the lines; keep the hatching marks parallel and moving in one direction.

Step 8: Deepening the shadows
Add cross-hatching to the darkest areas on the right with the 0.3 fineliner.
Common mistake: If the shadow is too light, the shoe will look flat; make sure the cross-hatching is noticeably darker.

Step 9: Solid blacks and ground
Use the brush pen for the interior and cast shadow, then erase all pencil marks.
Common mistake: Wait for the ink to dry completely before erasing to prevent the drawing from smearing.
What makes it look right
- Keep the sole line perfectly flat on the ground to make the shoe look stable.
- Space the eyelets evenly so the laces look symmetrical.
- Use very light pressure for the stitching lines so they do not distract from the main shape.
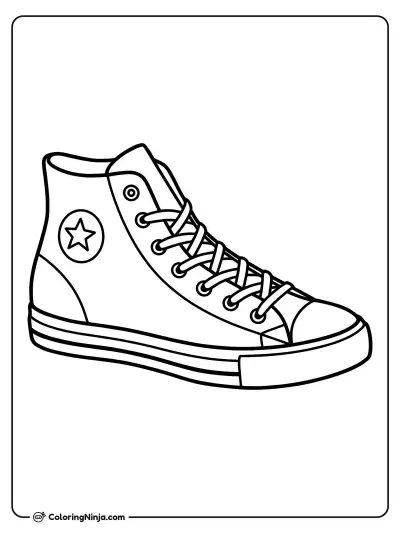
Get the finished coloring page
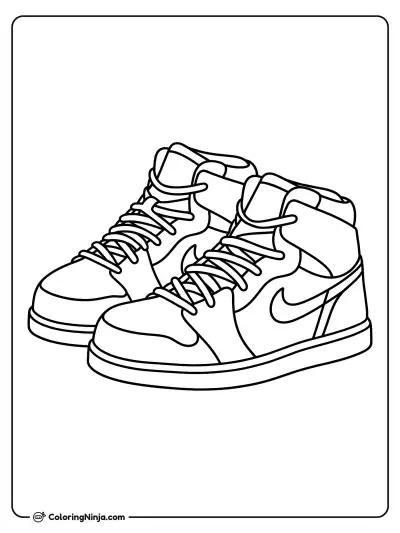
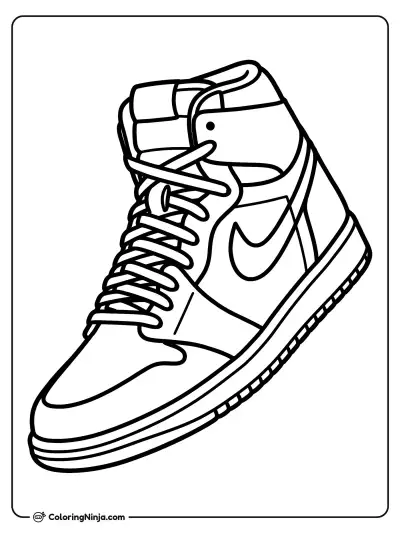
The clean outline from step 6, ready to print and colour.
View the coloring pageThe whole lesson on one sheet
All 9 steps with their captions on one page. Print it and keep it next to your paper.

The sneaker is now complete with its thick sole and detailed laces. Try drawing a matching shoe facing the opposite direction to create a pair.