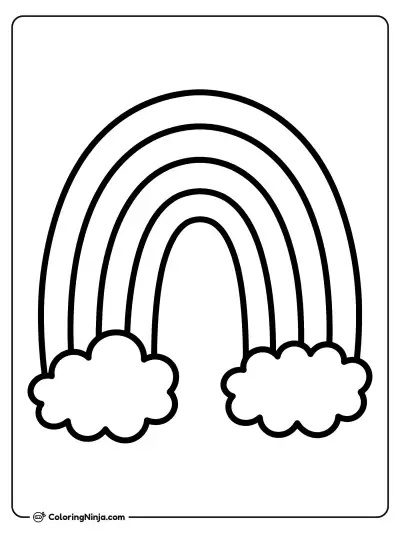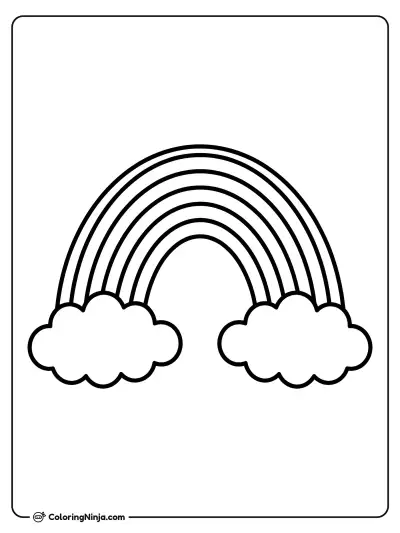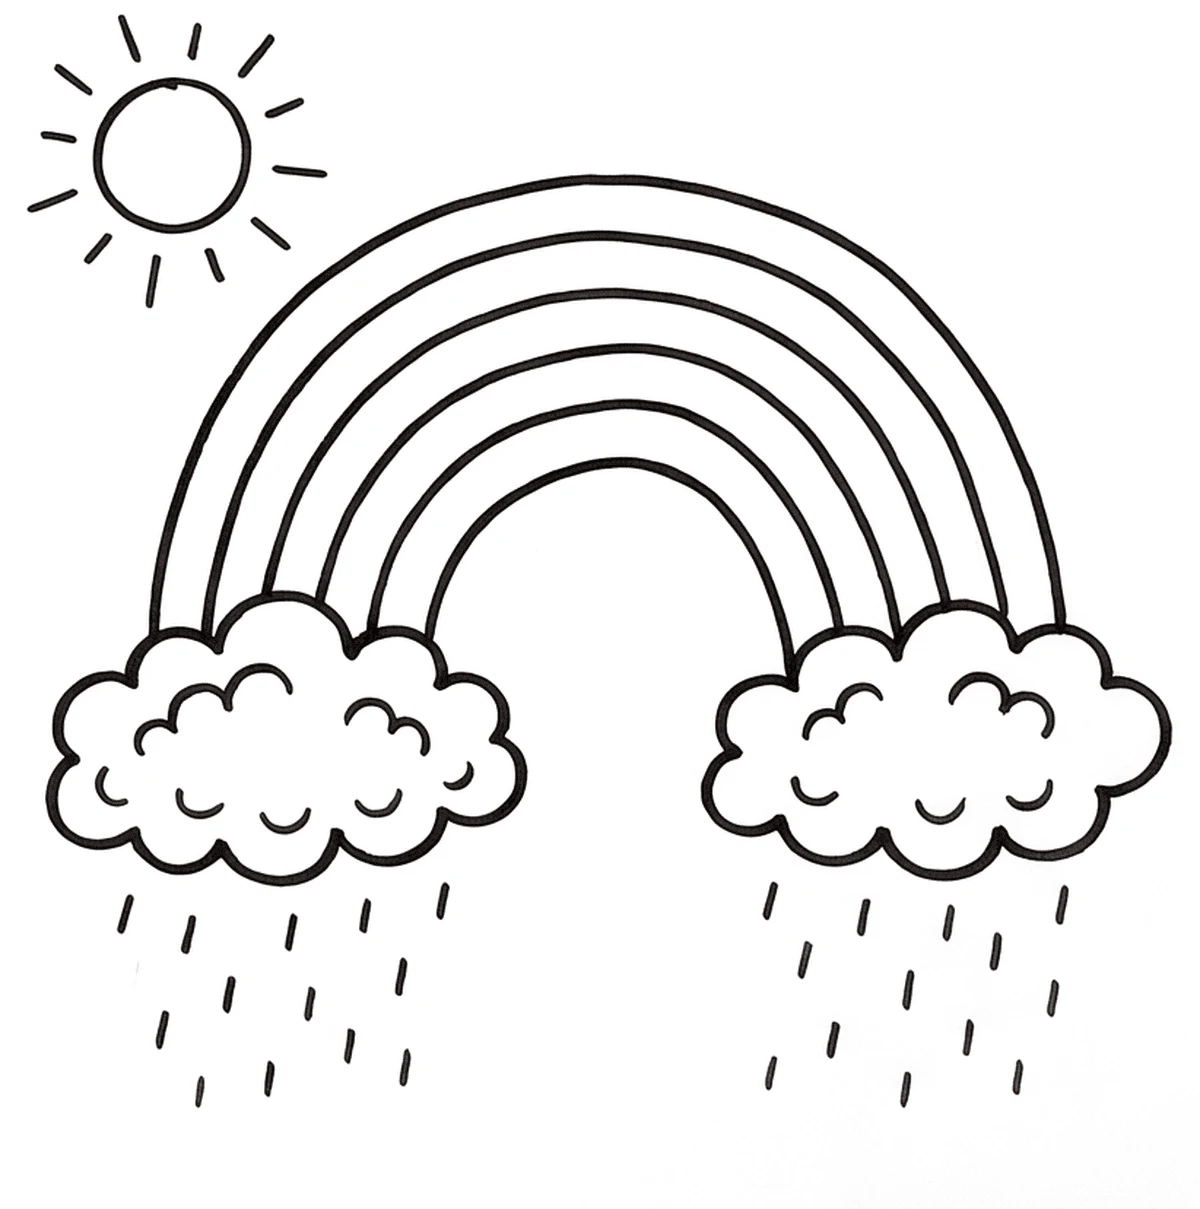
Drawing a rainbow requires keeping several curved lines parallel to each other. A common error is making the arcs too flat or unevenly spaced. You will create a bold, clear drawing ready for color.
The seven arcs of a rainbow
A rainbow is a circle of light that is usually cut off by the horizon. The colors always appear in the same order, with red on the outside and violet on the inside.
What you need
- HB pencil for the construction lines
- Black chisel-tip marker for the outlines
- Fine black marker for the details
- Eraser
- White cardstock or thick paper
The 6 steps
Light comes from the upper left in every step. Each picture shows the drawing as it should look when that step is done.
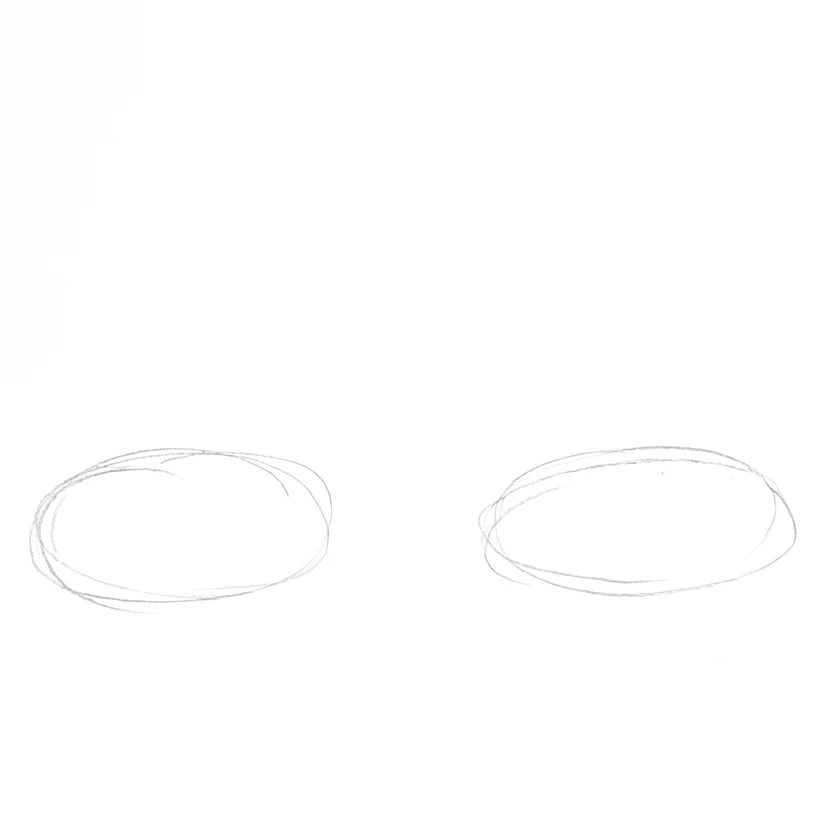
Step 1: Cloud base shapes
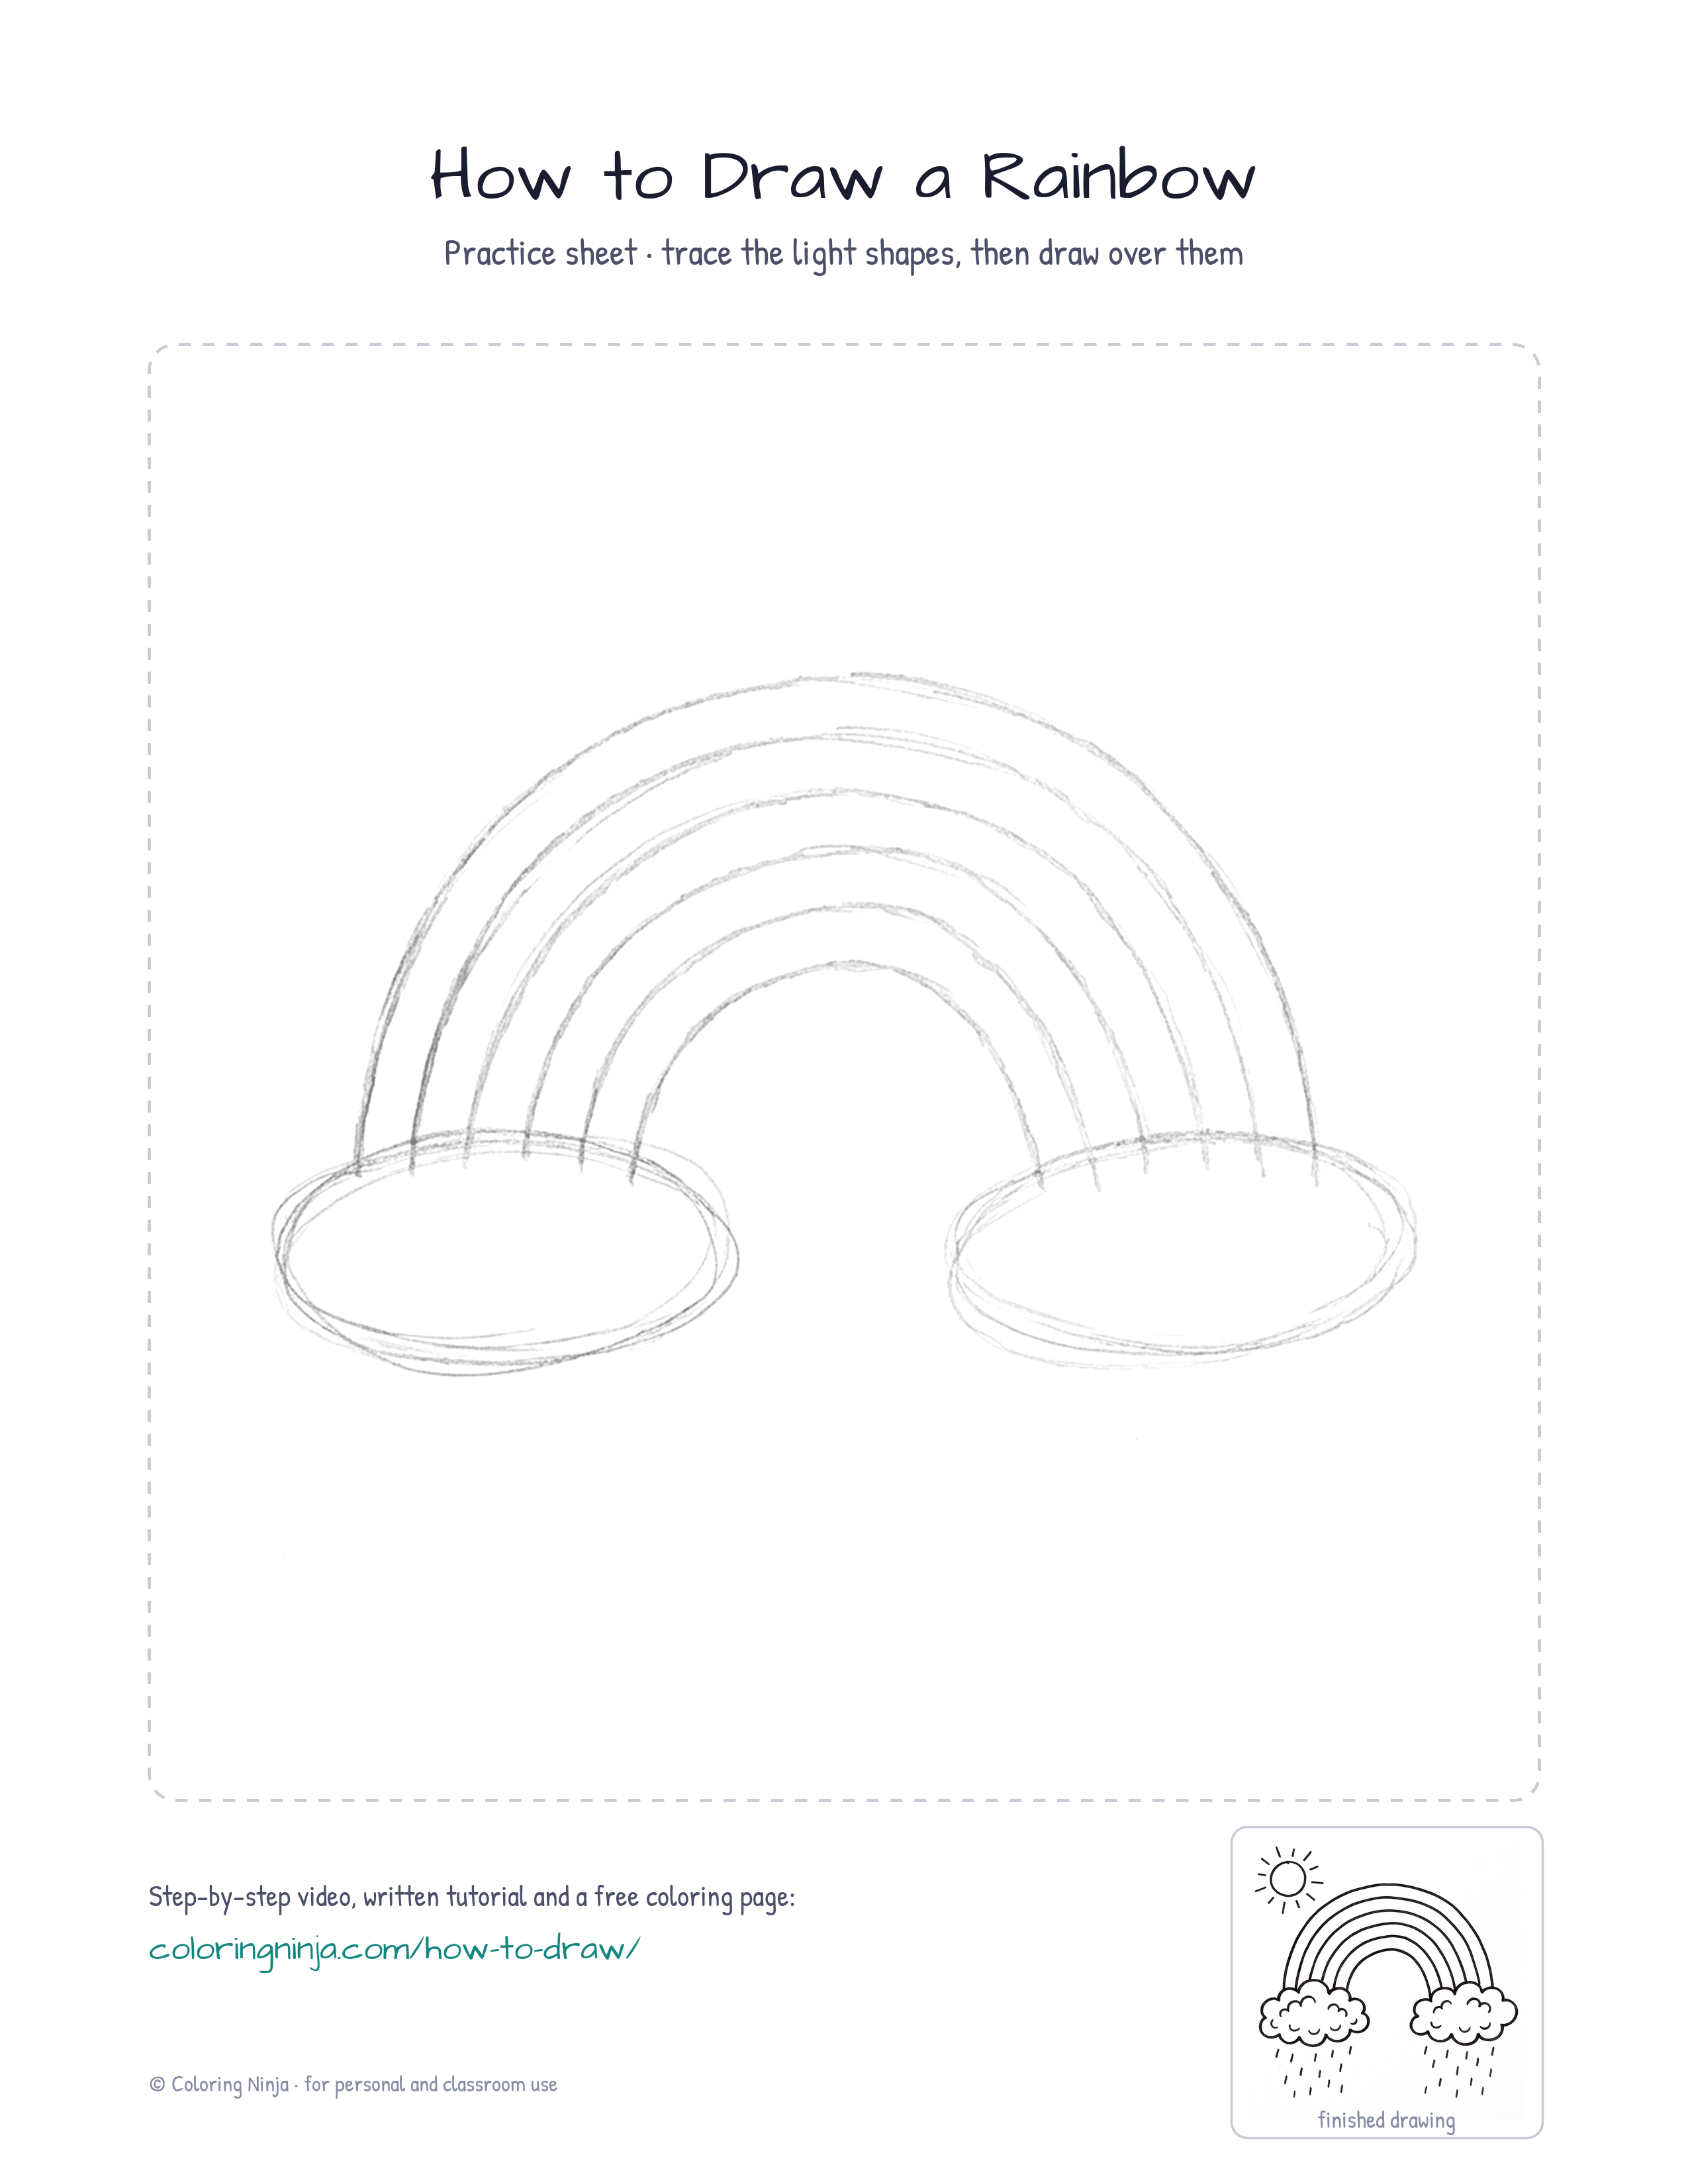
Use the HB pencil to lightly draw two horizontal ovals near the bottom corners.
Common mistake: Beginners draw clouds too small; make them large enough to support the rainbow ends.
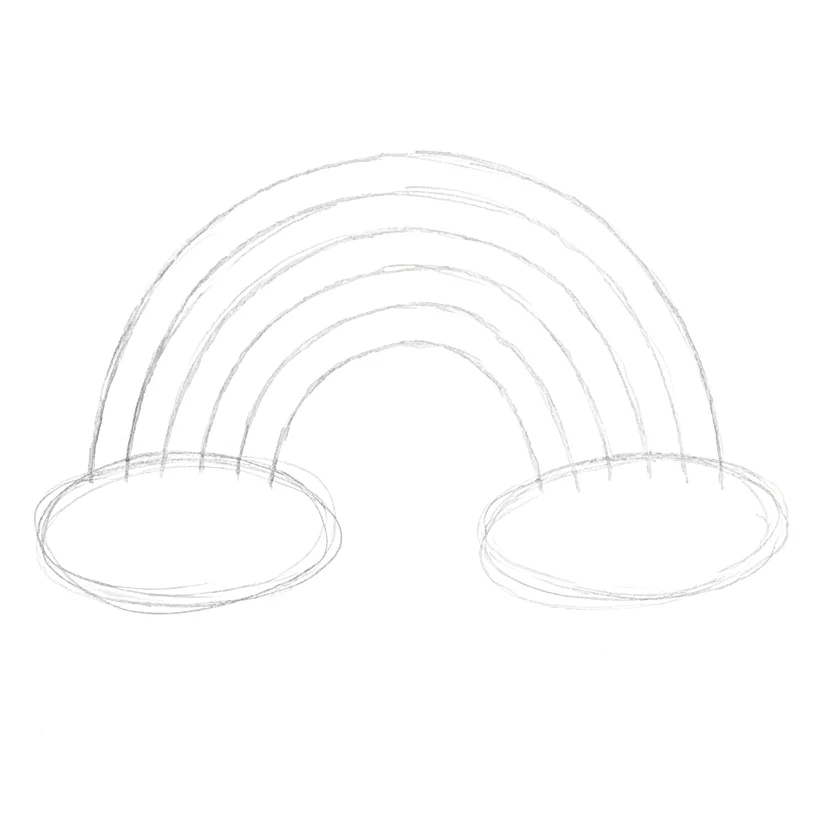
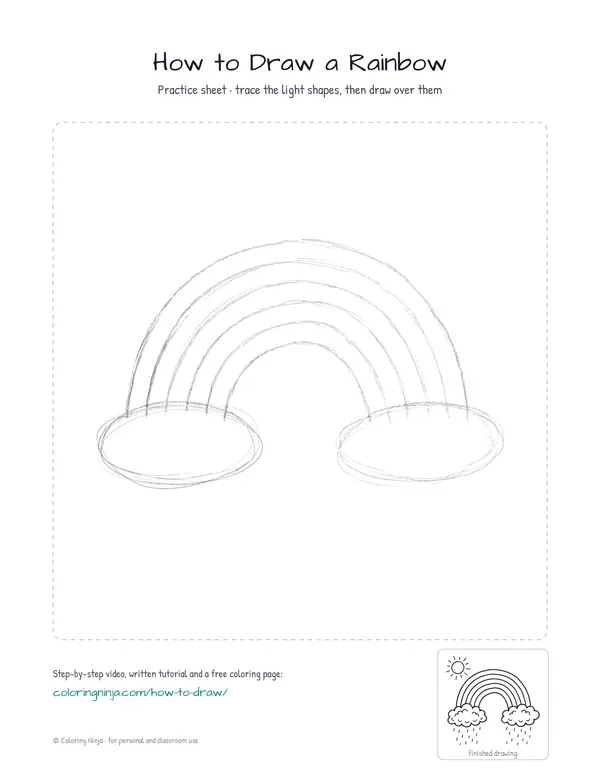
Step 2: Rainbow guide lines
Sketch seven curved lines with the HB pencil, keeping the space between them equal.
Common mistake: Beginners often draw the arcs with different widths; try to keep the gaps between lines identical.
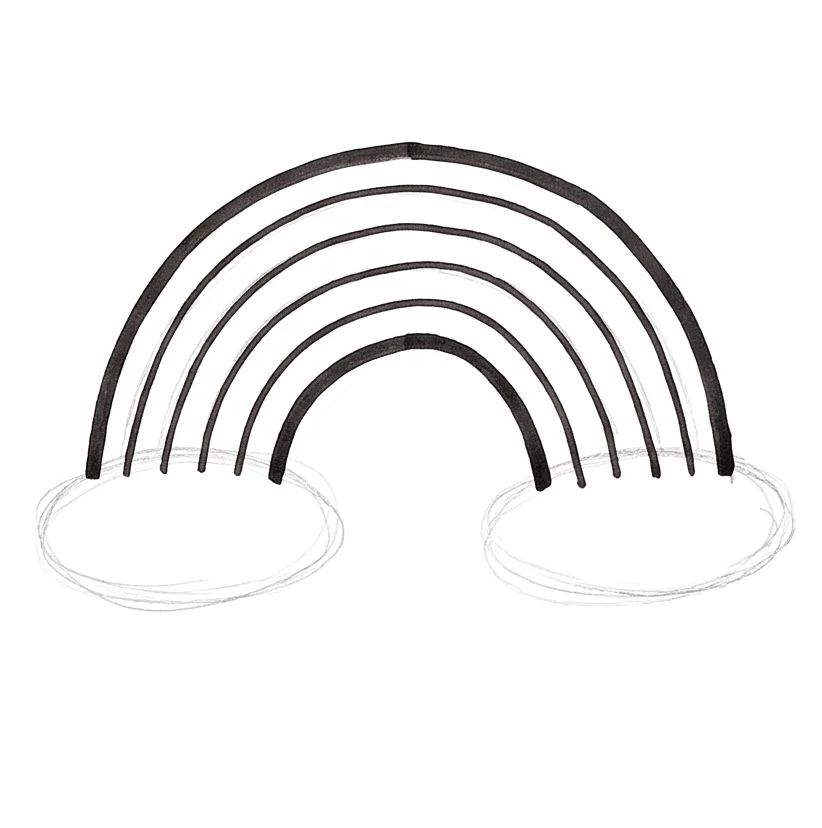
Step 3: Bold outer lines
Switch to the black chisel-tip marker to draw the bold outlines of the rainbow and clouds.
Common mistake: Moving the marker too fast can cause a wobbly line; use a slow and steady motion.

Step 4: Fluffy cloud details
Use the fine black marker to add scalloped lines along the edges of the clouds.
Common mistake: Beginners often draw straight lines for clouds; use small curves to make them look soft.

Step 5: Falling rain
Draw several small, thin lines under the clouds with the fine marker to represent rain.
Common mistake: Beginners often tilt the raindrops; keep the lines perfectly vertical to show they are falling.

Step 6: Final details
Erase the HB pencil lines and use the fine marker to add a small sun.
Common mistake: Forgetting to erase pencil lines makes the final ink drawing look messy.
What makes it look right
- Use your elbow as a pivot point to help draw smooth, wide arcs.
- Keep the distance between the arcs consistent to make the color bands look even.
- Hold the chisel-tip marker at a consistent angle to maintain a thick line width.
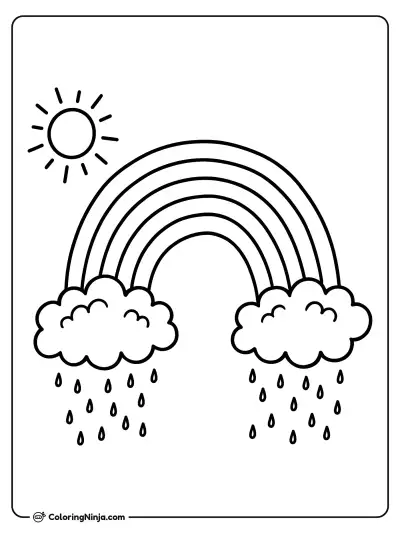
Get the finished coloring page
The clean outline from step 6, ready to print and colour.
View the coloring pageThe whole lesson on one sheet
All 6 steps with their captions on one page. Print it and keep it next to your paper.

The drawing is now ready for markers or crayons. Start with red on the top arc and follow the order of the spectrum.